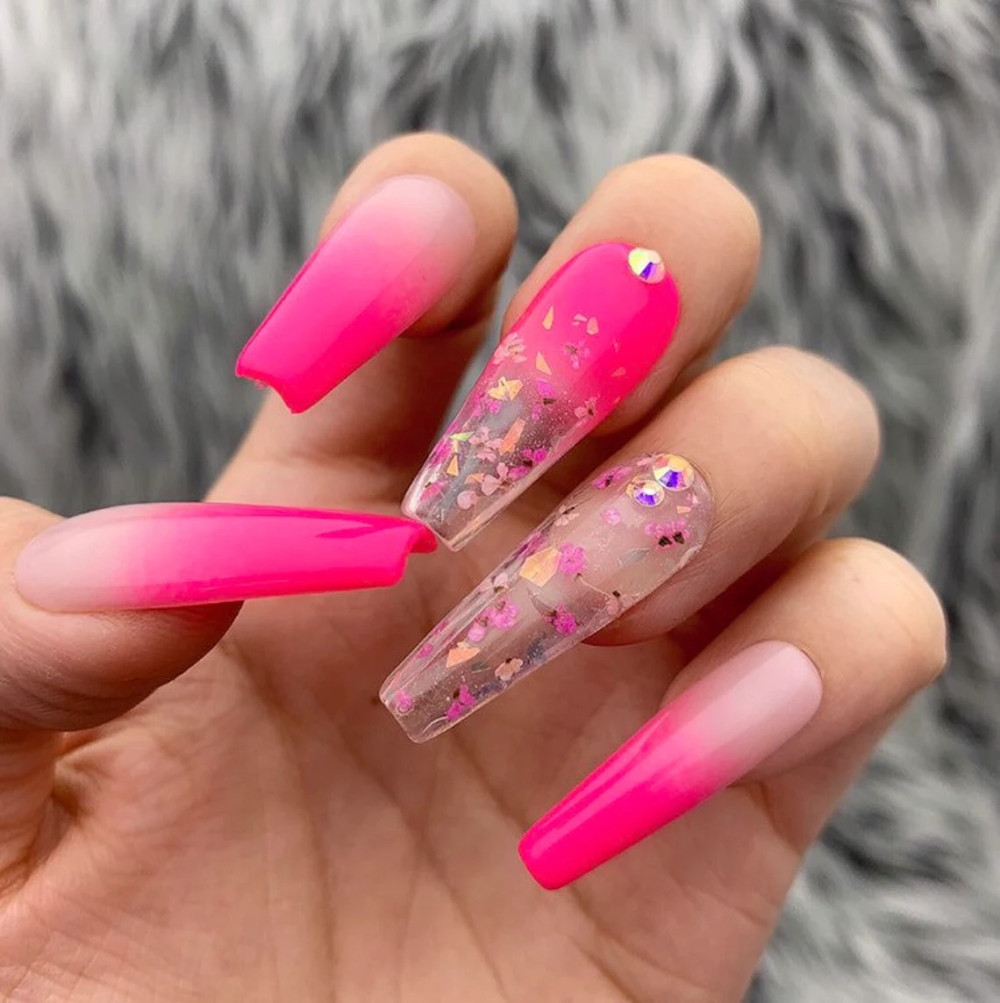
The is no doubt that ombre nails are popular in the manicure world. They’re beautiful, versatile, and can amp up your femininity in the blink of an eye.
Whatever color combination you choose, this style is bound to make your nails ten times more eye-catching. So if you’re wondering which manicure trend you should try next, check out this list ASAP.
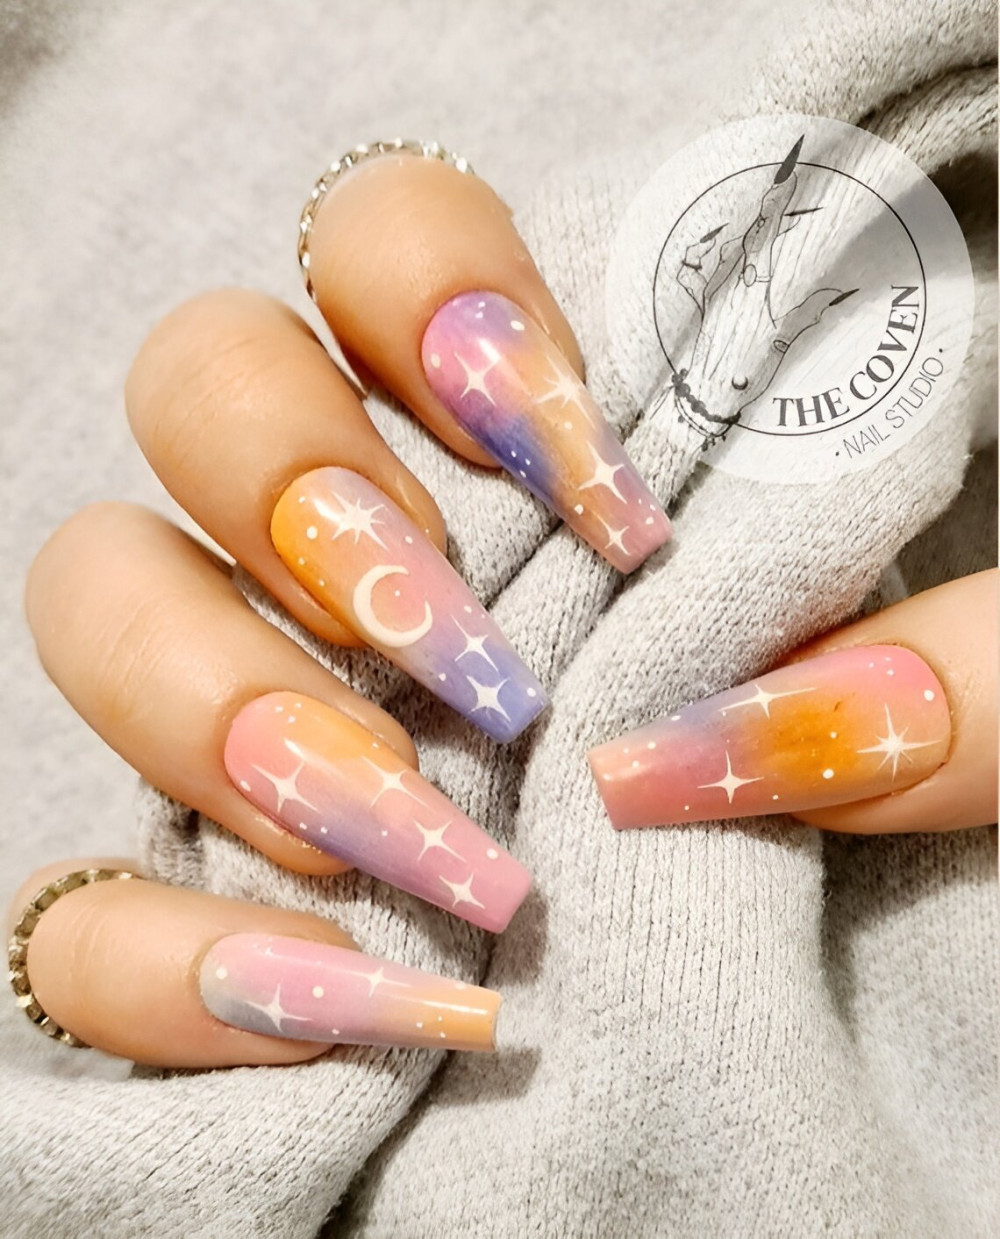
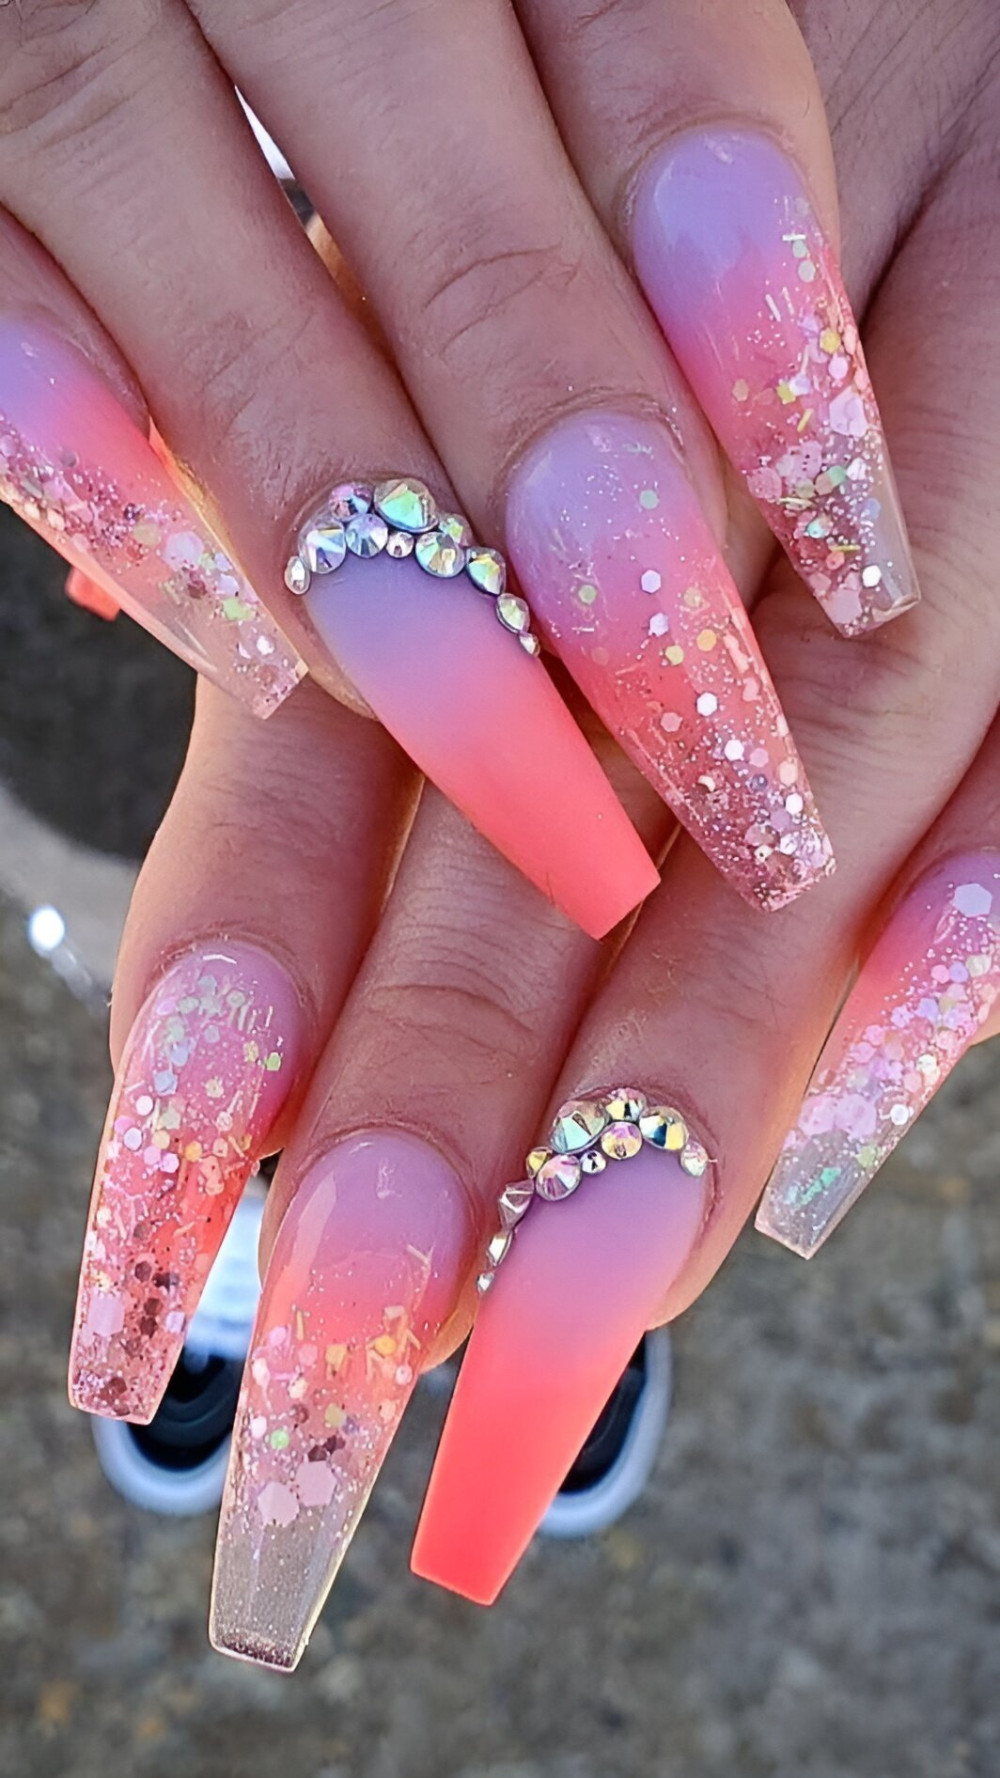
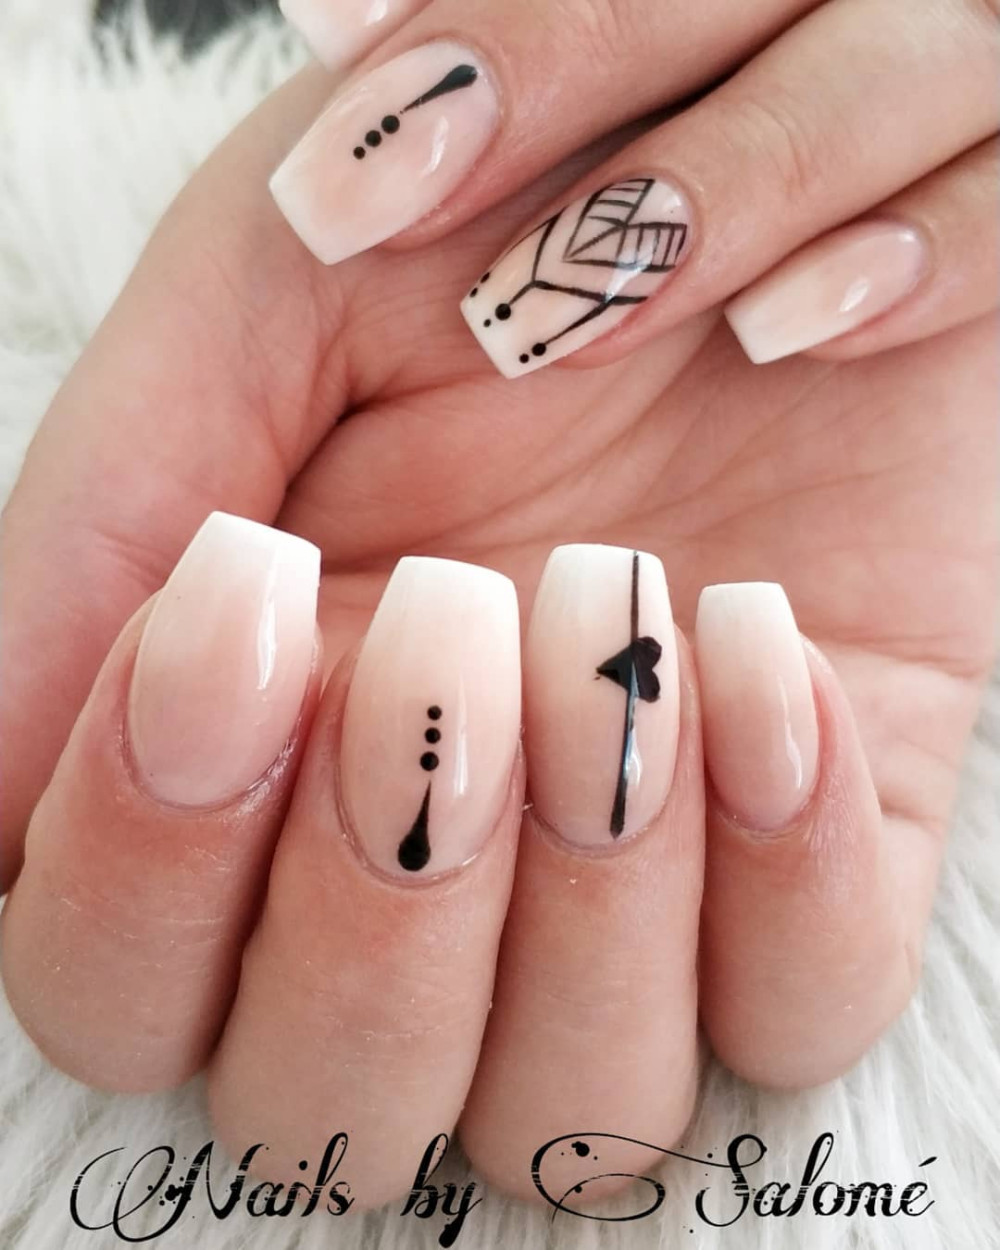
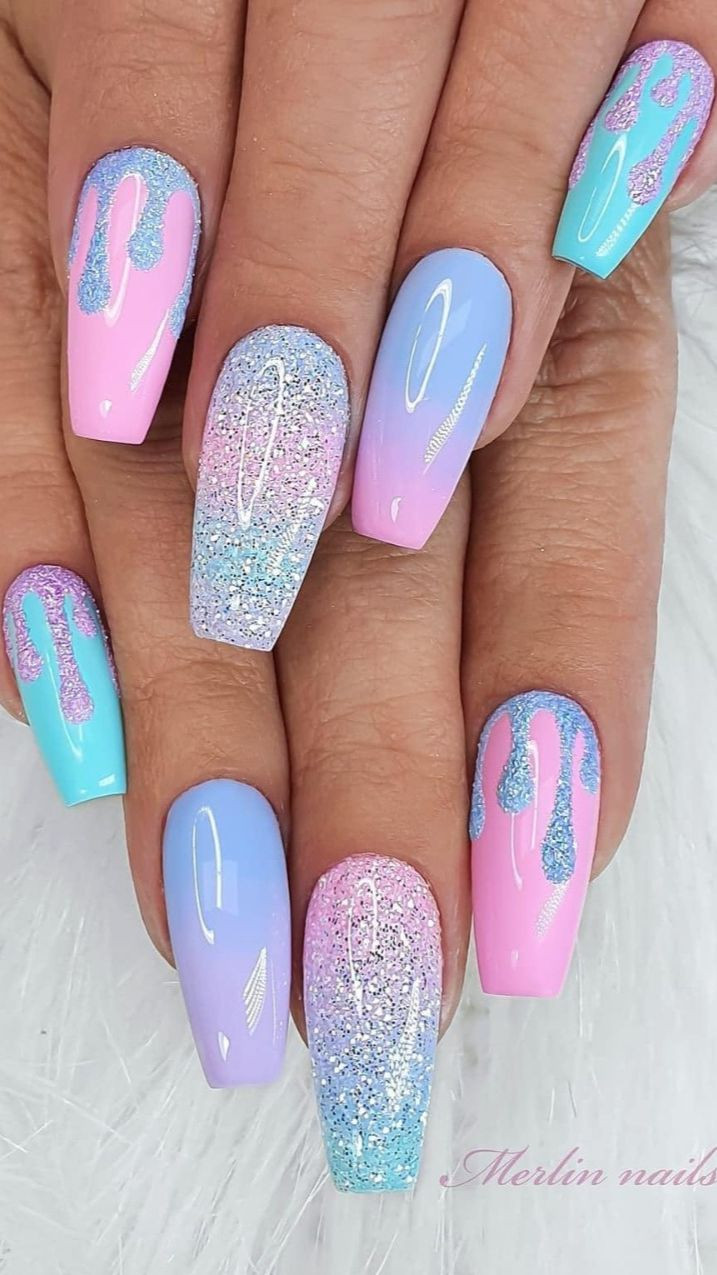
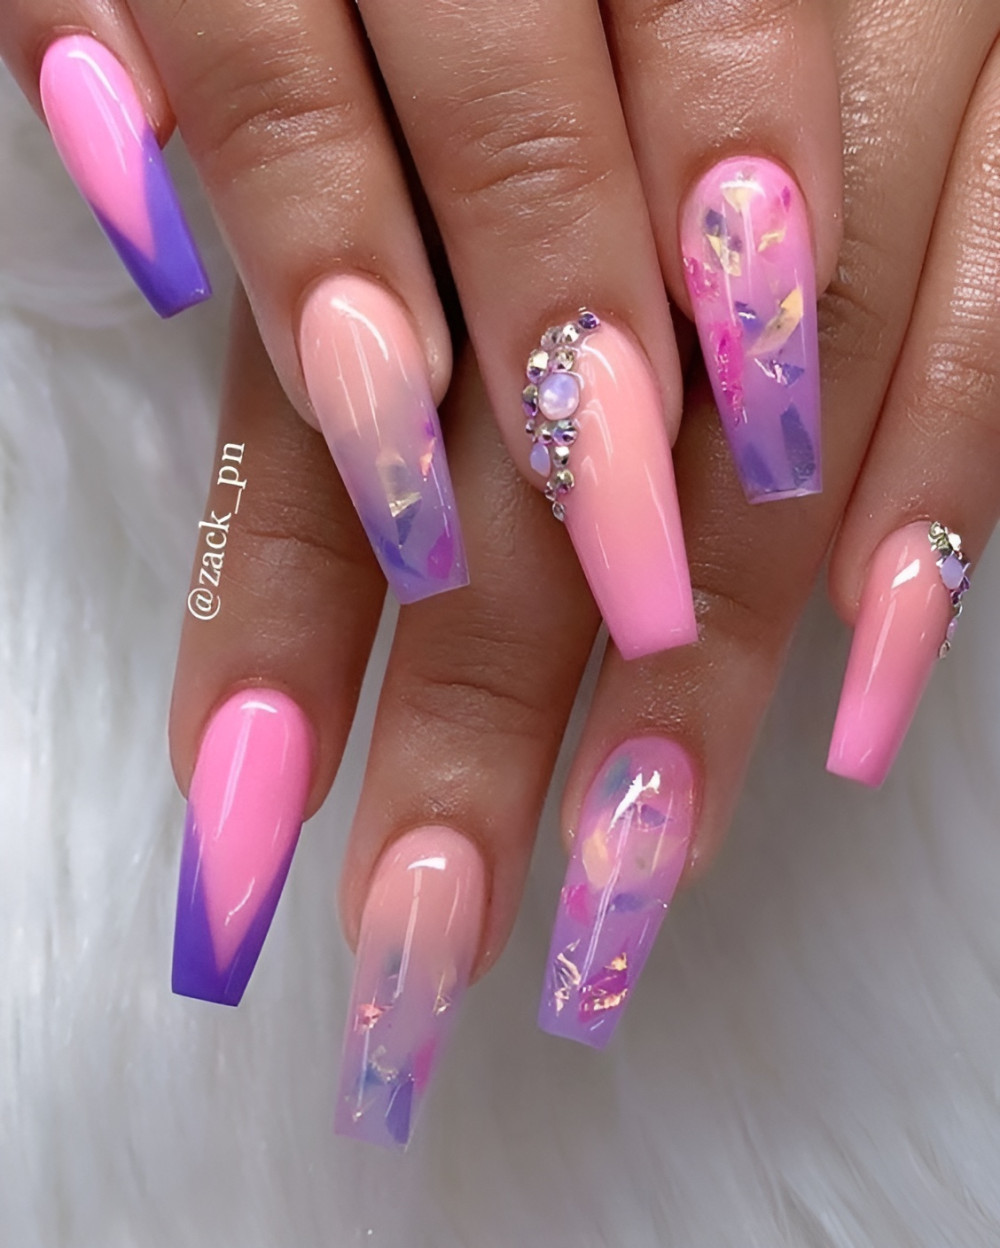
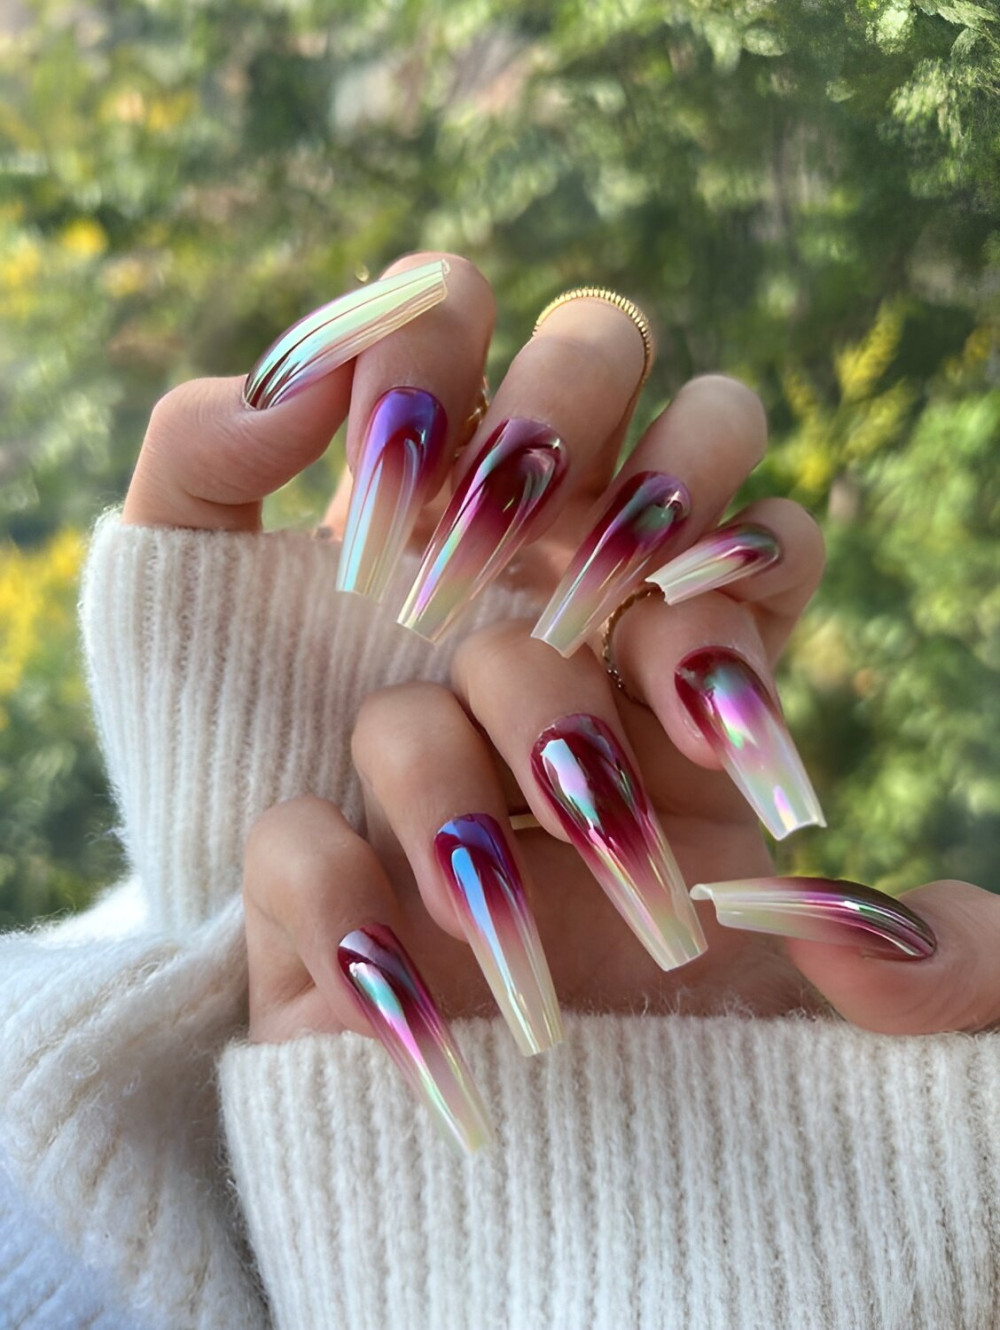
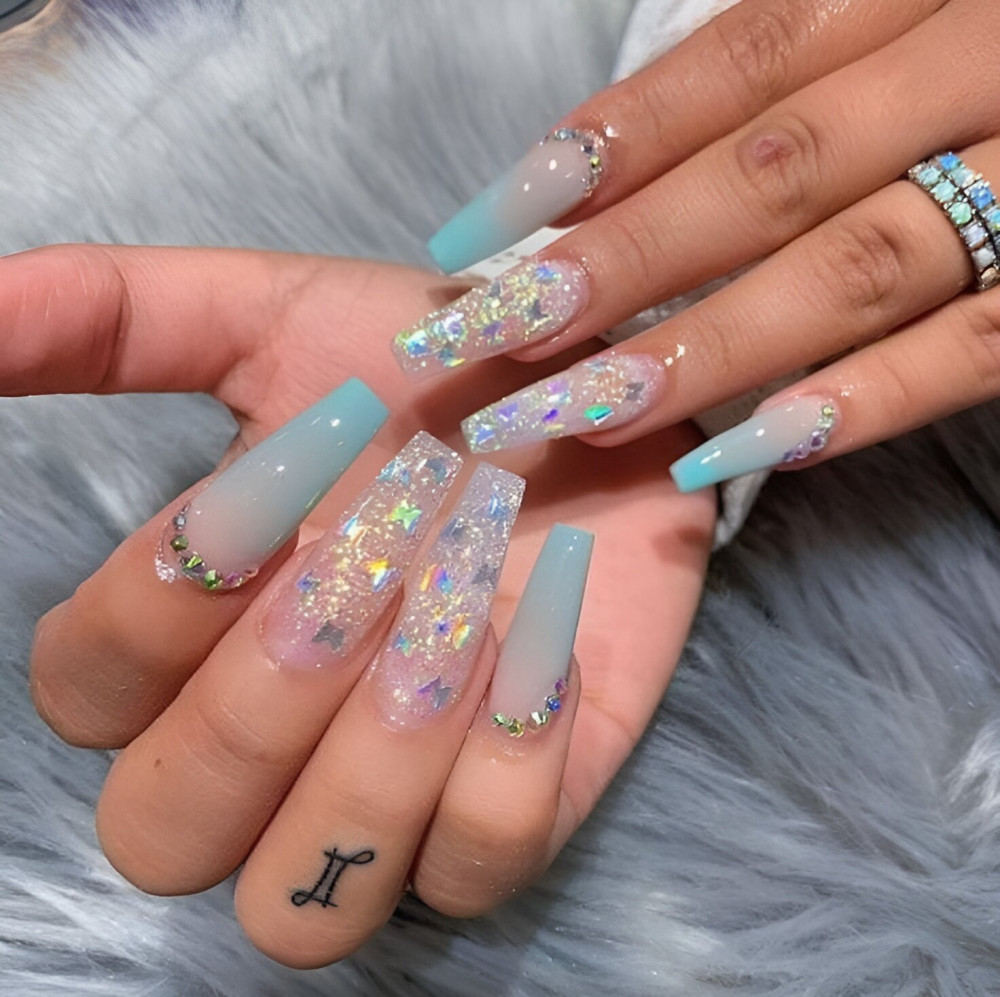
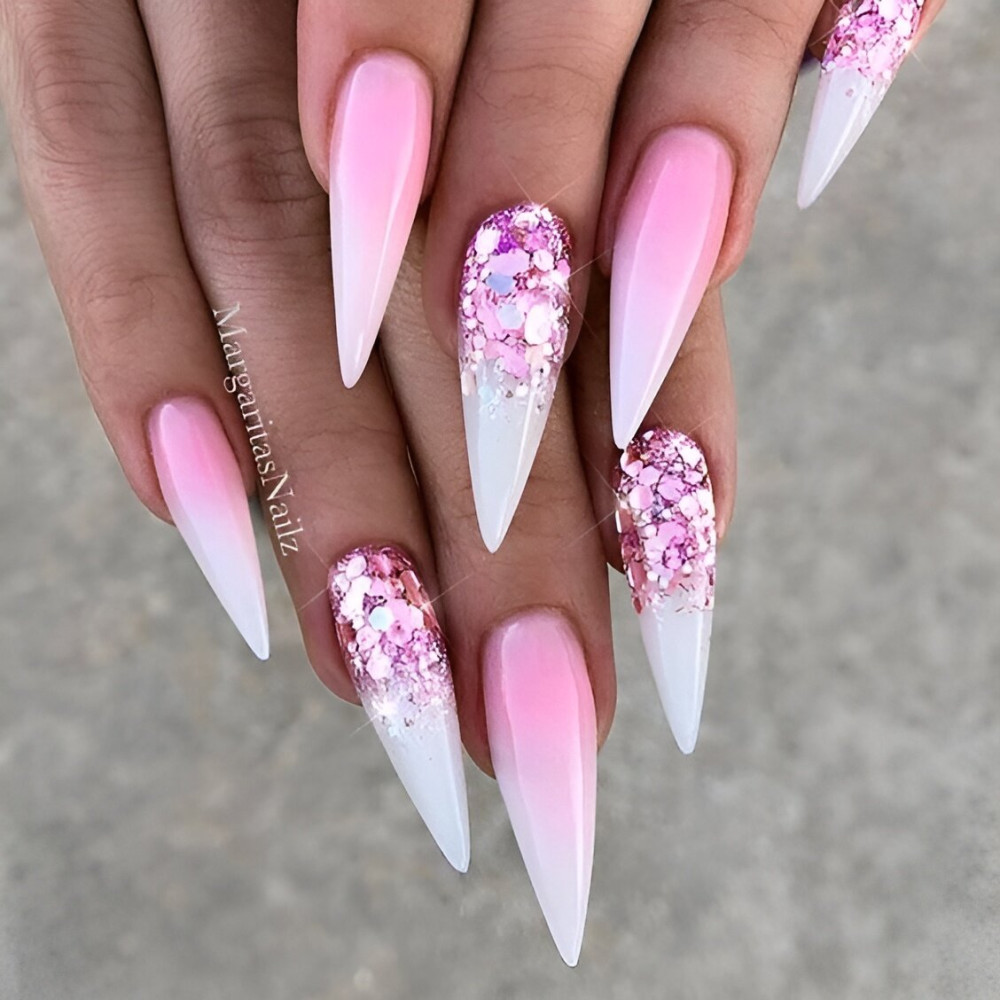
We got the softest and prettiest ombre nail ideas here for you to choose from. From soft pastel shades to chic beige designs, you can find at least one idea that will fit your style here.
Of course, if you want to add extra glam to your manicure, you can always play with different textures and finishes. As long as the colors match your skin tone, your nails will look gorgeous.
Here are the loveliest ombre nail ideas we have gathered from the Internet. You can try them at home or surprise your nail technician on your next salon appointment. These ideas look too good to ignore, so save them now!
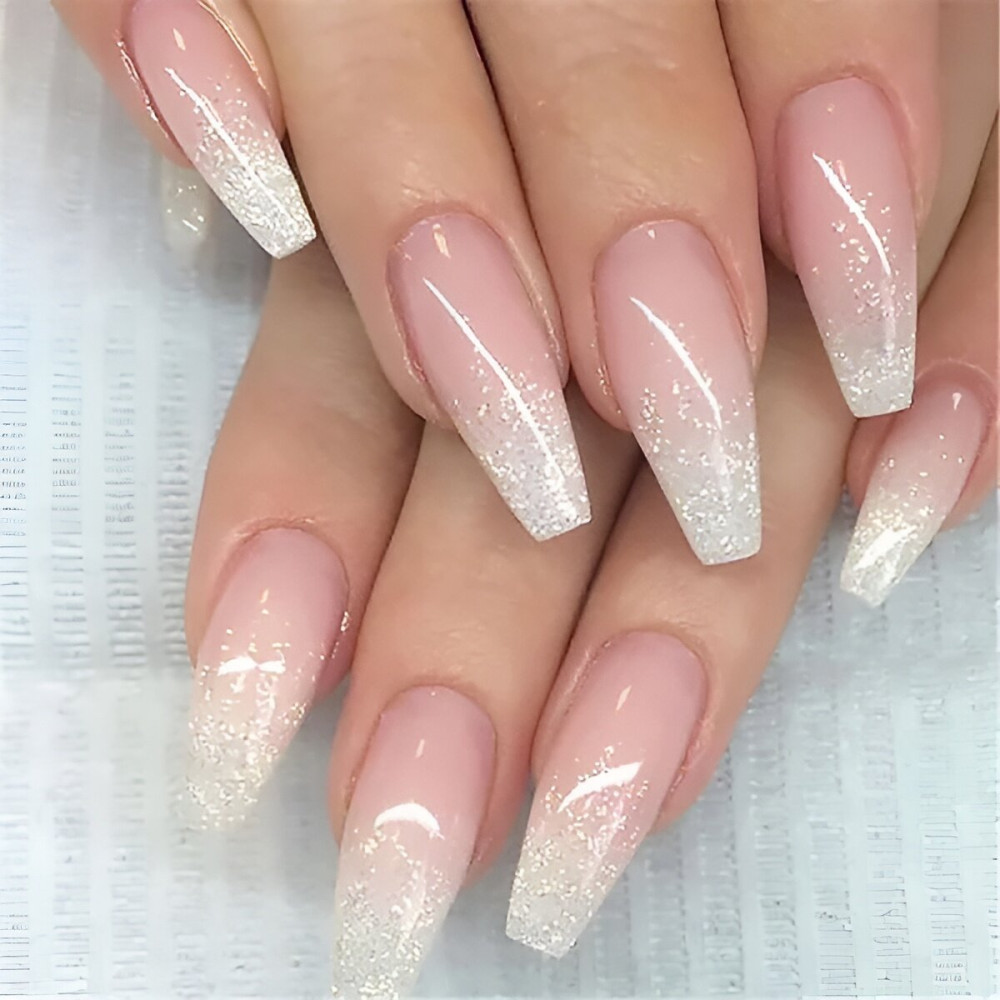
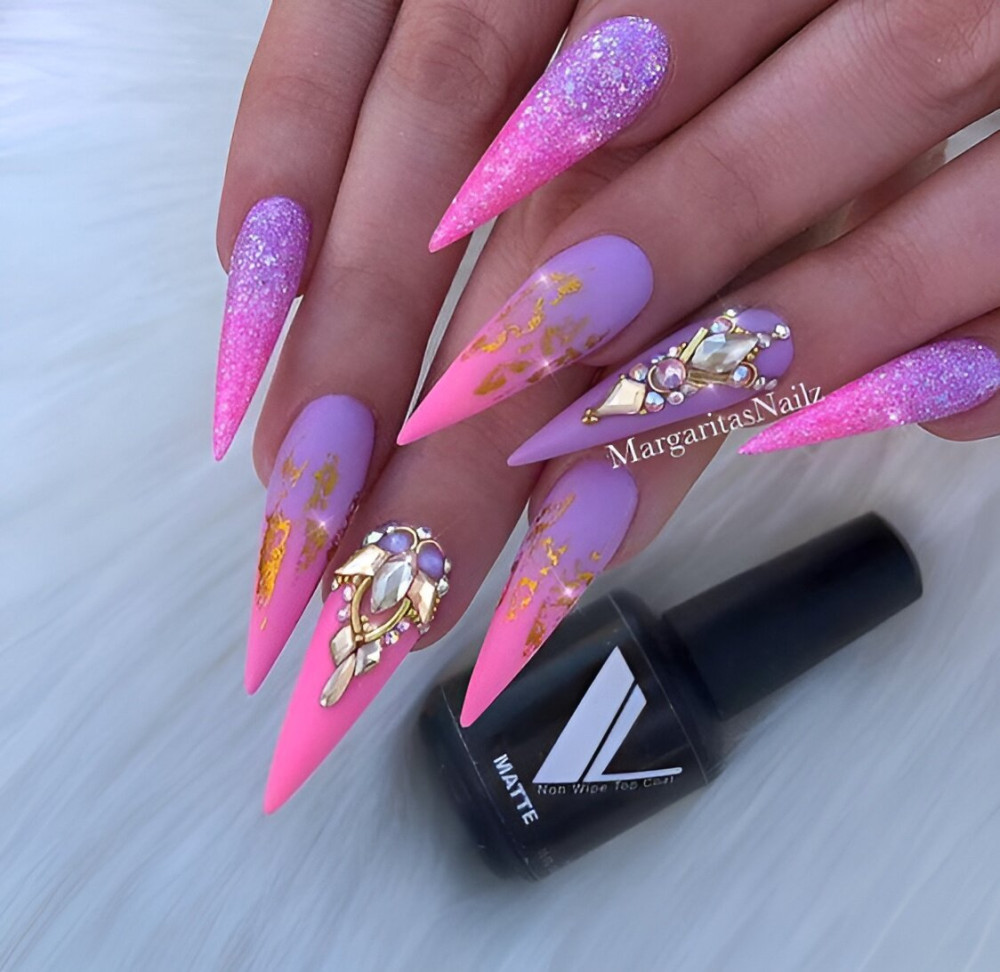
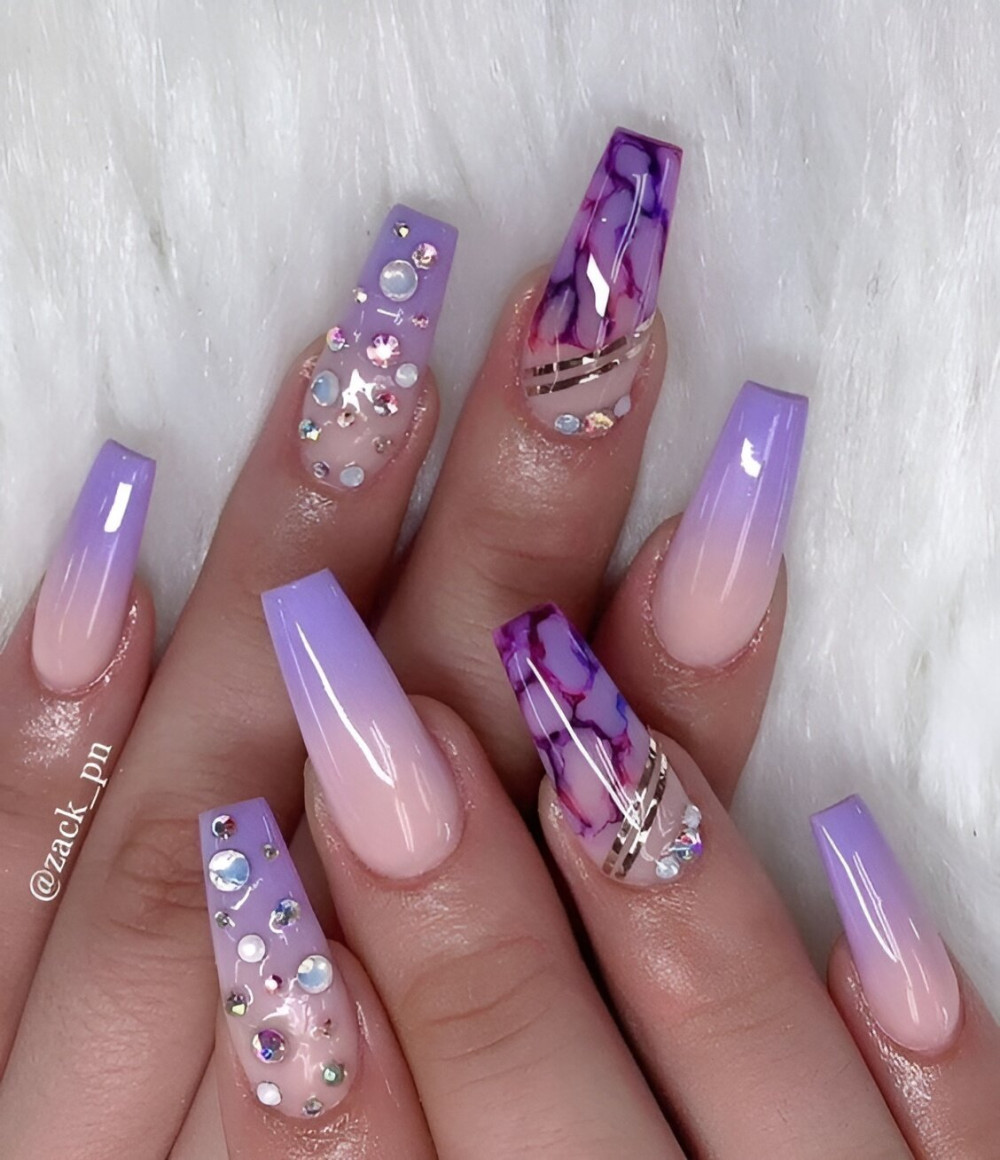
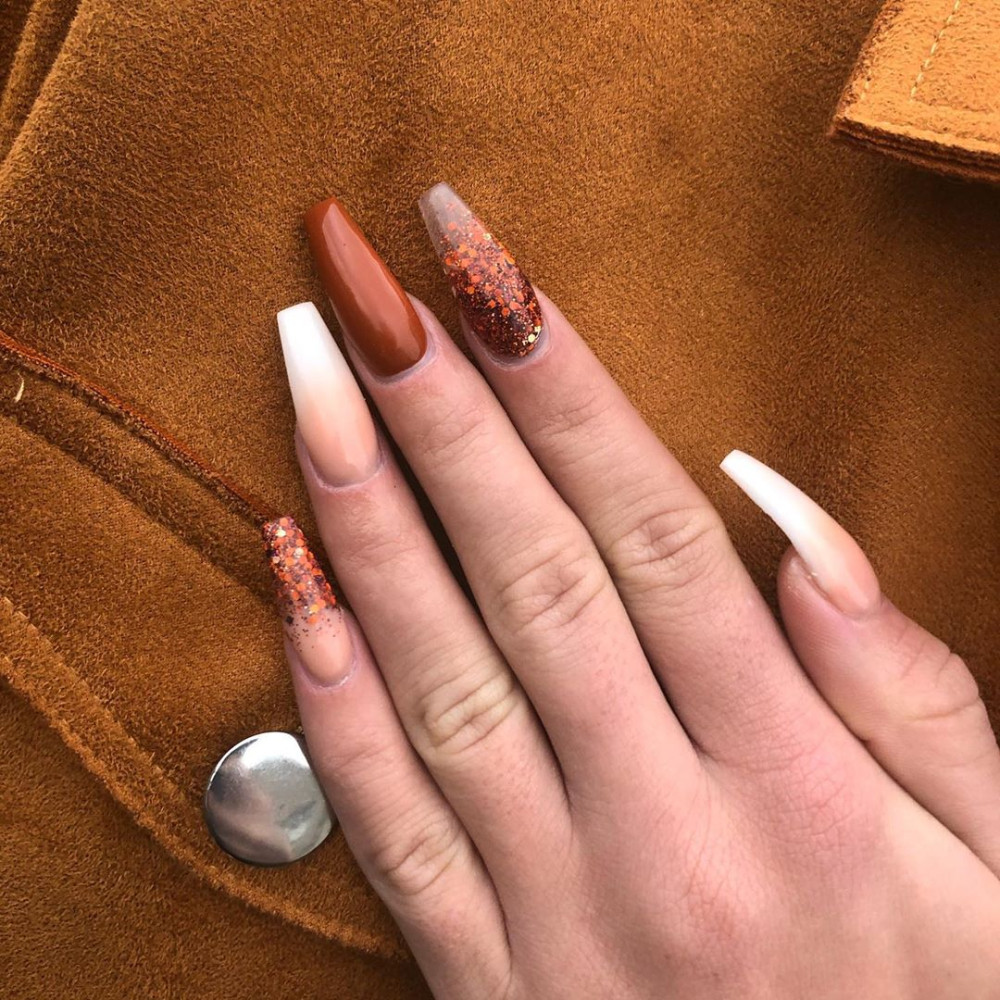
1.
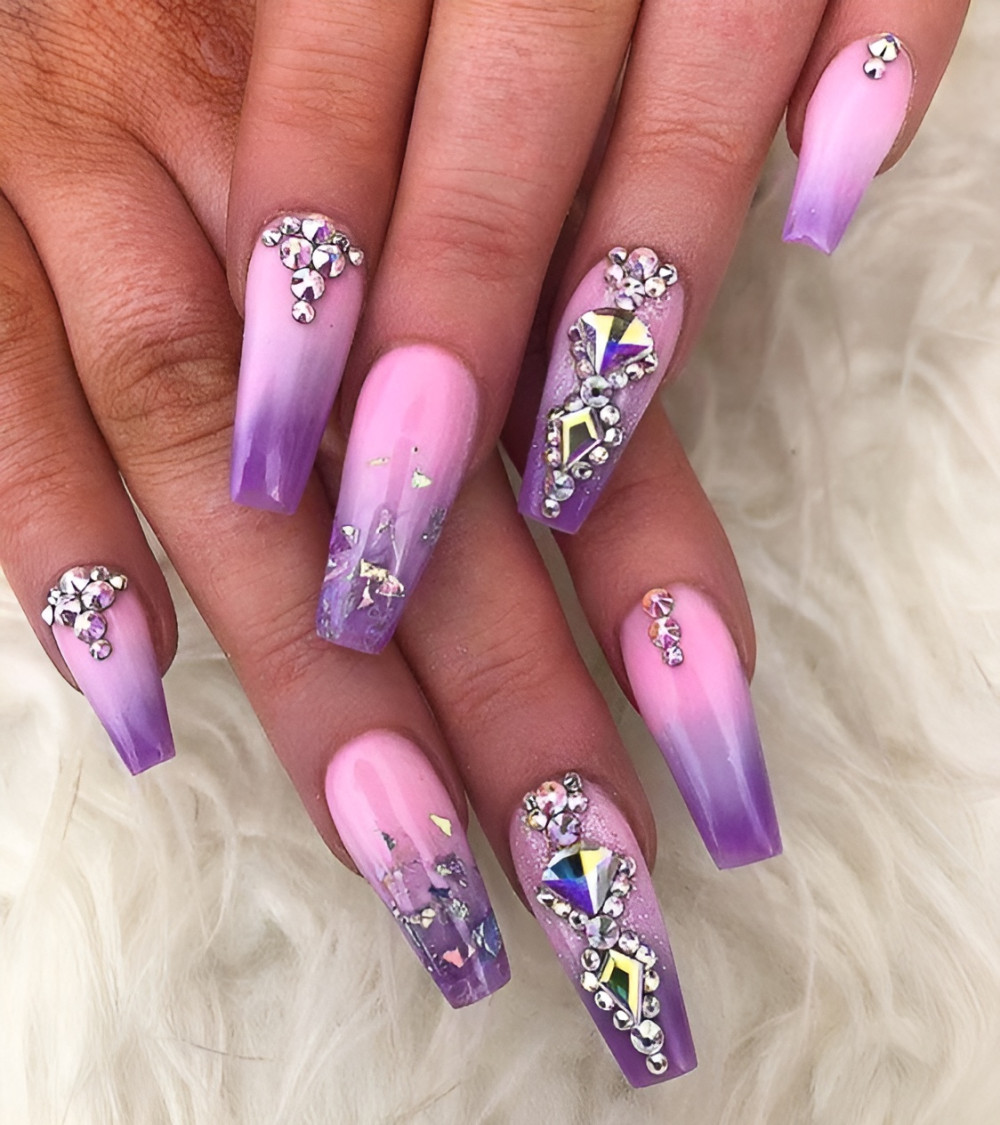
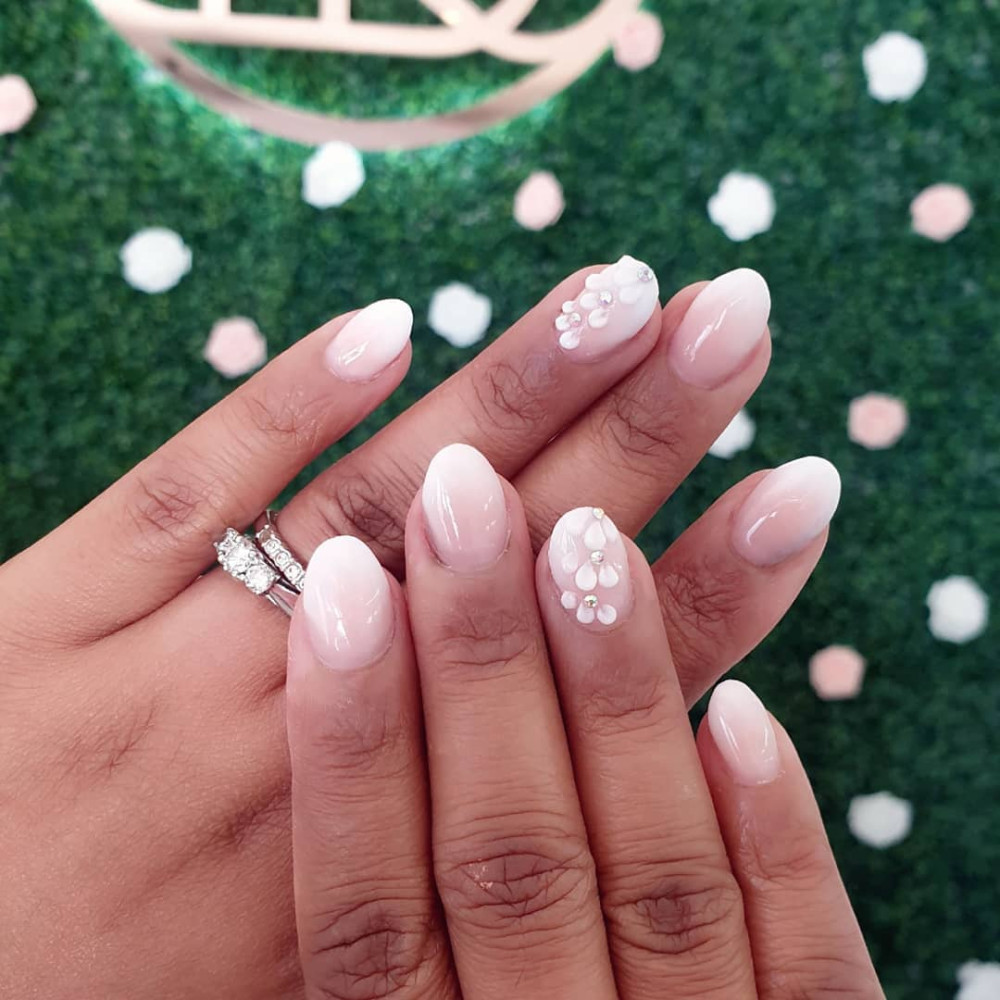
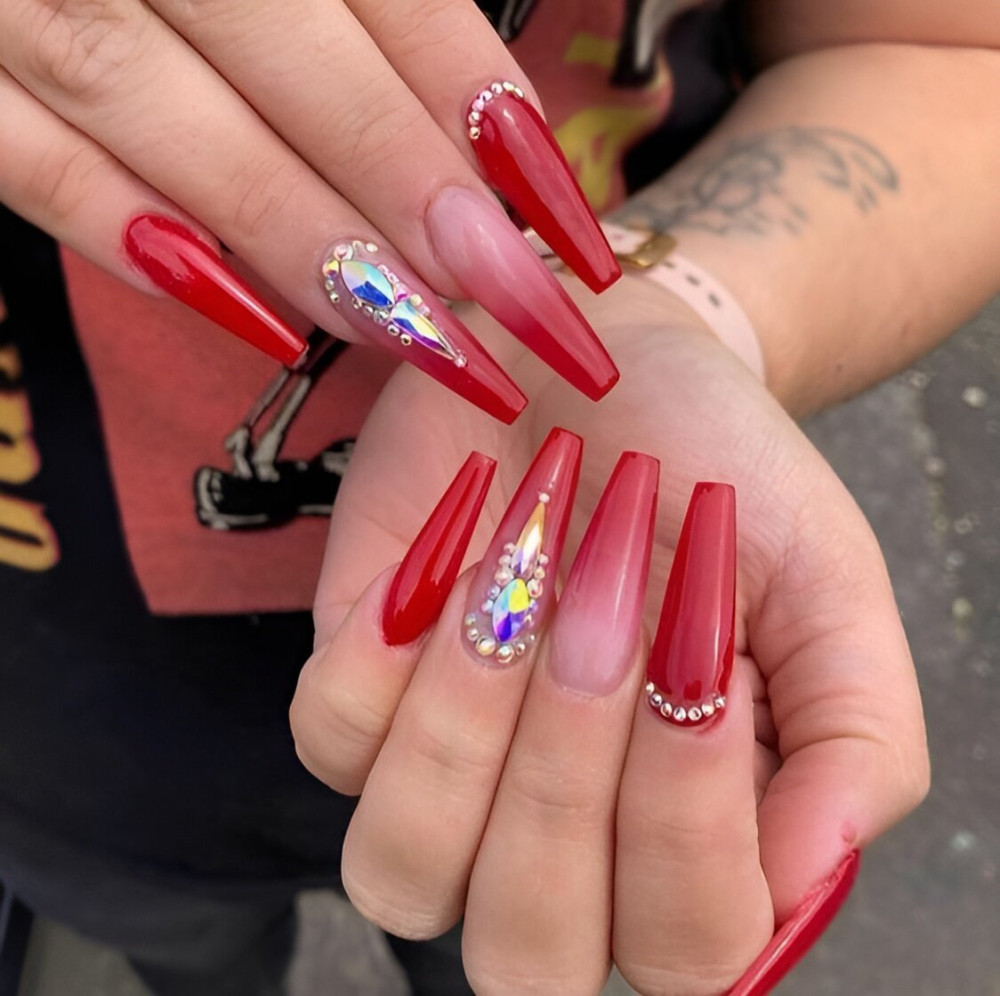
2.
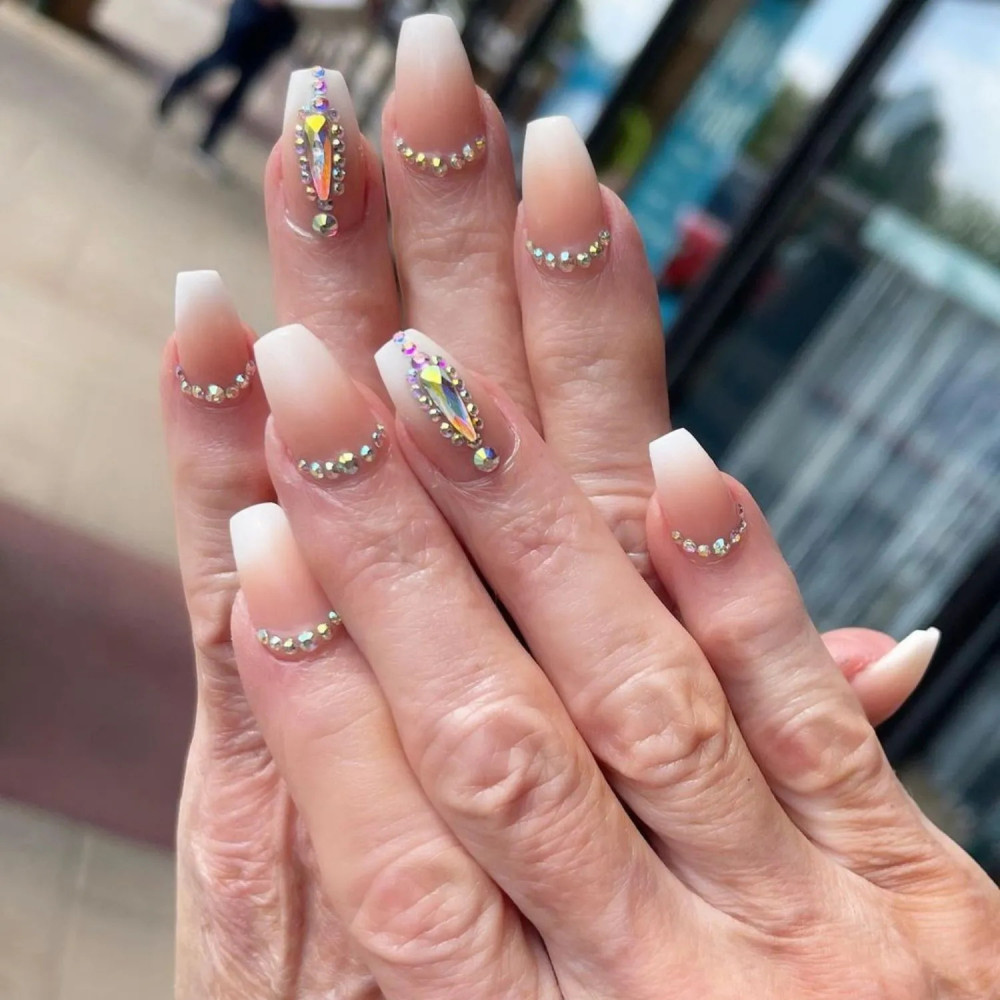
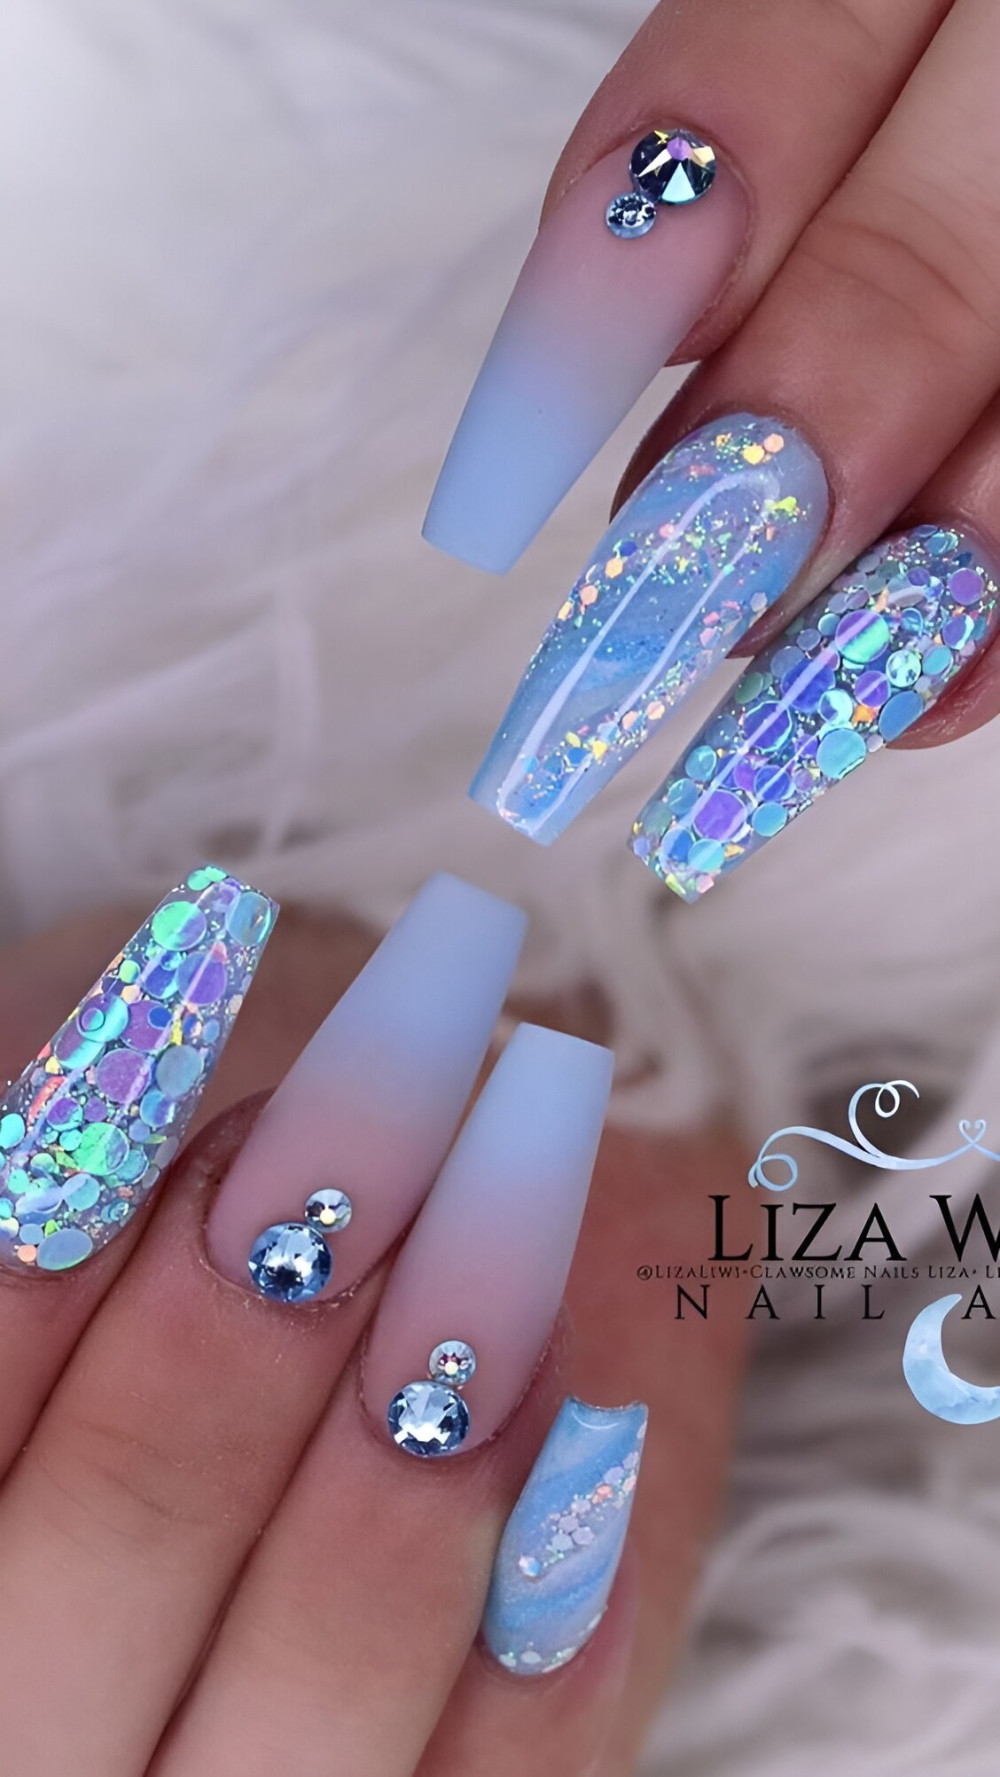
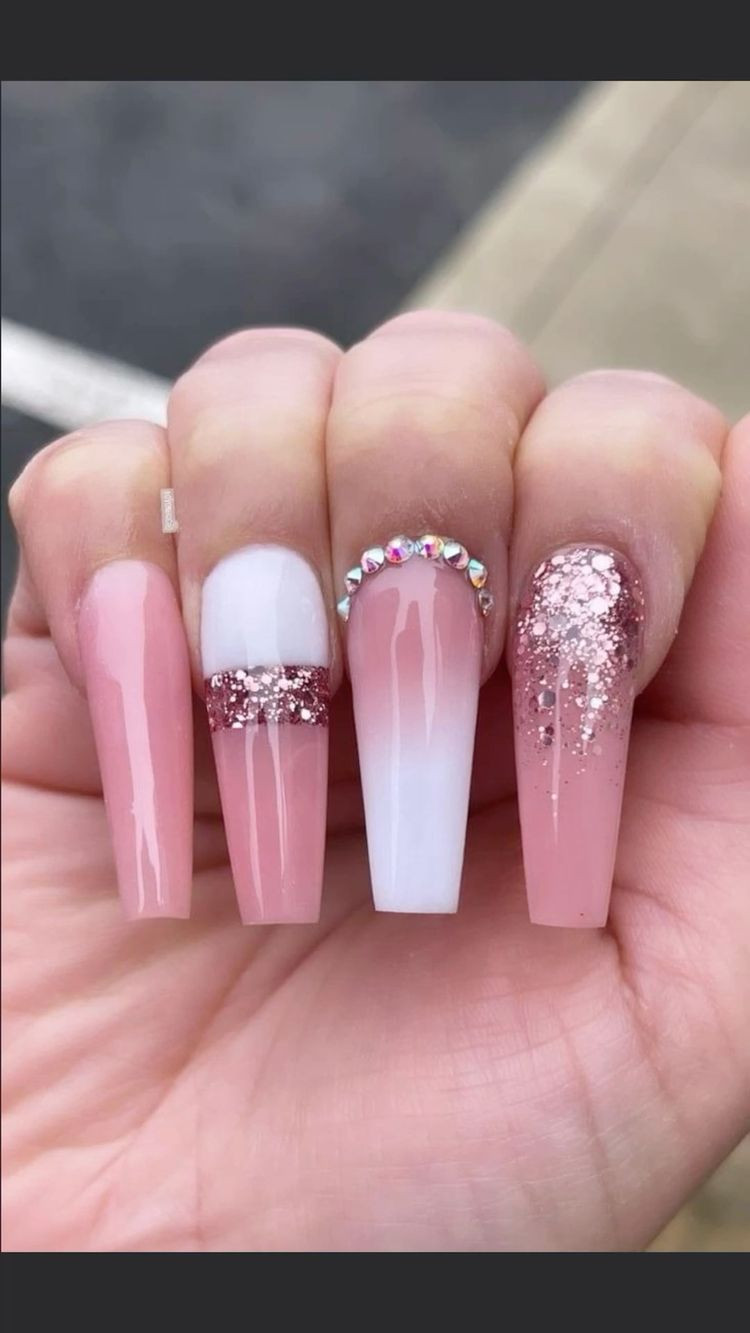
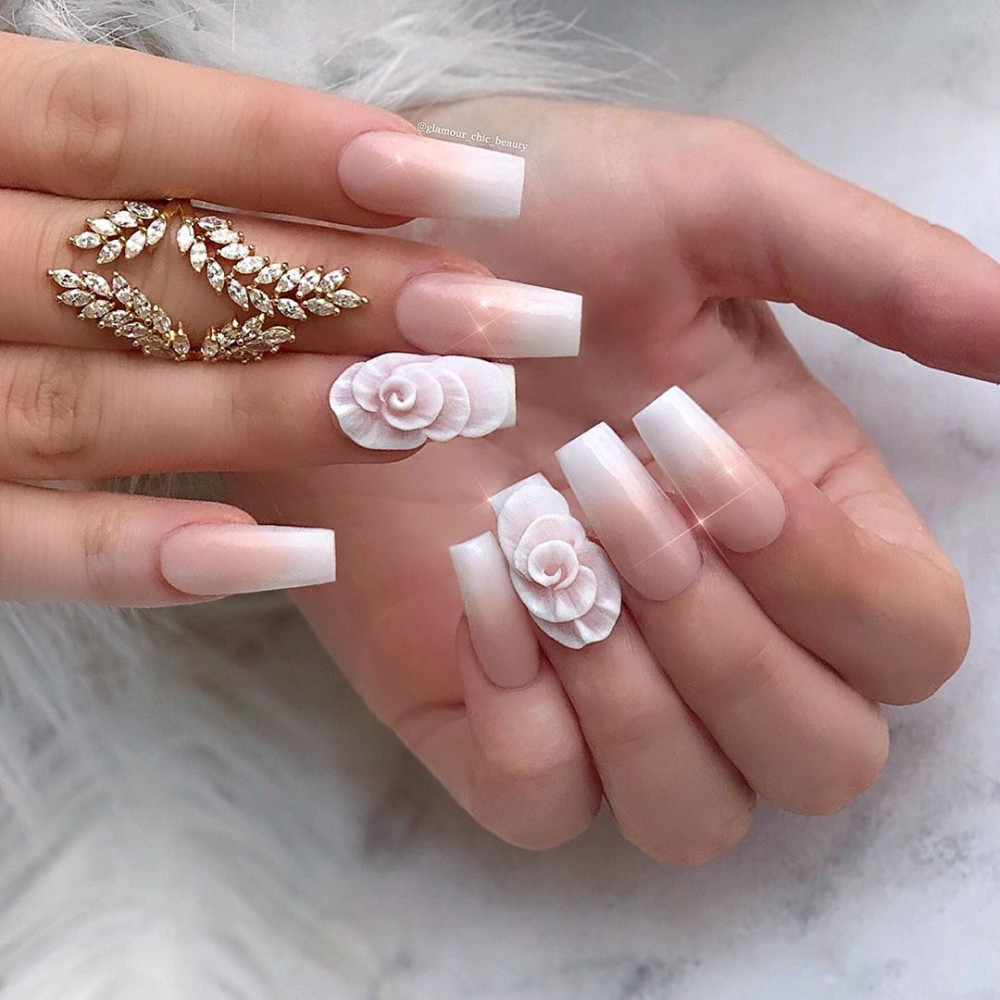
3.
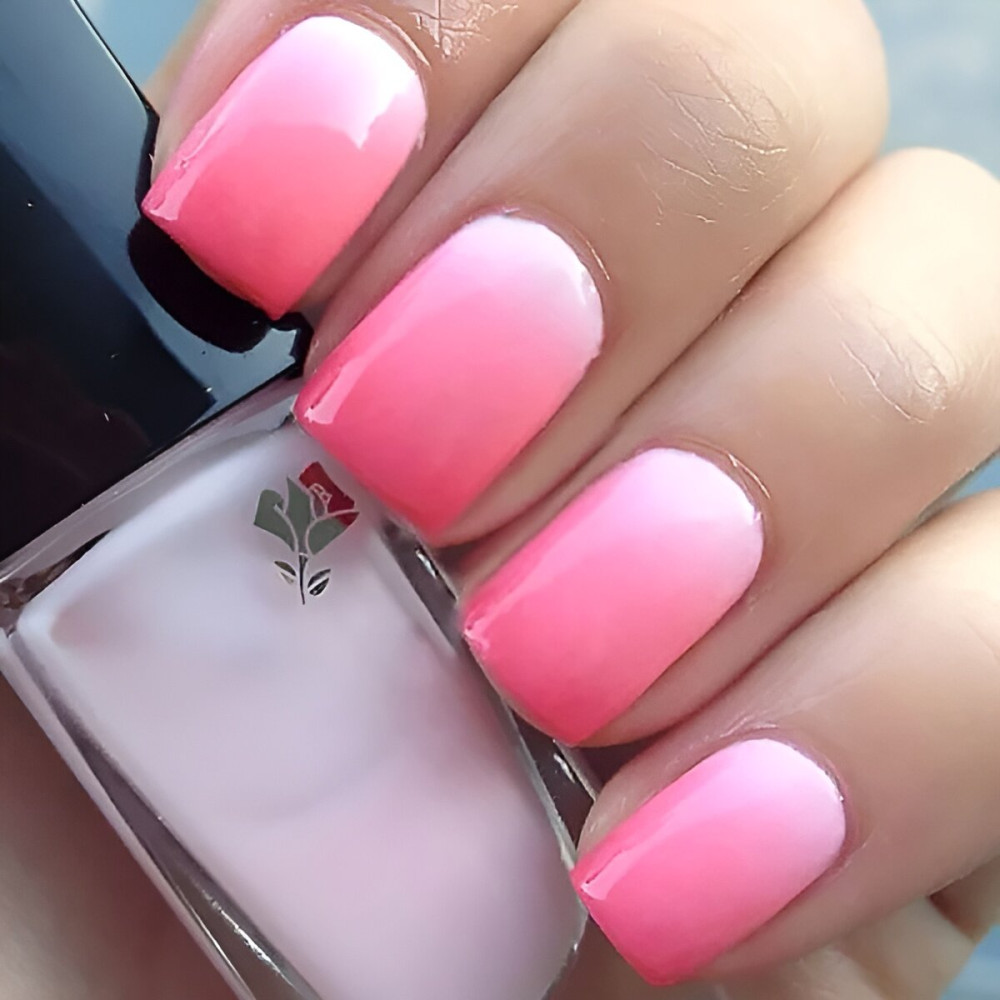
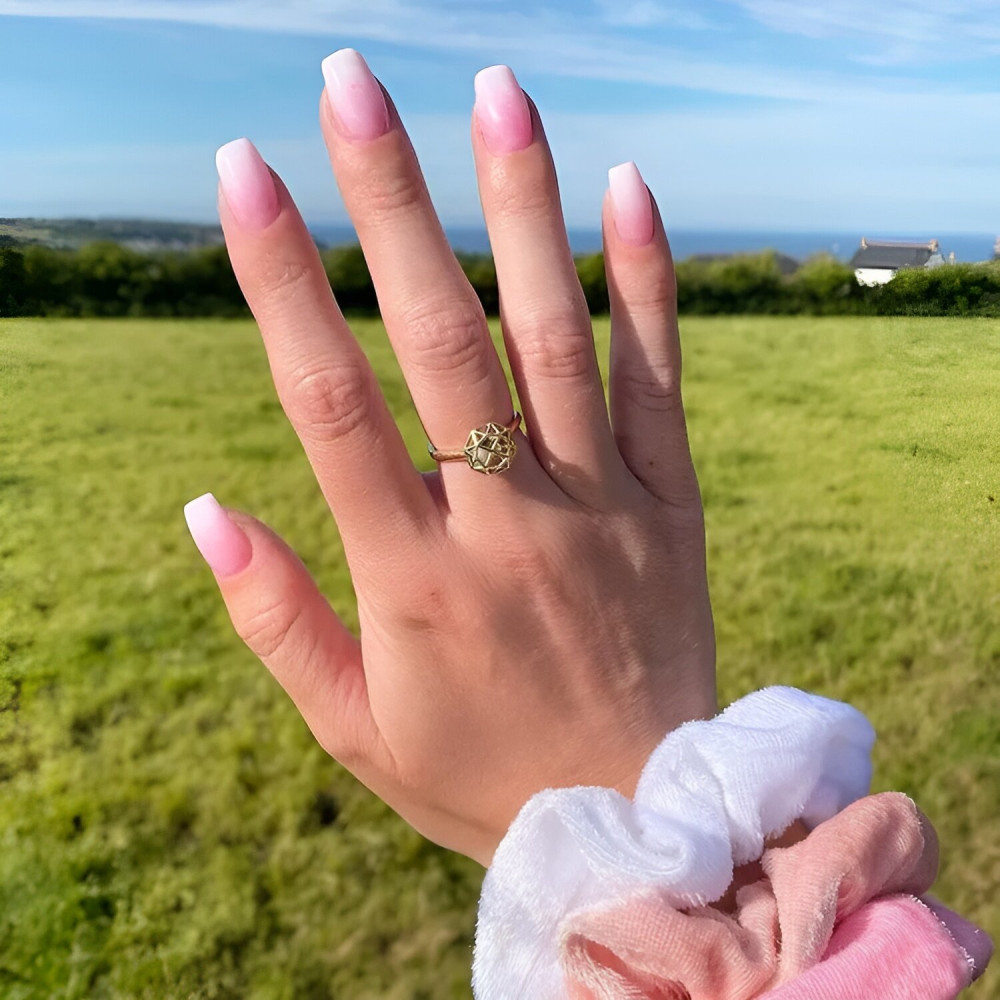
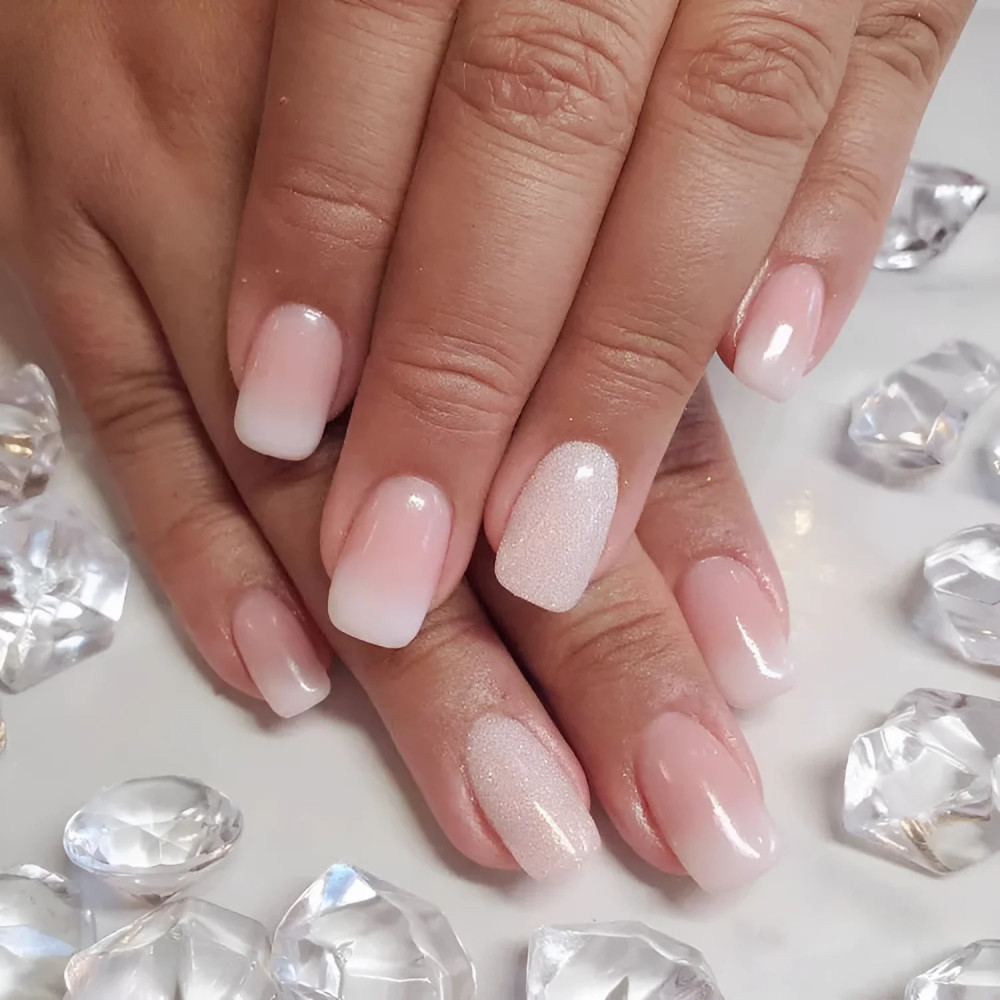
The Charm and Versatility of Soft Ombre Nails
The ombré technique is a long-standing favorite in the beauty world, but it finds its most delicate and enduring expression in the soft ombré nail.
Unlike harsh color blocks or stark fades, the soft ombré is characterized by a subtle, seamless, and cloud-like blend, typically moving from a light hue to a slightly deeper one, or from a color into a creamy nude or white.
This technique is the epitome of “quiet luxury” nail art: it’s meticulously crafted, incredibly flattering, and effortlessly sophisticated.
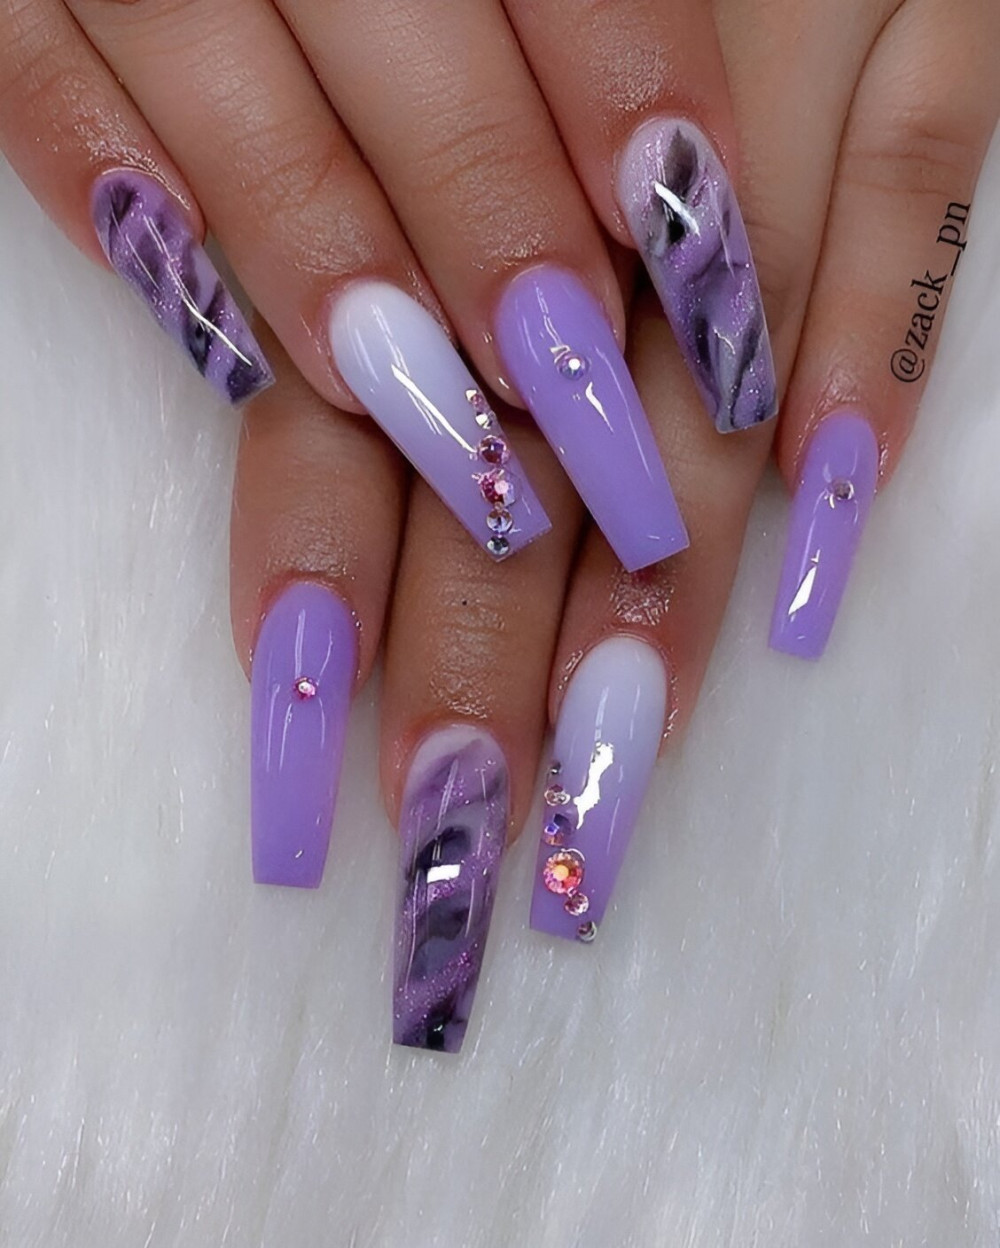
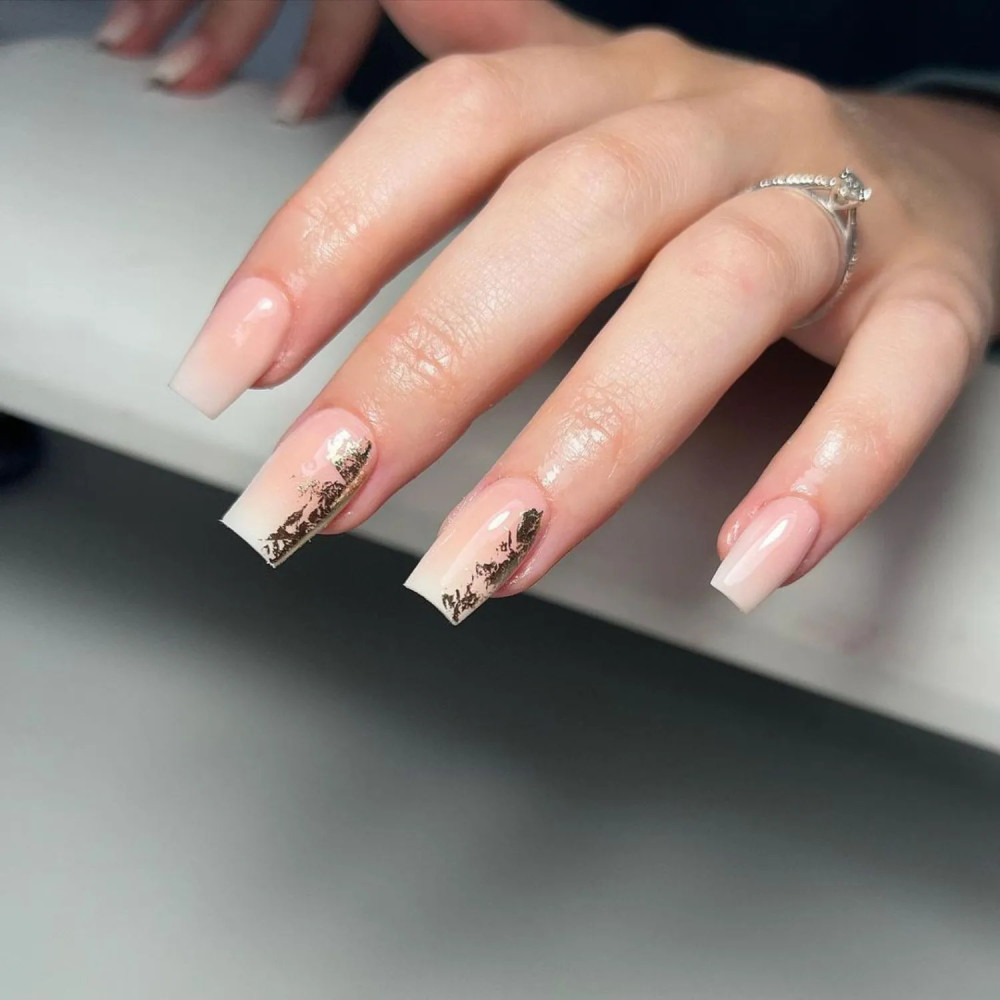
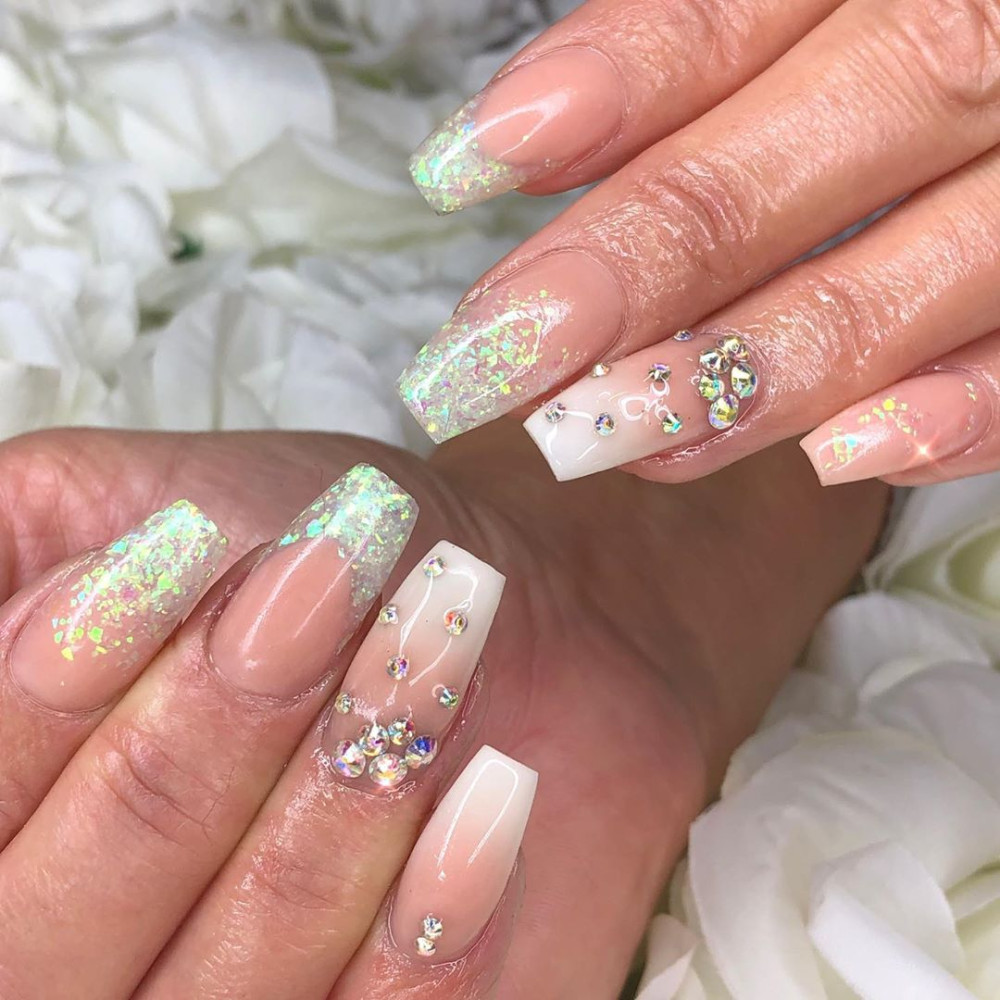
4.
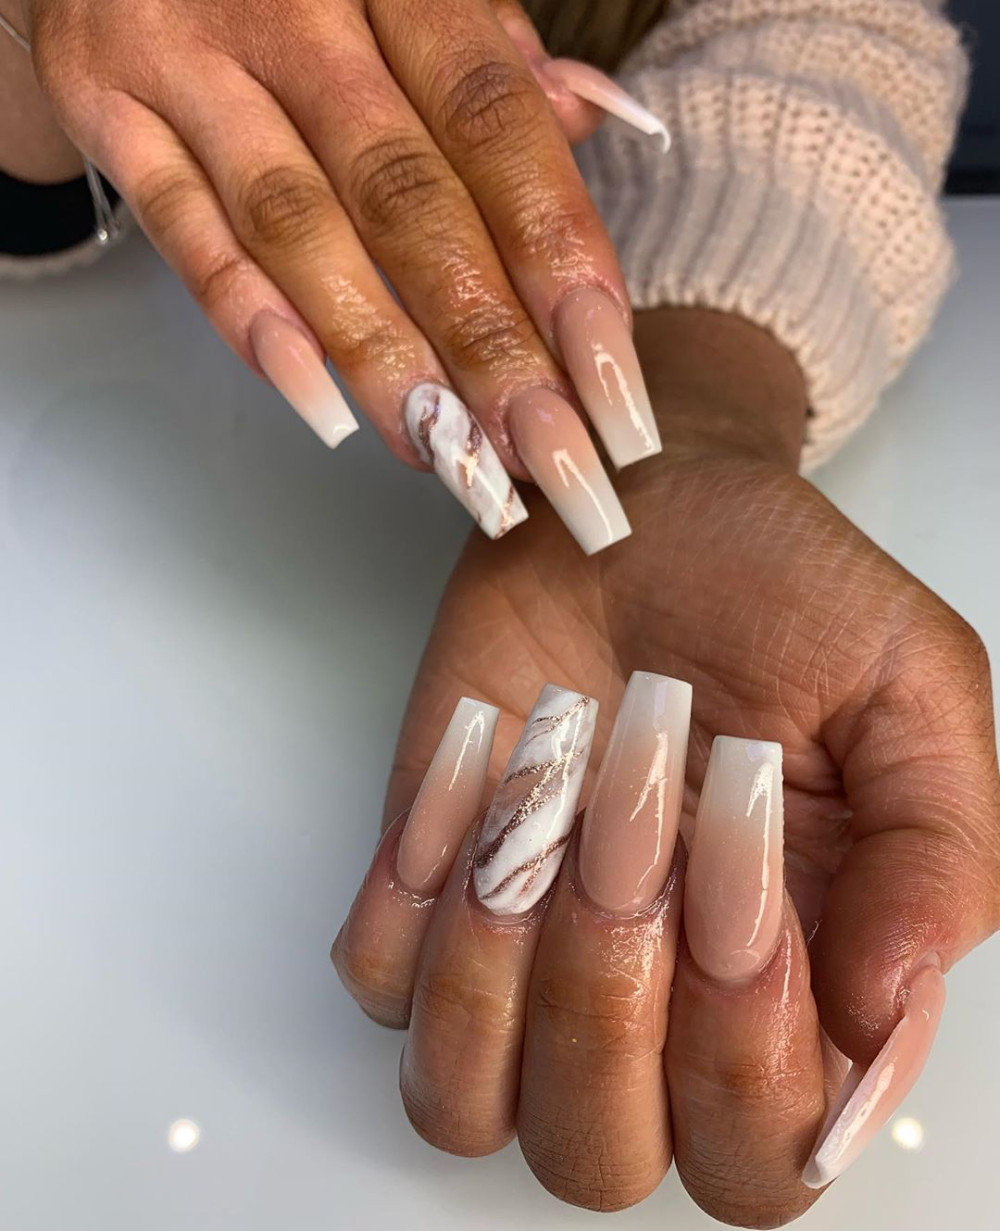
5.
6.
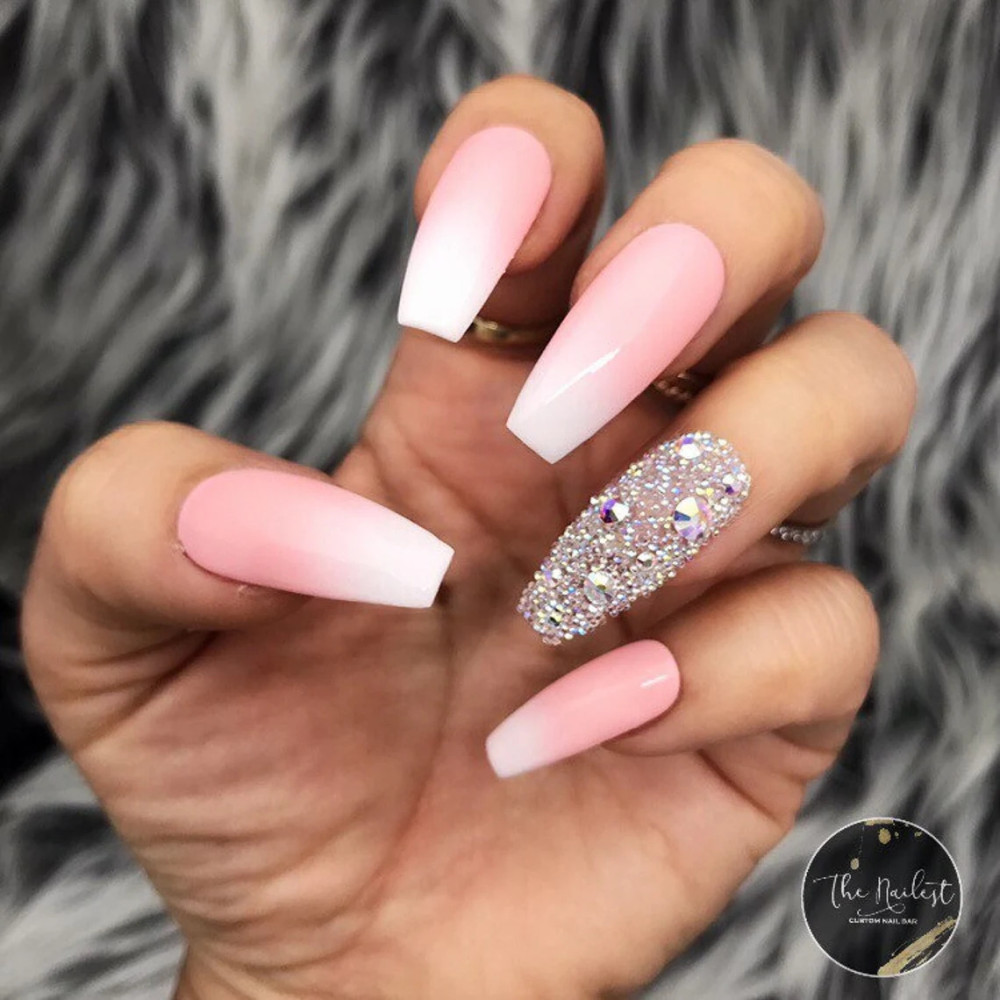
The unique charm of soft ombré lies in its ability to elongate the nail bed while adding a wash of artistic color that never feels overpowering.
It’s the perfect compromise for those who want design without the commitment of bold patterns.
7.
8.

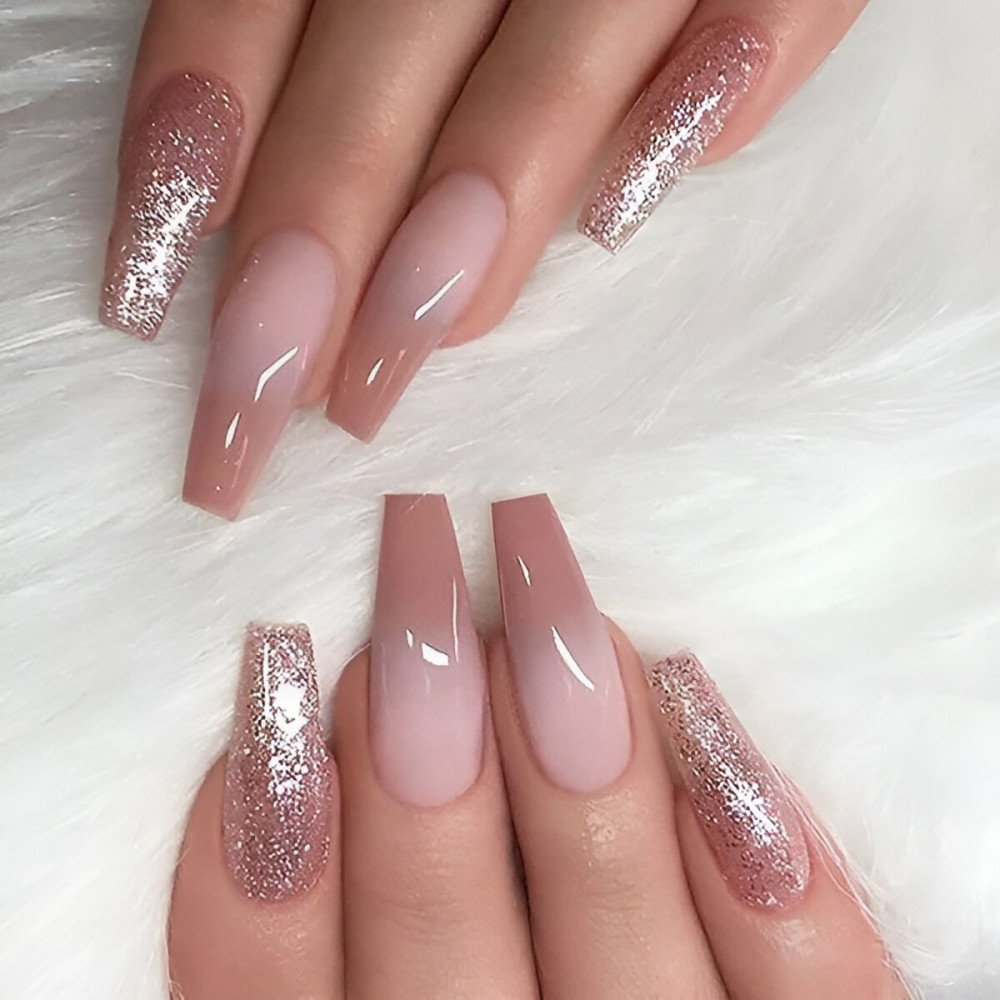
Whether achieved with classic baby pinks and whites or deeper, moodier jewel tones, mastering the soft ombré is about precision blending, making the final look appear almost airbrushed onto the nail.
This article explores the techniques and color pairings that elevate the soft ombré from a simple fade to a masterful manicure.
9.
10.
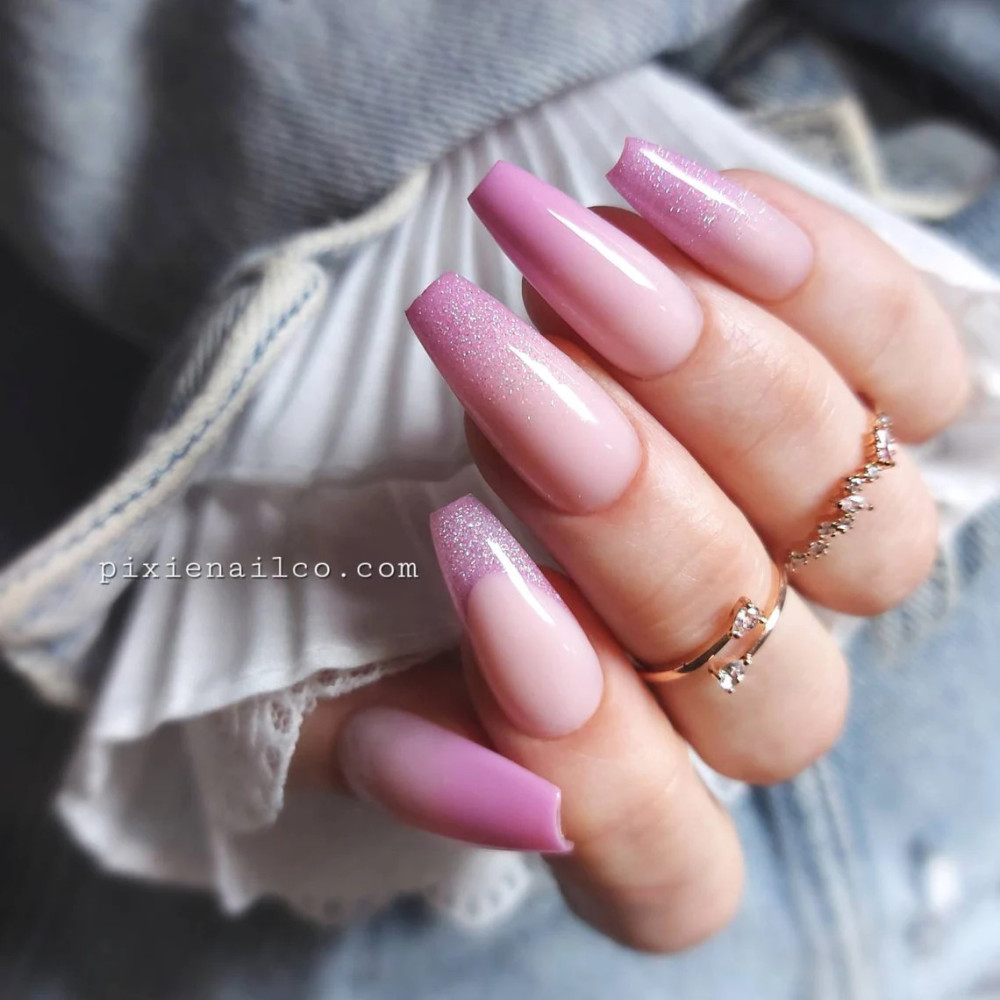
Why Soft Ombre Nails Endure
The soft ombré technique is a perennial favorite because it achieves a level of visual harmony and refinement that few other nail art styles can match.
The Elongation Effect
By starting with the lightest, often sheerest, color near the cuticle and fading into a darker shade at the tip, the soft ombré naturally draws the eye outward.
This clever visual trick elongates the nail bed and makes the fingers appear longer and more graceful, a highly sought-after effect, particularly on shorter or squoval nail shapes.
11.
12.
13.
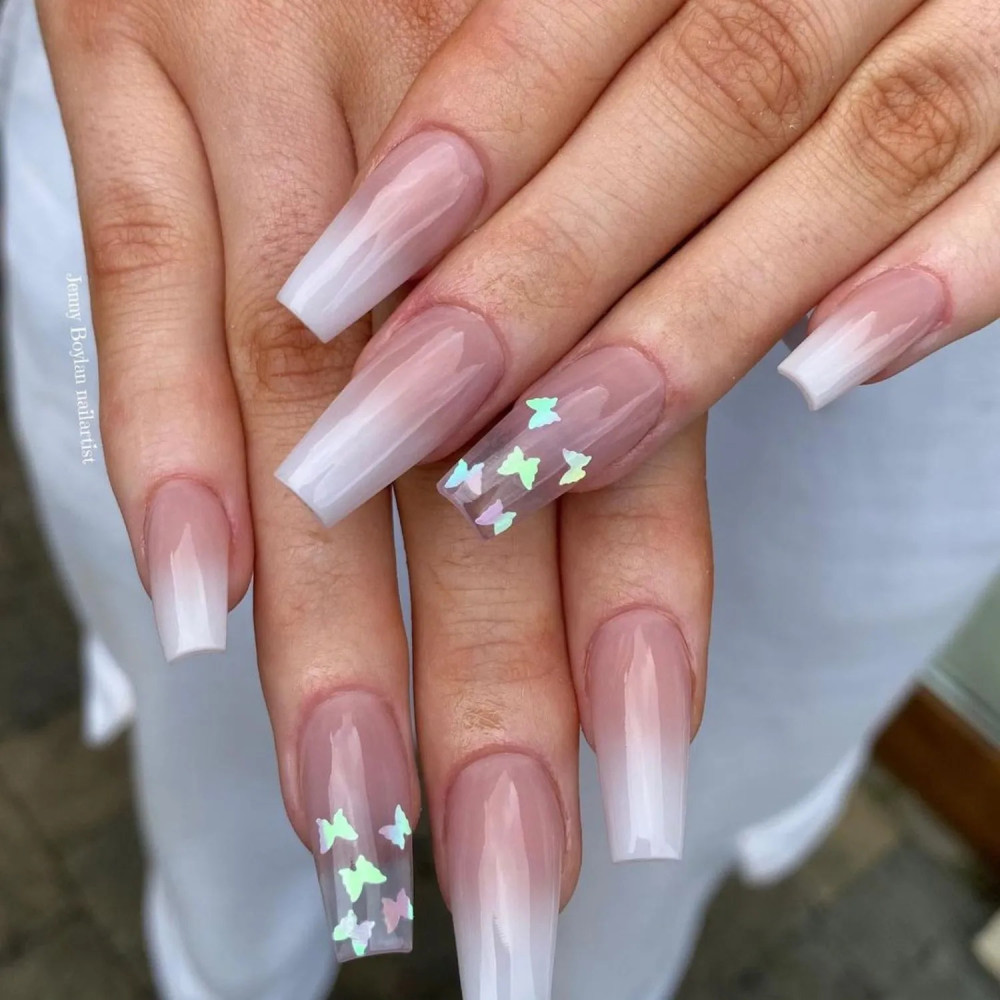
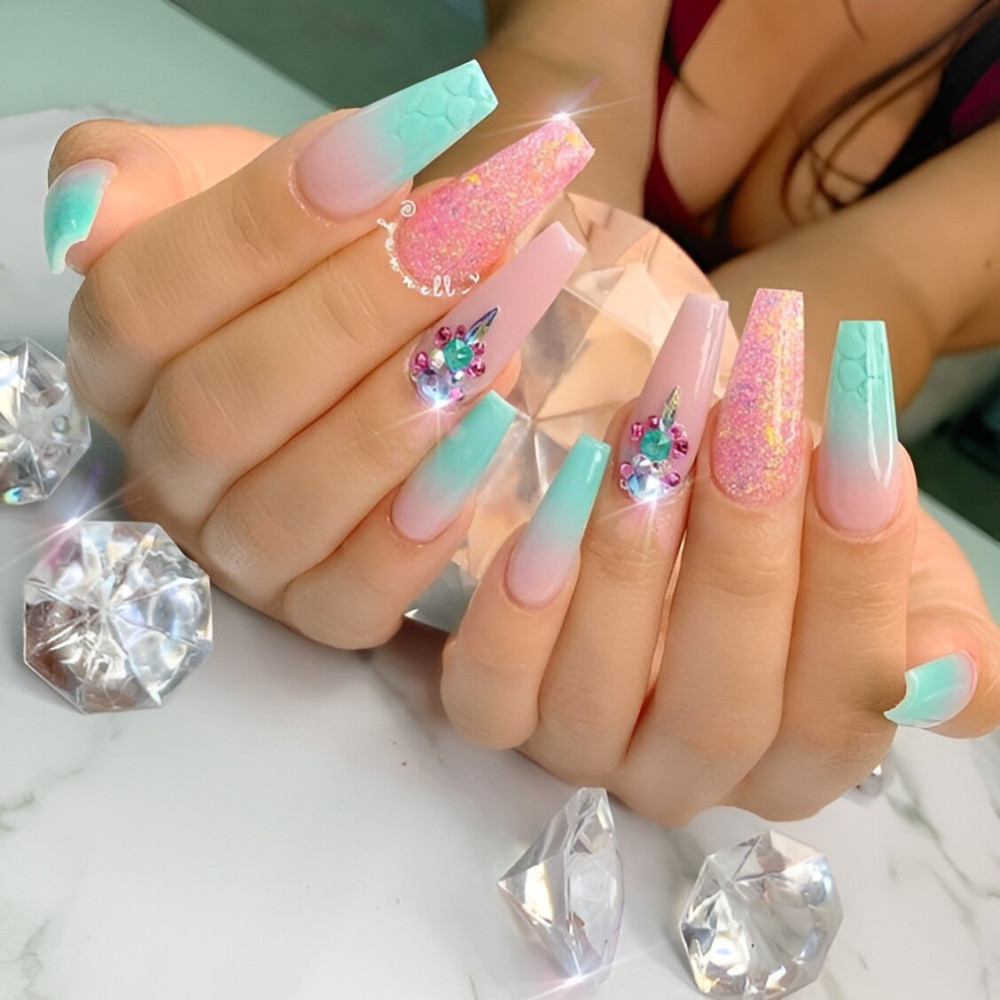
Versatility Across Shapes
Unlike designs that only suit long stiletto or coffin nails, the soft ombré looks equally stunning on all shapes:
- Almond/Oval: Enhances the natural elegance and curve.
- Squoval/Short: Creates the illusion of greater length.
- Coffin/Stiletto: Provides a large canvas for a more gradual, sophisticated blend.
14.
15.
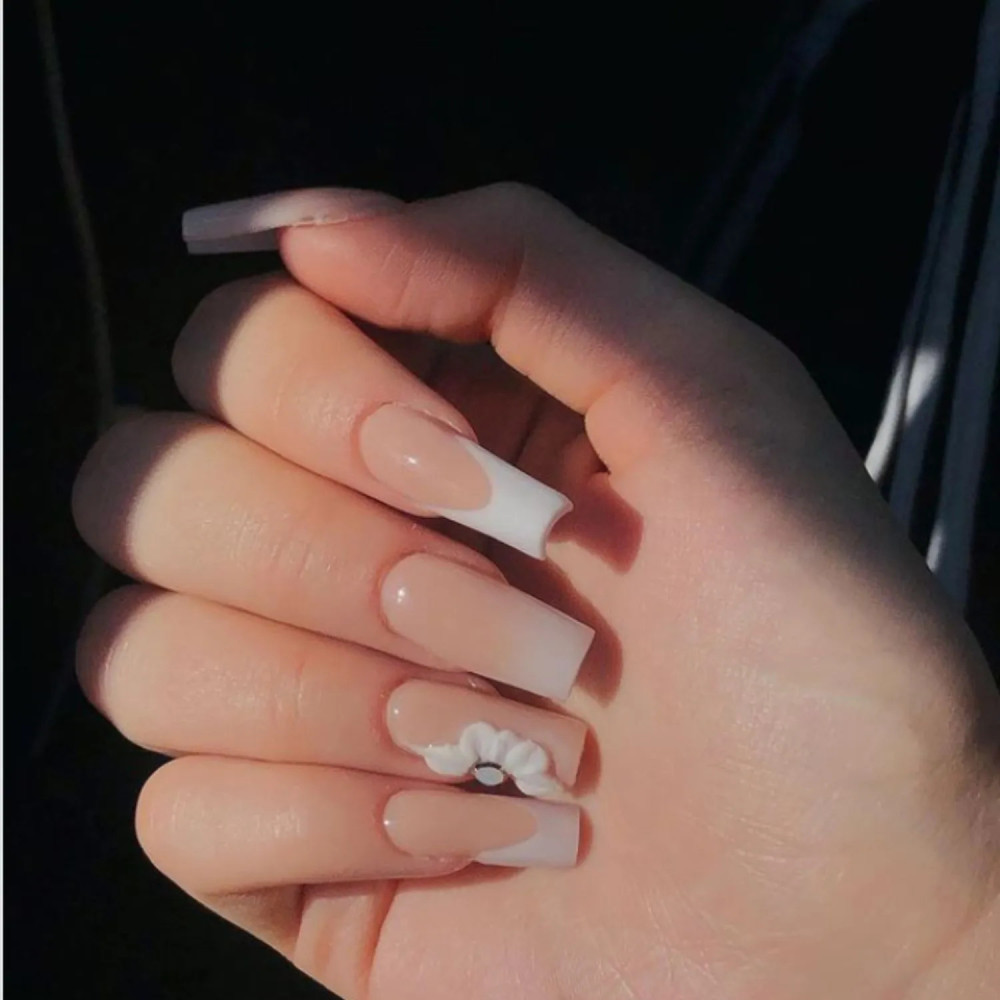
Low-Maintenance Growth
One of the most practical charms of the soft ombré is its seamless transition from the natural nail bed.
Because the design begins with a light or sheer color near the cuticle, the natural nail growth is far less noticeable than with a solid, opaque color.
This means the manicure looks polished for longer, extending the time needed between appointments.
16.
17.
18.
The Sponge Method
While airbrushing is the professional standard, the most effective DIY and salon technique for achieving a flawless soft ombré is the sponge method. This requires patience and thin layers.
Base Preparation
The Canvas: Apply a coat or two of the lightest color in your ombré design (often a milky white, sheer nude, or the pale version of your main color) to the entire nail.
Cure if using gel, or let dry completely if using lacquer. This ensures your final blend looks opaque.
19.
20.
21.
The Sponge Gradient
- Load the Sponge: On a piece of foil or a non-porous surface, paint a horizontal stripe of the lightest color next to a horizontal stripe of the darker color you wish to blend. The colors should touch slightly.
- Dabbing: Gently dab a makeup sponge or dense nail art sponge onto the painted stripes to pick up the gradient.
- Application: Lightly and repeatedly dab the sponge onto the nail. Do not wipe or press hard; use a light, bouncing motion. The goal is to apply the color in many sheer layers, not one thick coat.
22.
23.
24.
Building and Blending
- Repeat: Repeat the dabbing process 2-3 times, allowing the layer to dry or cure slightly between passes. With each layer, slightly move the sponge up and down the nail to ensure the meeting point of the two colors becomes smoother and softer.
- The Final Seal: Once the blend is perfect, apply a generous layer of high-gloss top coat. The top coat helps to further blur any remaining demarcation lines and seals the sheer layers into a smooth, glass-like finish.
25.
26.
27.
28.
29.
30.
31.
32.
33.
34.
35.