Sweet potatoes are hearty, delicious, and incredibly nutritious, making them a fantastic addition to your home garden. But what if you’re short on space or dealing with less-than-ideal soil conditions? Soil bags are your way to go. Growing sweet potatoes in soil bags allows you to control the soil quality, save space, and make the most of your growing area. Plus, when it’s time to harvest, you’ll be amazed at the abundance of sweet, homegrown goodness you can enjoy.
1. Time And Location To Grow
Selecting the right time and location is crucial for sweet potato success. Sweet potatoes thrive in warm weather, so the key is to choose a sunny spot in your garden or on your balcony where they’ll get at least 6-8 hours of sunlight daily.
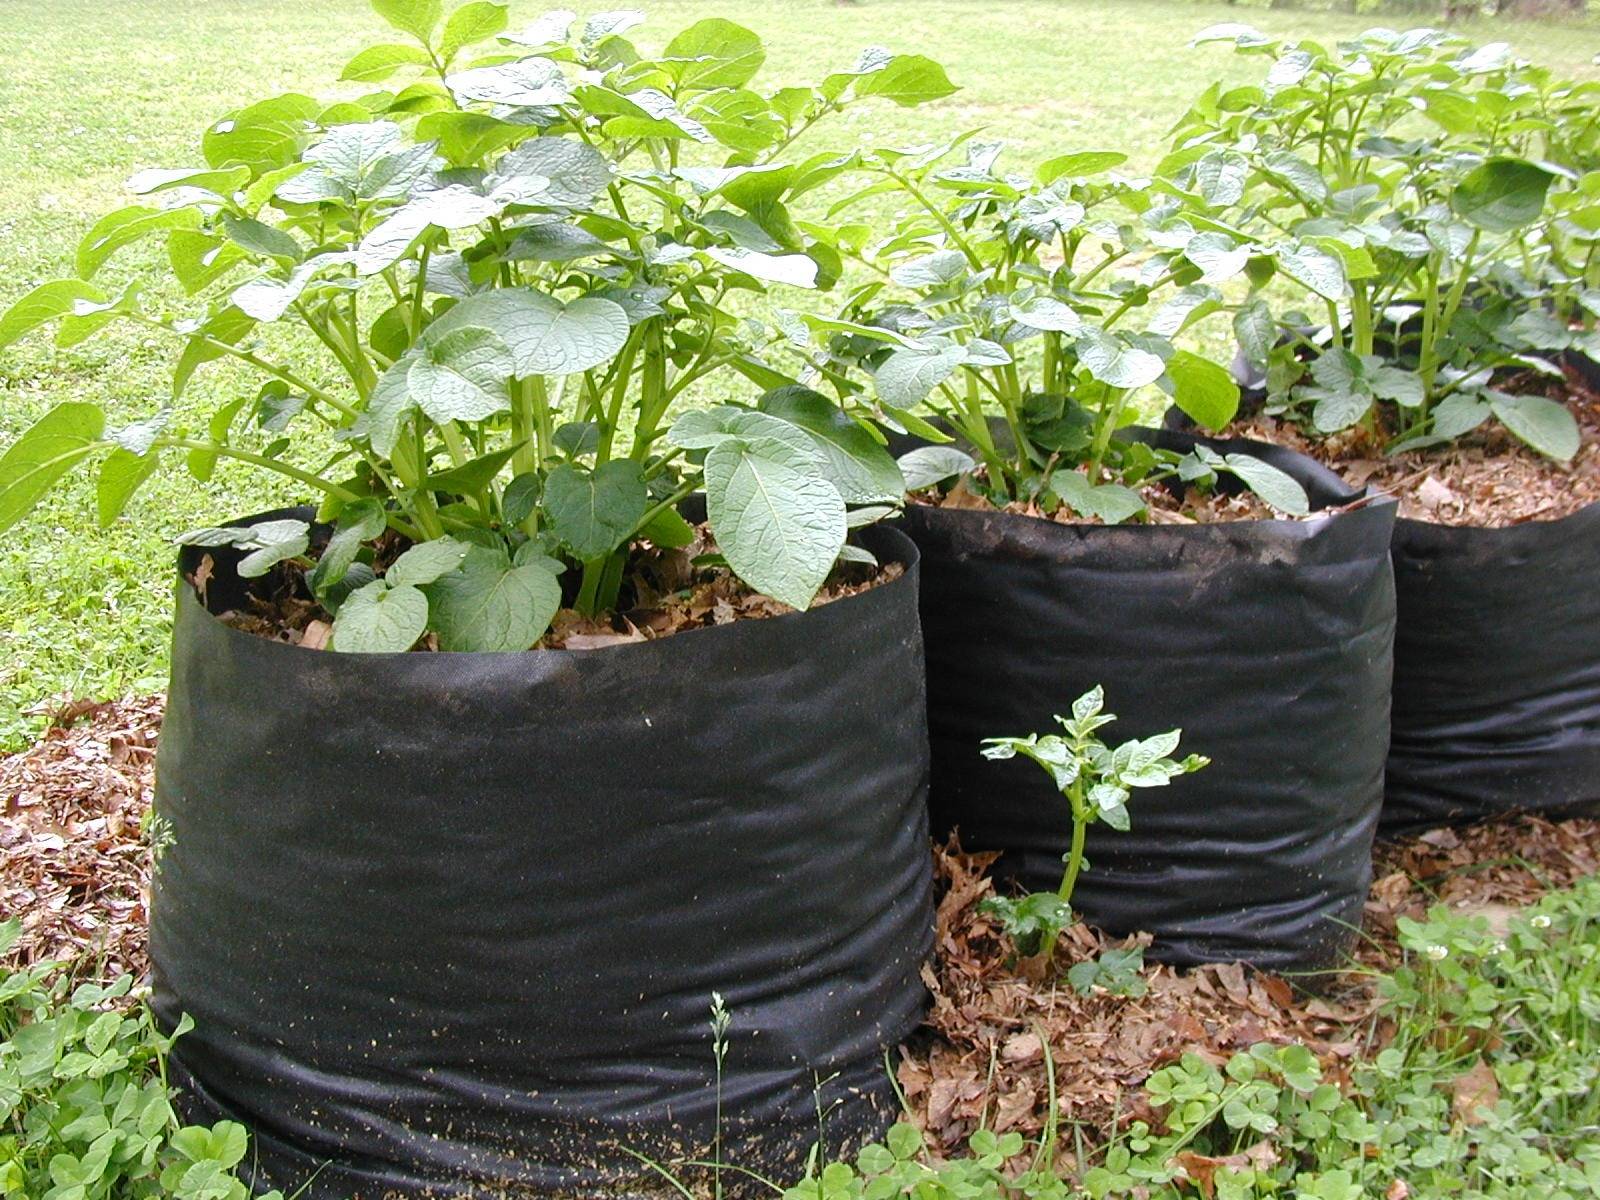
In terms of timing, sweet potatoes are typically planted after the last frost date in your region. This is usually in late spring or early summer, but be sure to check your local climate and frost dates for accuracy. When the soil has warmed up and the threat of frost has passed, it’s time to dive in.
2. Preparing The Soil Bag
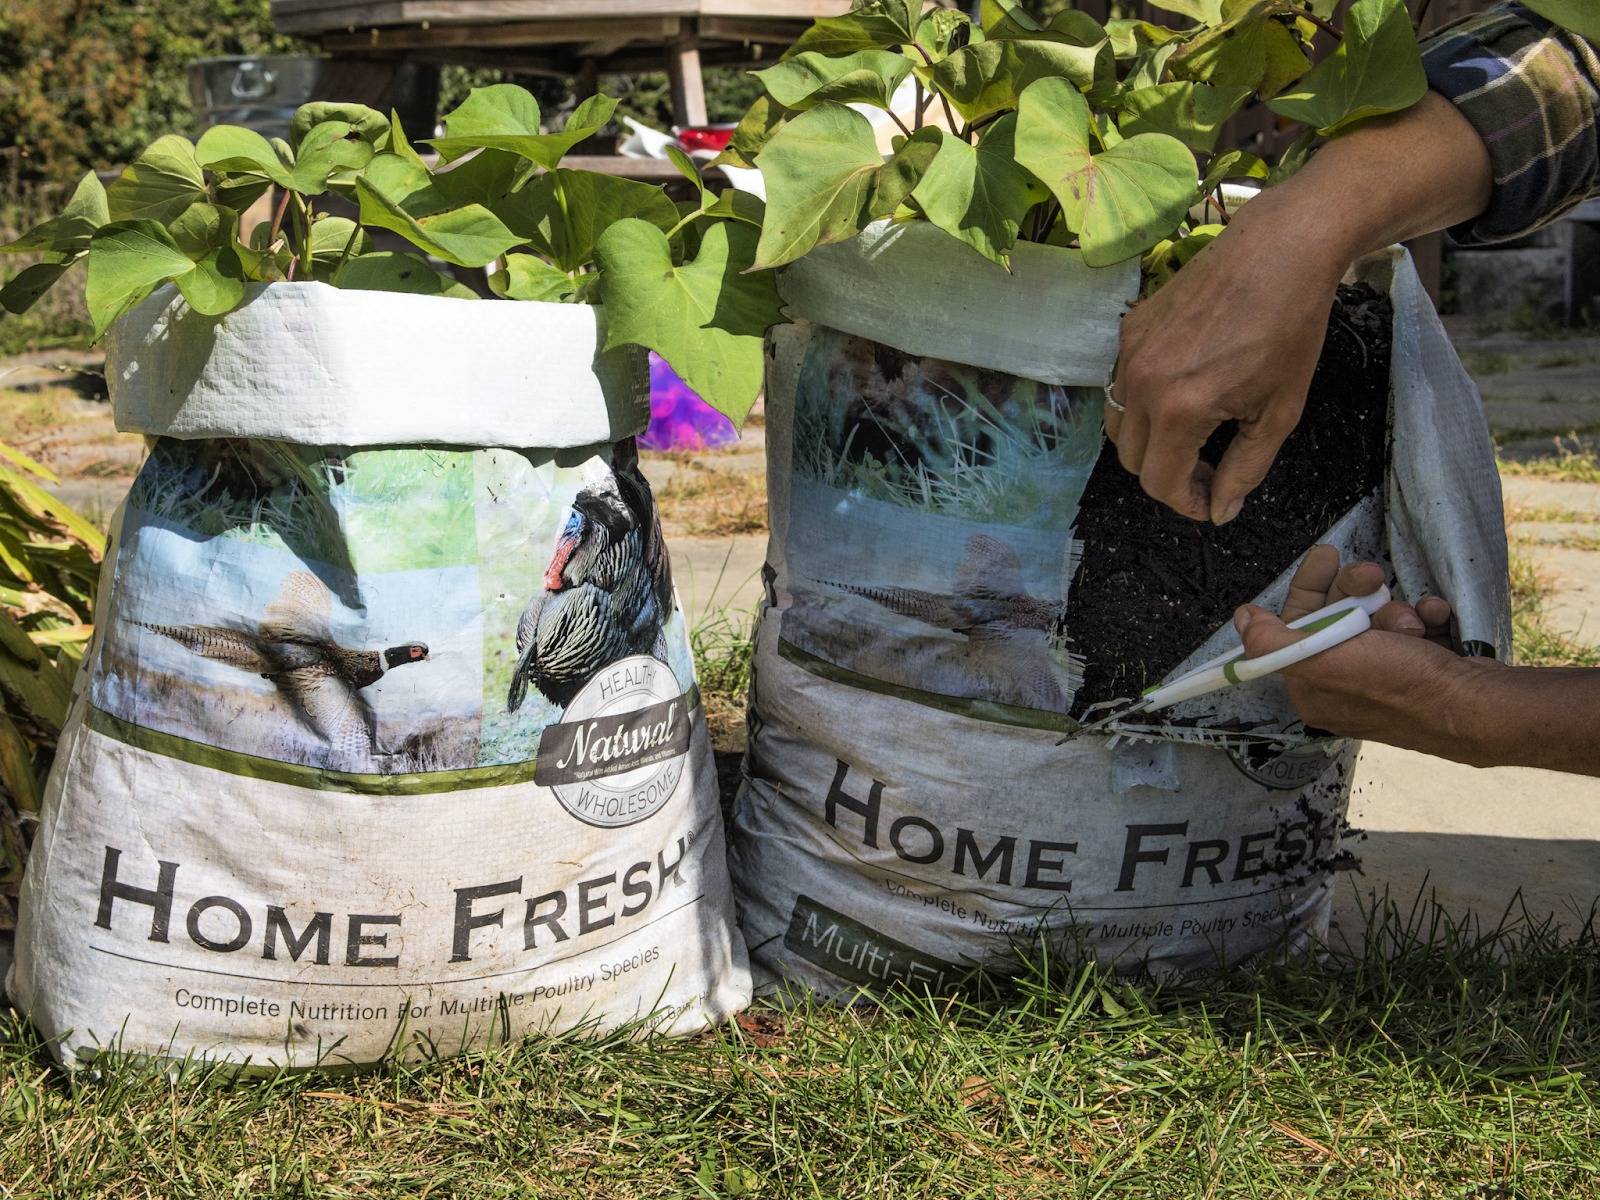
Start by selecting a large, sturdy soil bag or container for your potatoes. Sweet potatoes need space to spread their roots, so a bag with a minimum capacity of 20-30 gallons is ideal. Make sure your bag has drainage holes at the bottom to prevent waterlogged soil.
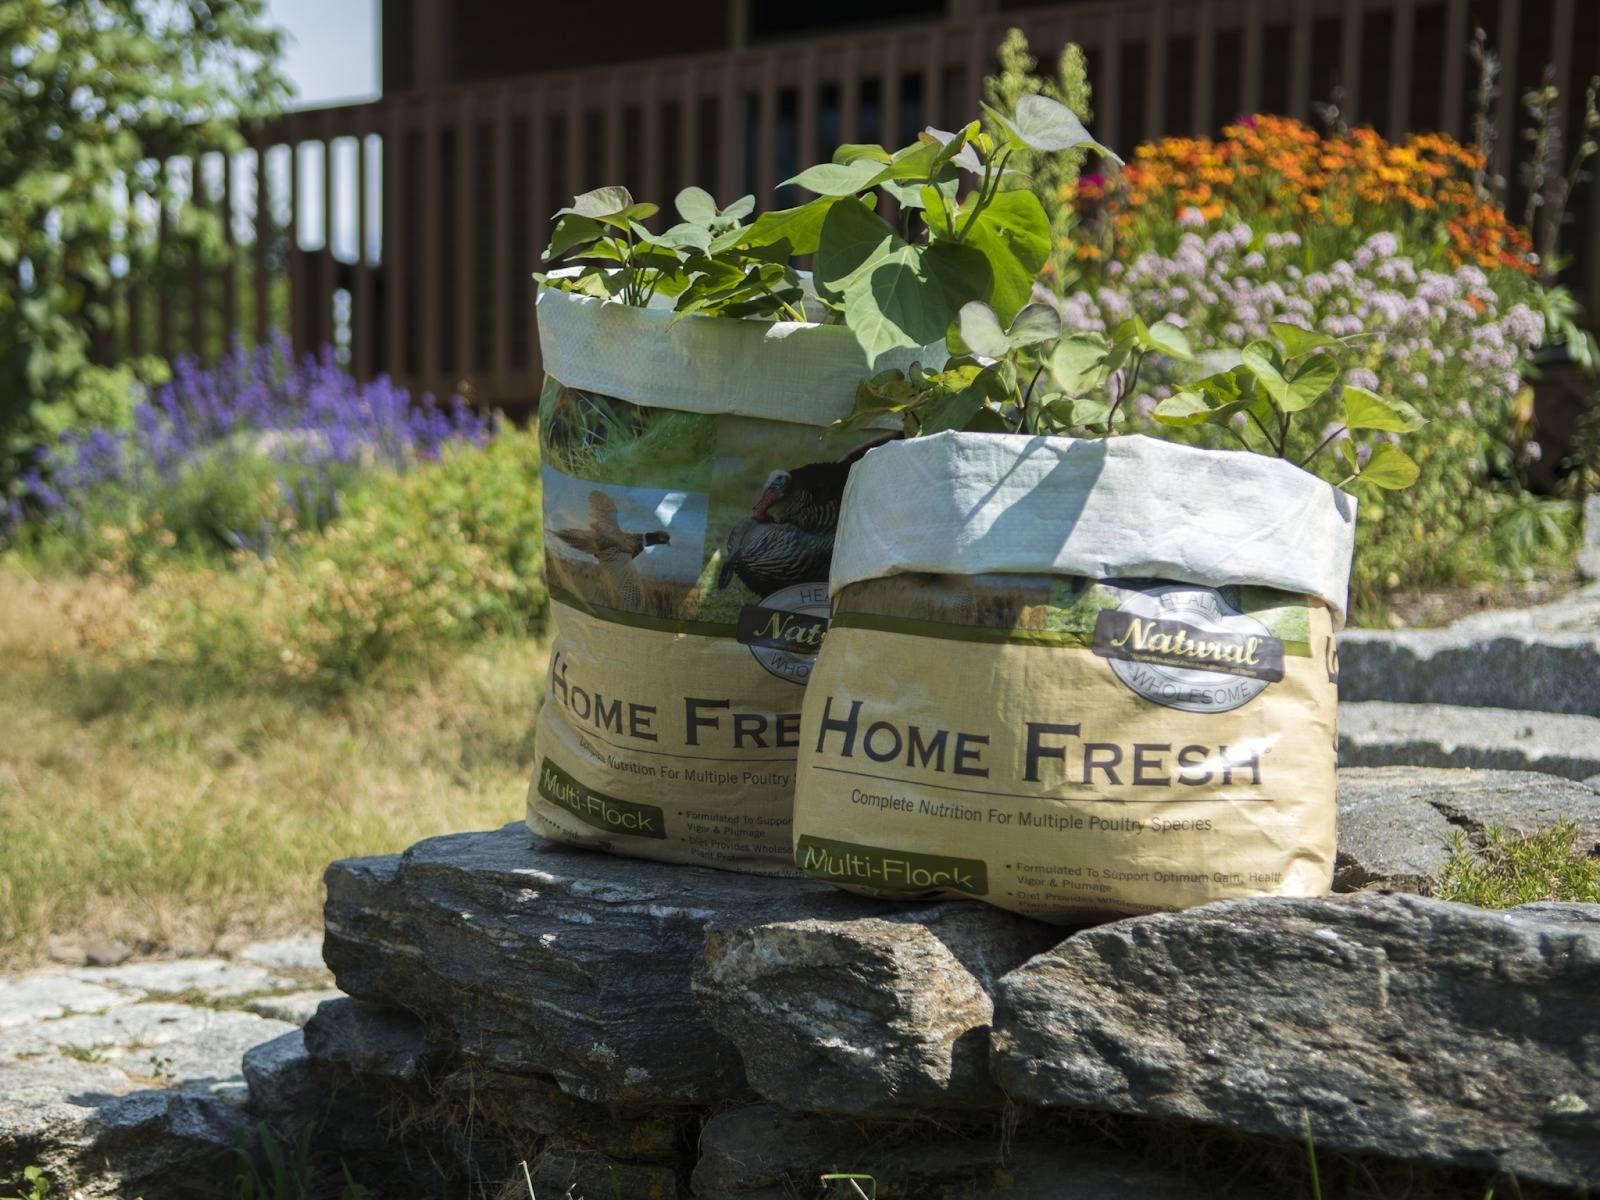
Next, choose a high-quality potting mix or create your own well-draining, loose, and slightly acidic soil by mixing garden soil with compost and sand. Fill the bag about one-third full and water it well, ensuring the soil is evenly moist but not soggy.
3. Planting Sweet Potatoes In Soil Bags
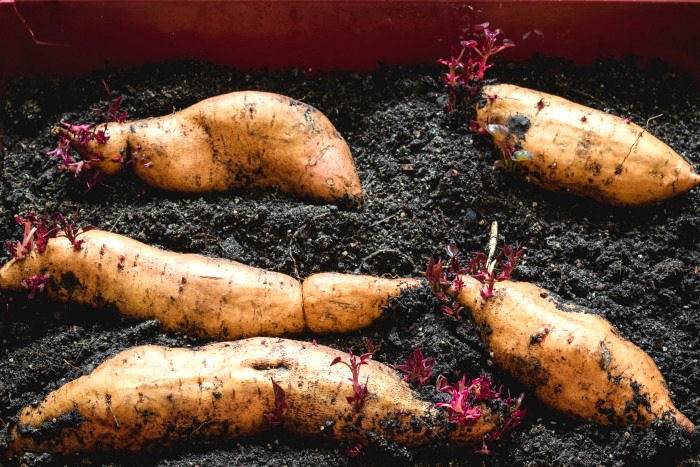
Now, it’s time to get those sweet potato slips or vine cuttings ready. These are young plants that will grow into your sweet potato crop. Plant them about 3-4 inches deep in the soil, leaving about 12-18 inches between each plant. Sweet potato vines can spread quite a bit, so make sure you give them some elbow room.
4. Taking Care Of Sweet Potatoes
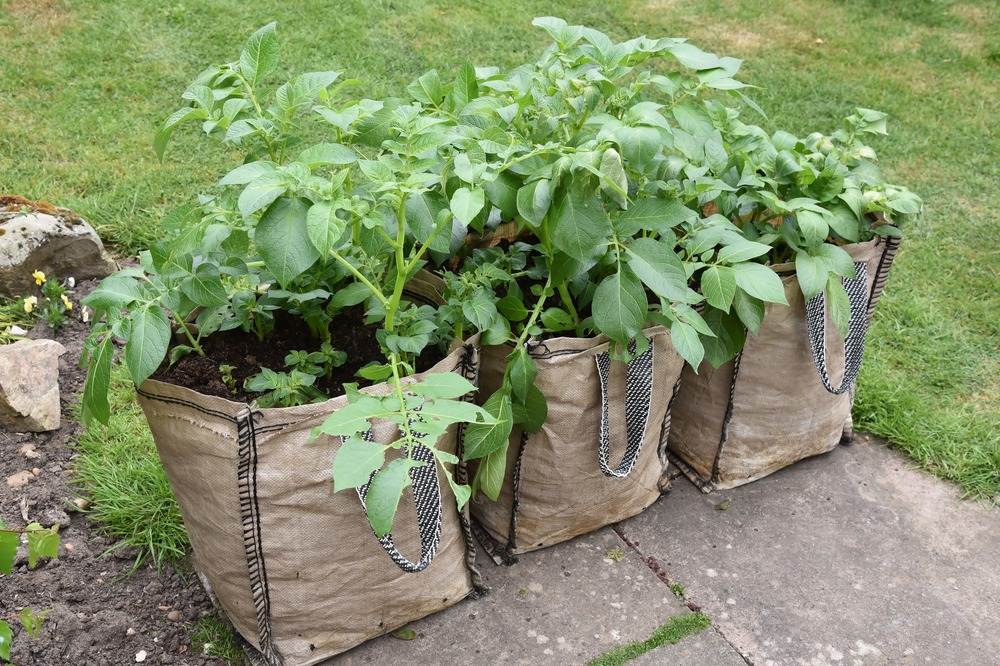
Sweet potatoes are relatively low-maintenance, but they do appreciate consistent care. Sweet potatoes require at least 1 inch of water per week, especially in the middle of summer. You can reduce watering 2 to 3 weeks before harvest to prevent cracking of the sweet potato skin, which can lead to storage issues.
Fertilize them with a balanced, all-purpose fertilizer every 4-6 weeks during the growing season. Remember to avoid nitrogen fertilizer, which promotes plant growth while decreasing root output. Organic fertilizers, such as seaweed fertilizer, can be blended with water and put into your potting soil monthly.
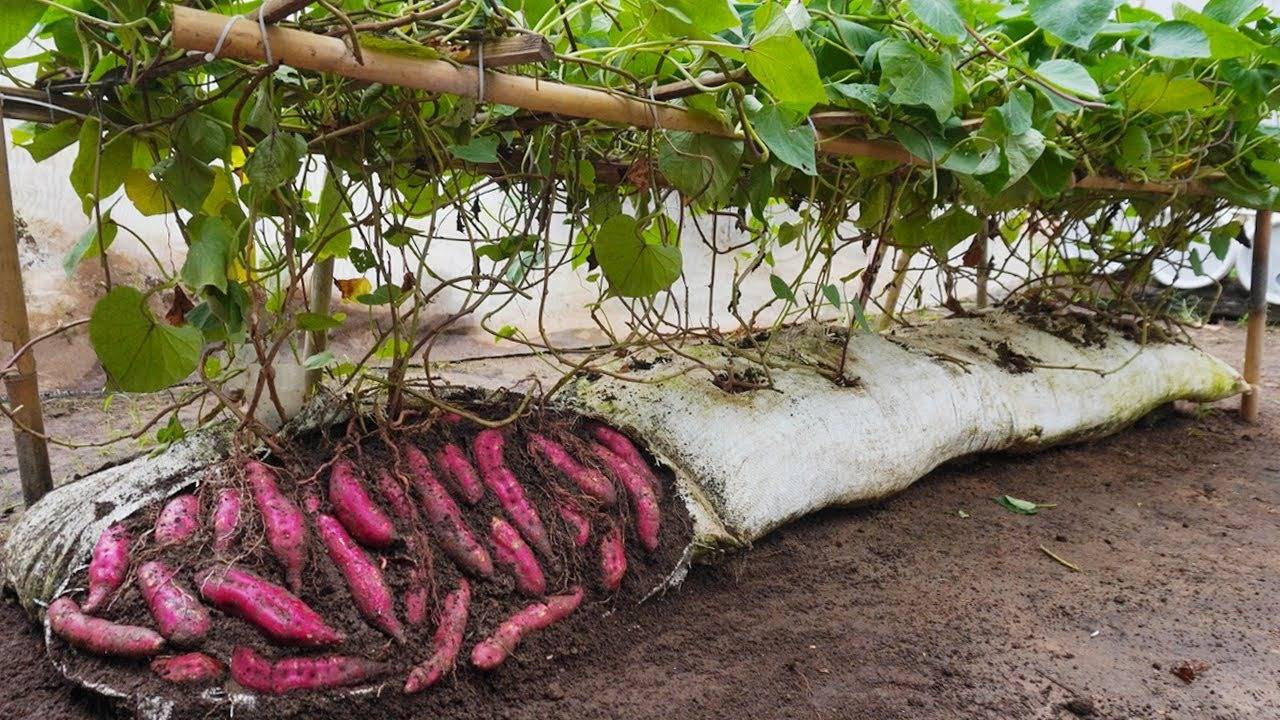
Sweet potatoes are known for their vigorous vines, which can be encouraged to spread out or be trained upward for more compact growth. Thus, it’s essential to prune any dead or yellowing leaves to promote airflow and reduce the risk of disease.
5. Harvesting
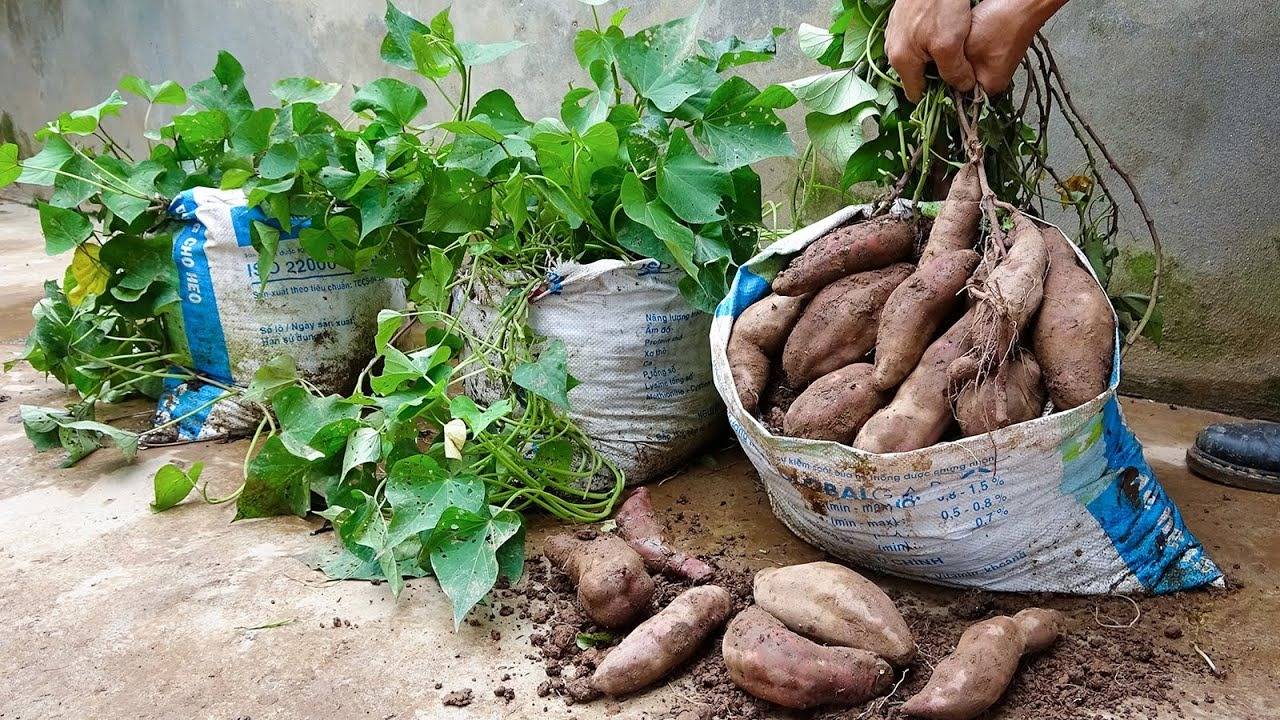
Sweet potatoes are typically ready to harvest 3-4 months after planting, usually in the fall. When harvesting, gently dig around the base of the plant to locate your sweet potato treasures. Be careful not to damage the tubers during harvest.

Once you’ve unearthed your sweet potatoes, let them cure in a warm, dry place (around 80-85°F or 27-29°C) for about 10-14 days. This process allows the sweet potatoes to develop their full flavor and sweetness. After curing, store them in a cool, dark place, and enjoy your homegrown sweet potatoes all year round.
Growing sweet potatoes in soil bags offers an efficient and space-saving way to enjoy this delectable root vegetable, no matter your gardening setup. All you have to prepare is some proper care and a sunny spot to enjoy the pleasure of harvesting your very own delectable sweet potato delights.
