Are you eager to enjoy the satisfaction of harvesting your own delicious potatoes, but lack the space or resources for a full-scale garden? Welcome to the Easy and Cheap Way to Grow Potatoes in a Bag, a remarkable method that allows you to cultivate a plentiful potato harvest right at home. With this innovative and budget-friendly solution, you’ll discover how to transform even the tiniest spaces into thriving potato fields.
In this guide, we’ll reveal the secrets to a successful potato crop that’s accessible to everyone, making homegrown potatoes a hassle-free delight for all aspiring gardeners. Say goodbye to traditional gardening challenges and hello to homegrown spuds with this simple, yet fruitful method.
Gather Supplies
Gathering the materials you need to grow potatoes in bags is simple. Once these materials are in hand, you’re ready to start growing potatoes in bags!
 Source: 1millionideas
First, select a suitable potato grow bag or large container with good drainage. You’ll also need healthy seed potatoes from a reputable source, choosing varieties that suit your climate. Prepare a well-draining soil mix using garden soil, compost, or coir. Ensure you have access to a balanced, slow-release fertilizer for later use.
Keep a small garden tool or your hands ready for planting such as a sharp knife, scissors, plastic bottles (1 or 2-liter size), heat tool to drill holes. Choose suitable locations to place the bags where your potato plants will receive adequate sunlight for healthy growth.
Choose a Location
Select a suitable location for growing potatoes in a bag. Look for a sunny spot that receives at least 6-8 hours of sunlight daily. Ensure good drainage to prevent waterlogging, as potatoes dislike standing water.
 Source: Screenshot/ Youtube
Accessibility is key, so choose a location that allows easy access for planting, watering, and monitoring your potato bag. A convenient location will make the entire growing process smoother and more enjoyable.
Prepare Bags
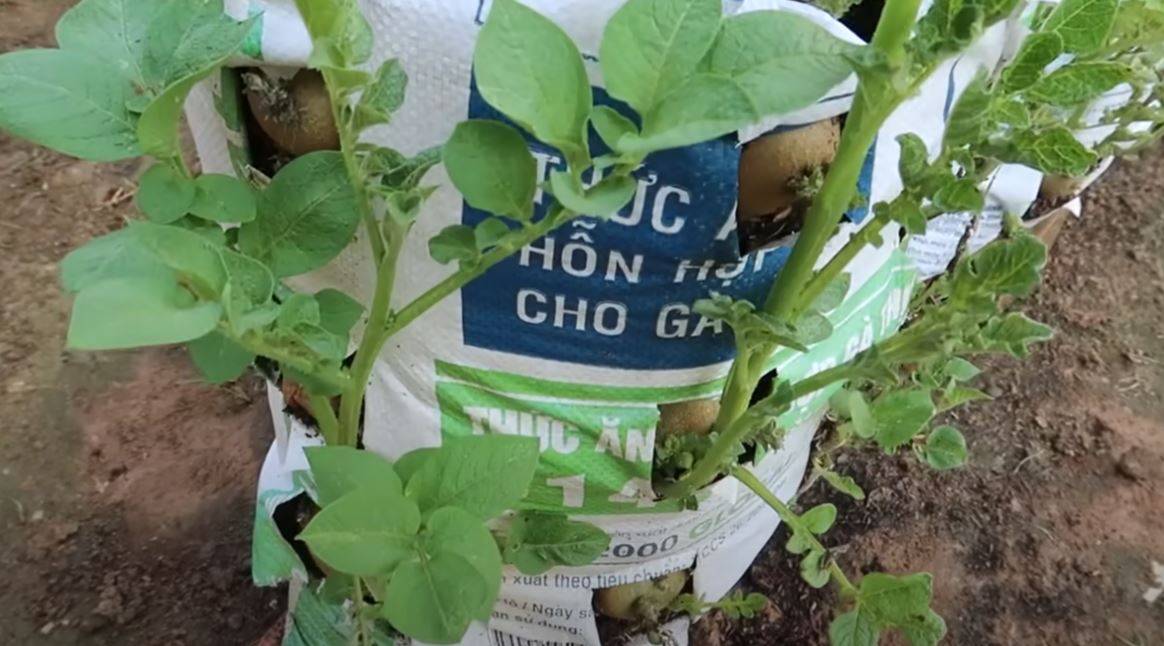
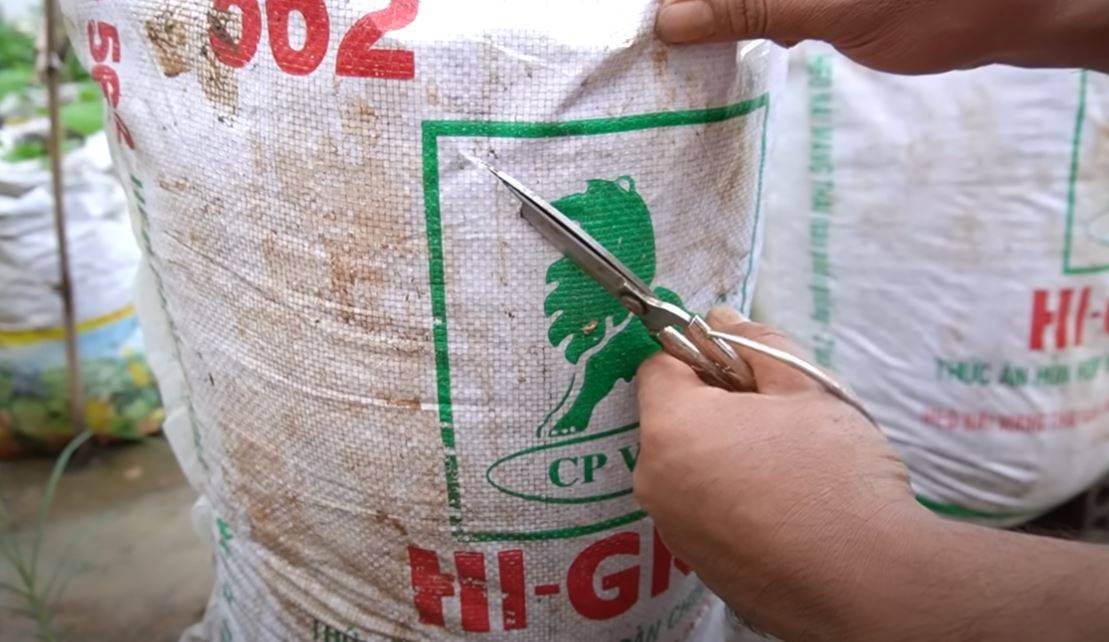
Prepare your bags for growing potatoes with these simple steps. First, ensure your grow bags have proper drainage by poking a few holes in the bottom. Place the bags in a sunny location with 6-8 hours of sunlight daily. Fill each bag with a few inches of high-quality potting soil to create a sturdy base for your potatoes. Use scissors to cut moderate holes to put the seed potatoes into.
 Source: Screenshot/ Youtube
Now, you’re ready to plant your seed potatoes or potato seedlings. Space them evenly on top of the soil, about 3-4 inches deep. Cover the potatoes with more soil, leaving about 2 inches of space at the top of the bag for growth.
Prepare Self-watering Systems Using Plastic Bottles
This self-watering system with plastic bottles will help maintain consistent moisture levels for your potatoes and is a fantastic solution for limited space or for gardeners looking to simplify their potato growing process.
 Source: Screenshot/ Youtube
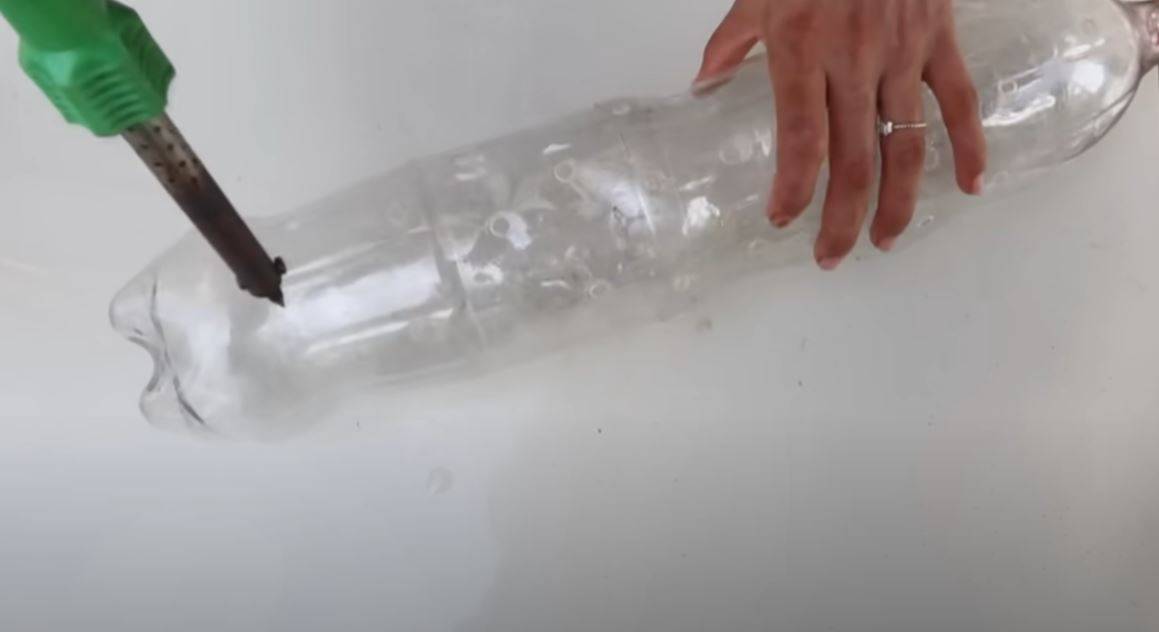
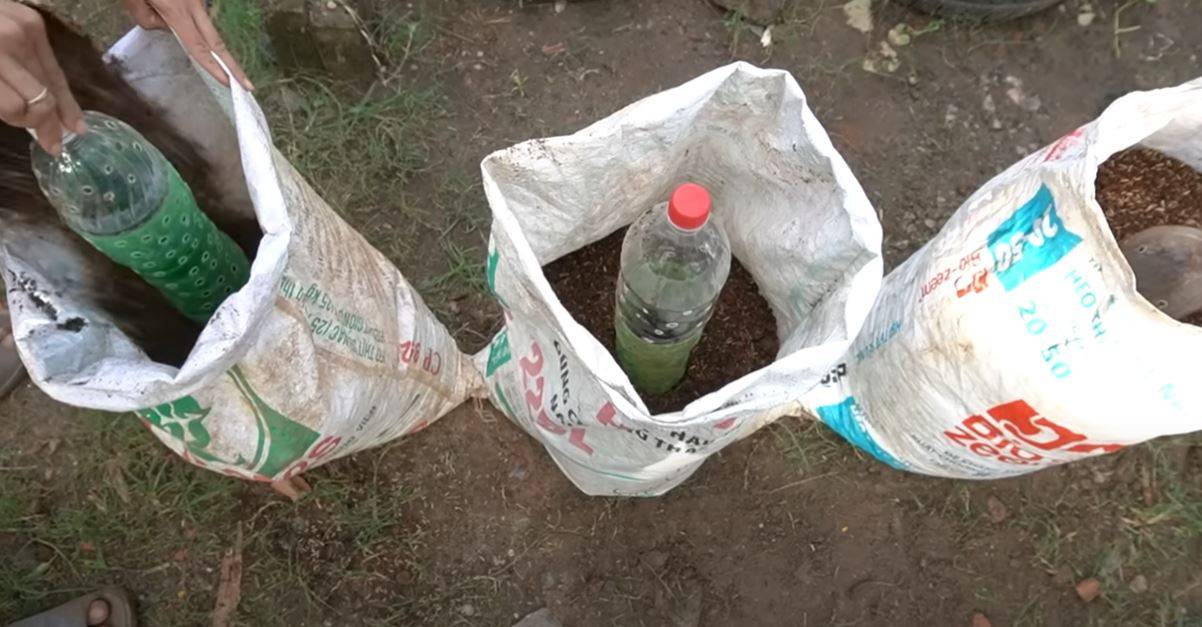
Start by cleaning and rinsing the plastic bottles thoroughly. Remove the labels and caps from the bottles. Using a utility heat tool to drill holes, carefully cut off the top of each bottle. These will act as reservoirs for the self-watering system. Then, Position the prepared plastic bottles vertically inside the bag, spaced evenly. Ensure that the open ends of the bottles are facing upwards.
 Source: Screenshot/ Youtube
Organic Fertilizer from Kitchen Waste
Creating organic fertilizer from kitchen waste is an eco-friendly way to recycle nutrients and enrich your planting soil. By following these combined steps, you can create your own self-watering potato-growing system and nourish your potato crop with homemade organic fertilizer.
 Source: Screenshot/ Youtube
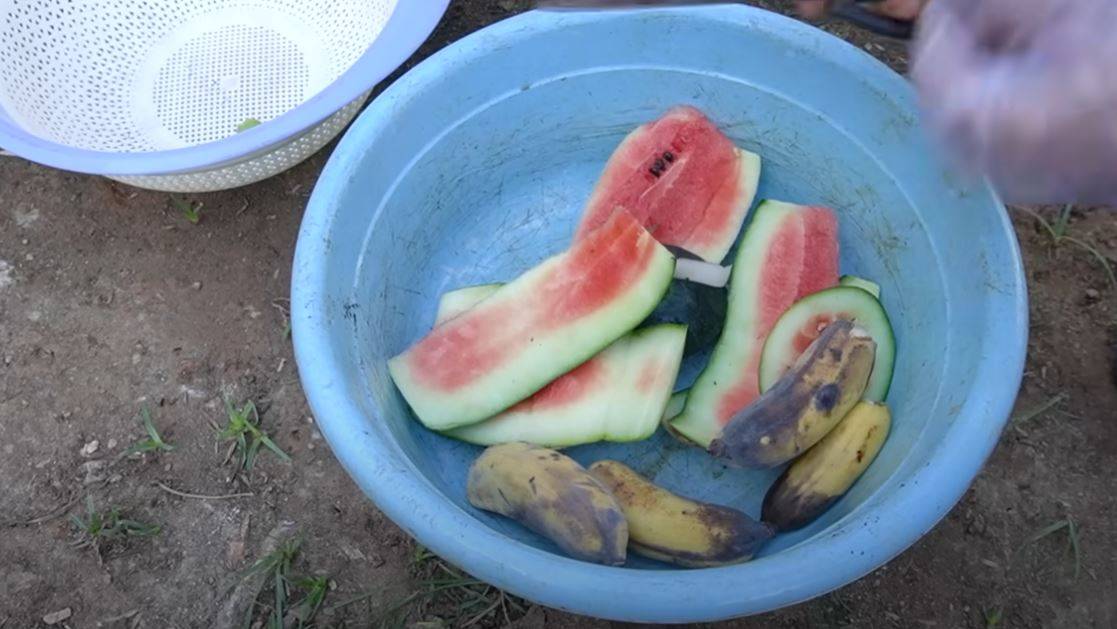
Start by collecting kitchen scraps that are suitable for composting. These include fruit and vegetable peels, coffee grounds, tea bags, eggshells, and non-greasy leftovers. Avoid adding meat, dairy, or oily items as they can attract pests. Cutting the kitchen wastes into small pieces, then filling them into self-watering systems.
Prepare Potting Soil
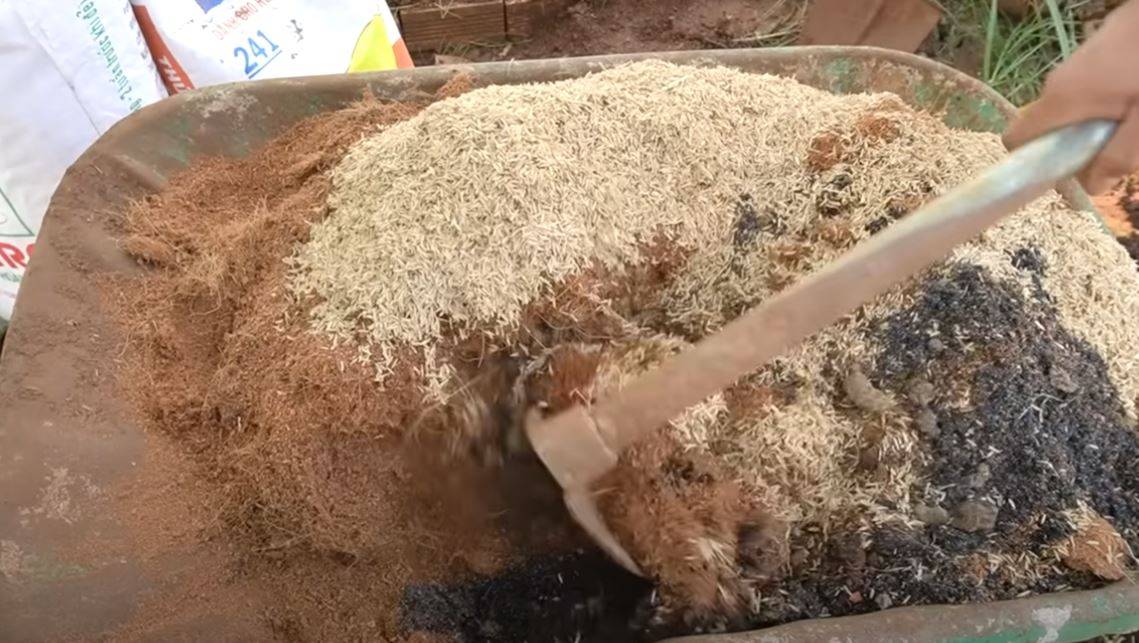
The ideal potting soil mix for growing potatoes in a bag includes soil, ash, rice husk, and coir. Begin with a base of high-quality garden soil. Add some ash to enhance the soil’s alkalinity, as potatoes prefer slightly acidic to neutral soil. Mix in rice husk to improve soil aeration and drainage, preventing waterlogged roots.
 Source: Screenshot/ Youtube
Finally, incorporate coir or ash to boost moisture retention and provide essential nutrients. Aim for a balanced blend that offers good drainage, aeration, and moisture retention. Once your custom potting mix is ready, fill your potato grow bags or containers and proceed with planting your seed potatoes or potato seedlings.
Chitting Potatoes
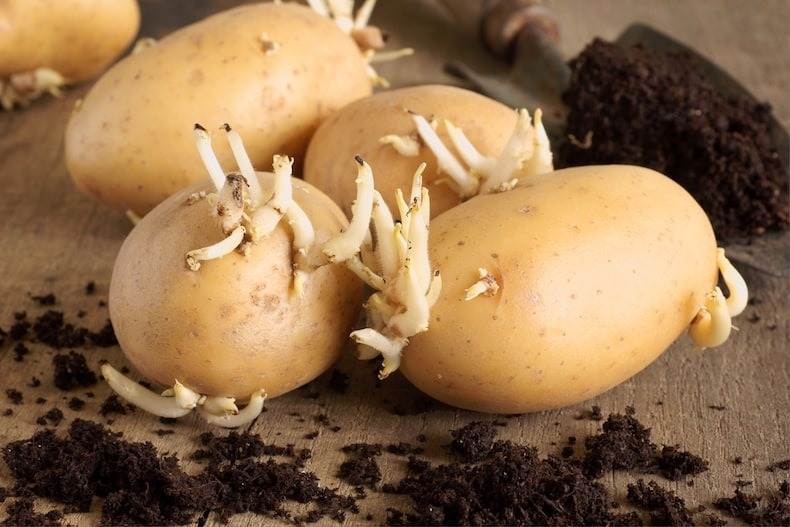
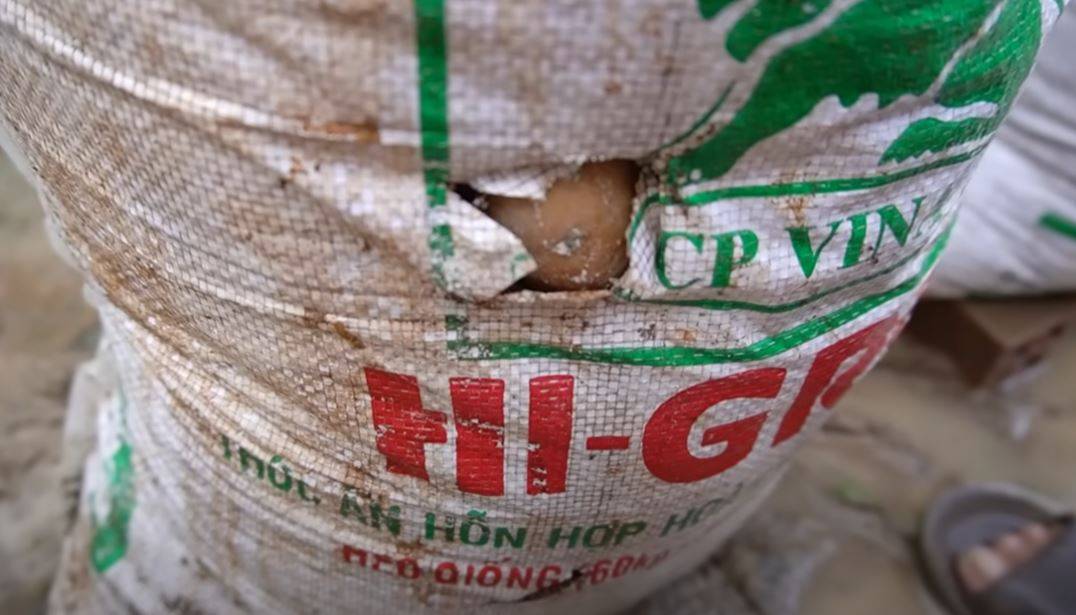
Before you plant your potatoes, it’s essential to let them sprout, this process is also called ‘chit’. All you have to do is allow the potatoes to grow some shoots, and this will result in a larger potato harvest.
 Source: Screenshot/ Youtube
Place the seed potatoes in egg cartons and put them in a well-lit and cool area that’s free from frost. Adequate light is important, so putting your potatoes on a windowsill on a porch or outside in a glass greenhouse is the perfect spot for letting them sprout.
Prepare Seed Potatoes
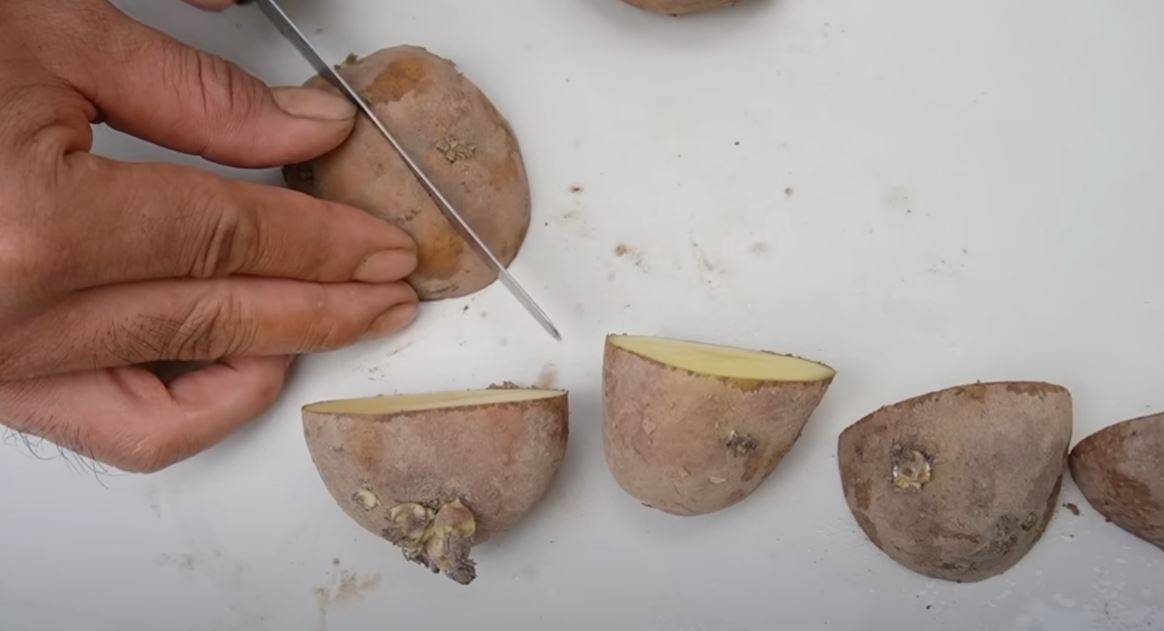
Using a clean knife, cut them into chunks, ensuring that each piece contains at least one eye or sprout. These sprouts are essential for new growth. Allow the cut pieces to air dry for a day or two; this helps to form a protective layer that prevents rotting.
 Source: Screenshot/ Youtube
Once dried, your seed potatoes are ready for planting. Ensure that each chunk is sizable enough to encourage robust potato plant development. Properly prepared seed potatoes will give your plants a strong start and lead to a successful harvest.
Plant Seed Potatoes
Fill your grow bags with a few inches of well-prepared potting soil, creating a sturdy base. Now, place your seed potatoes evenly spaced on each hole around the bag, about 3-4 inches deep.
 Source: Screenshot/ Youtube
Make sure each seed potato chunk has at least one eye or sprout for growth. After positioning them, cover the seed potatoes with more soil, leaving about 2 inches of space at the top of the bag for growth. Water thoroughly to moisten the soil but avoid overwatering.
Cover with Soil
To ensure successful potato growth in your bag, cover the seed potatoes with a layer of soil. After placing the seed potato chunks evenly on top of the base soil, add enough soil to completely cover them.
 Source: Screenshot/ Youtube
Leave about 2 inches of space at the top of the bag to accommodate the growing plants. This layer of soil helps protect the seed potatoes, provides them with the necessary nutrients, and encourages healthy growth. Properly covering the seed potatoes sets the stage for a successful potato crop in your bag.
The Right Way of Watering
Proper watering will promote healthy potato growth and lead to a successful harvest in your bag.
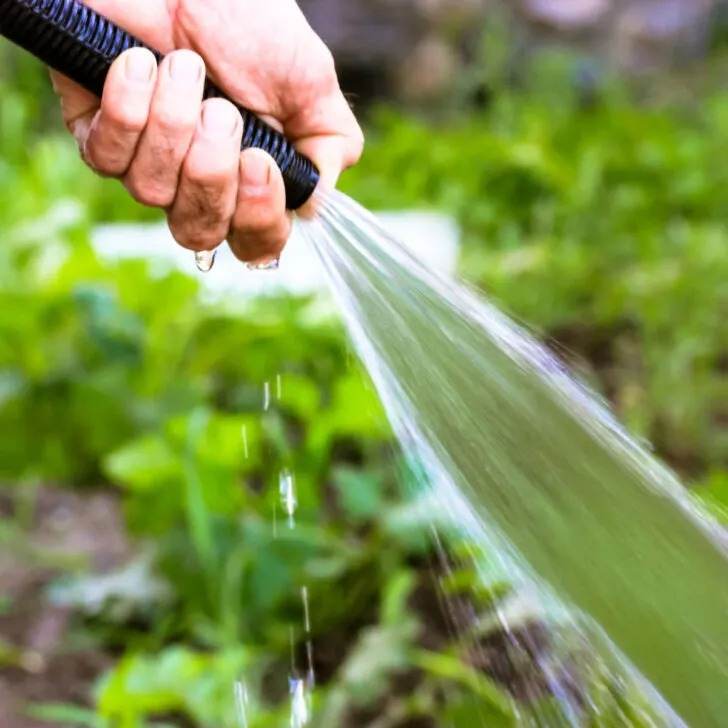
Water Thoroughly:
Watering your seed potatoes in the bag is crucial for their growth. After planting and covering them with soil, ensure the soil is evenly moist but not waterlogged. To do this, water the bag thoroughly, allowing the water to penetrate the soil and reach the root zone. Check the moisture regularly and water whenever the top inch of soil feels dry to the touch. Keep the soil consistently moist, especially during hot and dry periods.
 Source: thisismygarden
Water Regularly:
Throughout the potato plant’s growth season in the bag, it’s essential to water regularly to ensure healthy development. Be consistent with watering, keeping the soil evenly moist but not waterlogged. Proper watering helps the plant develop strong roots and encourages the formation of tubers. By maintaining a regular watering schedule, you’ll support a successful potato crop in your bag, leading to a bountiful harvest.
Fertilize
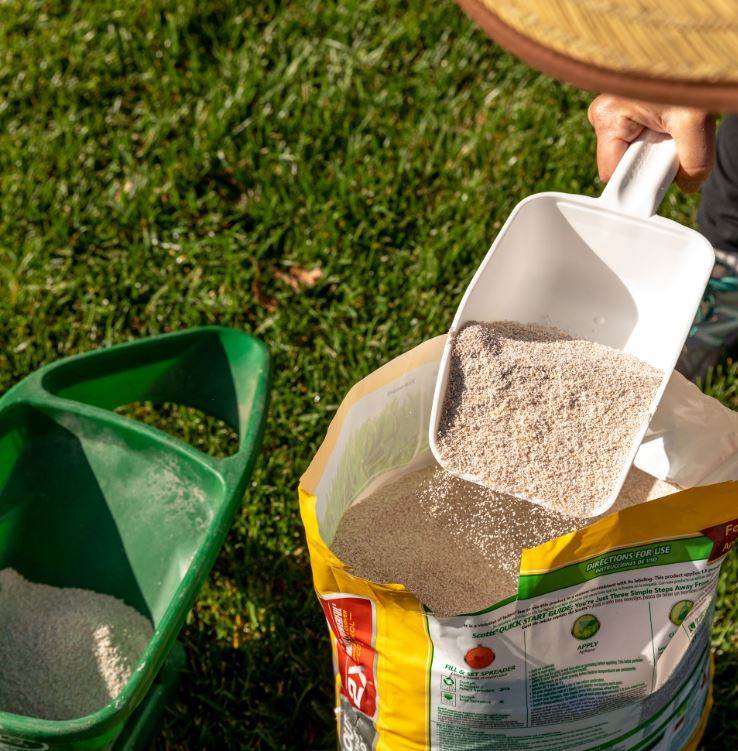
Start by applying a balanced, slow-release fertilizer when the plants are about 6 inches tall. Follow the package instructions for the correct dosage. Apply the fertilizer evenly over the soil’s surface, avoiding direct contact with the potato plants. Then, water thoroughly to help the nutrients reach the roots. Repeat the fertilization process when the potato plants start flowering, as they require additional nutrients during this critical phase of tuber development.
 Source: allamericanturf
Fertilizing during the potato plant’s growth season in the bag is essential for optimal yield. This supports healthy growth and ensures a bountiful potato harvest in your bag.
Pay Attention to Pest Insects
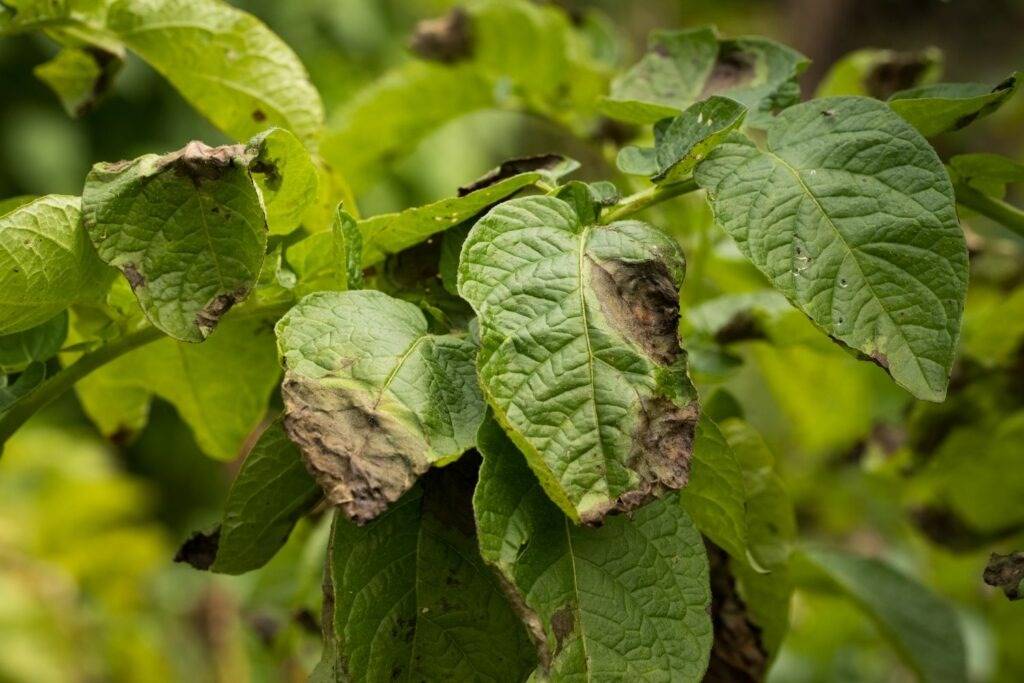
Regularly paying attention to pests is crucial when growing potatoes in a bag. Keep a close eye on your potato plants for signs of common pests like aphids, potato beetles, or caterpillars. Inspect the leaves, stems, and undersides of the foliage for any visible pests or damage.
 Source: smallgardenadvice
If you notice any pests, take appropriate measures to control them. You can manually remove them, use natural remedies like neem oil, or consult a local gardening center for advice on safe and effective pest control methods. Timely pest monitoring and management will help protect your potato crop and ensure a successful harvest in your bag.
When to harvest potatoes
Harvesting potatoes in a bag is a rewarding process. When the potato plants have fully matured, typically when the foliage turns yellow and begins to die back, it’s time to harvest.
 Source: shutterstock
Carefully remove the soil from the bags, either by cutting them and then gently emptying them. As you do, keep an eye out for the potatoes; they should be nestled within the soil. Using your hands or a small garden tool, gently unearth the potatoes, taking care not to damage them. Collect your freshly harvested potatoes and allow them to air dry for a few hours. Your homegrown potatoes are now ready to enjoy!
Tips
Apart from the above essentials, the growth of potato plants requires a bit of know-how to achieve a successful harvest. Whether you’re a seasoned gardener or just starting out, these valuable tips below will help you cultivate potatoes with ease. Keep reading to know more information!
- To grow potatoes successfully in bags, start by selecting a suitable potato grow bag or container with proper drainage.
- Choose healthy seed potatoes of varieties suited to your region.
- Plant your seed potatoes evenly spaced, about 3-4 inches deep, in early spring.
- Maintain consistent soil moisture without overwatering and fertilize with a balanced, slow-release fertilizer when the plants reach 6 inches in height and again during flowering.
- Hill Soil: As the potato plants grow and reach about 6 inches in height, add more soil to cover the lower stems. This encourages more tuber growth.
- Cure and Store: After harvesting, let the potatoes cure for a few days in a cool, dark place. Then store them in a cool, dry location for long-term use.
- Reuse or Dispose of Soil: You can reuse the soil for another crop or dispose of it if you suspect disease or pests.
- Prepare for Next Season: If you want to grow potatoes again, clean the grow bag or container and store it properly for the next growing season.