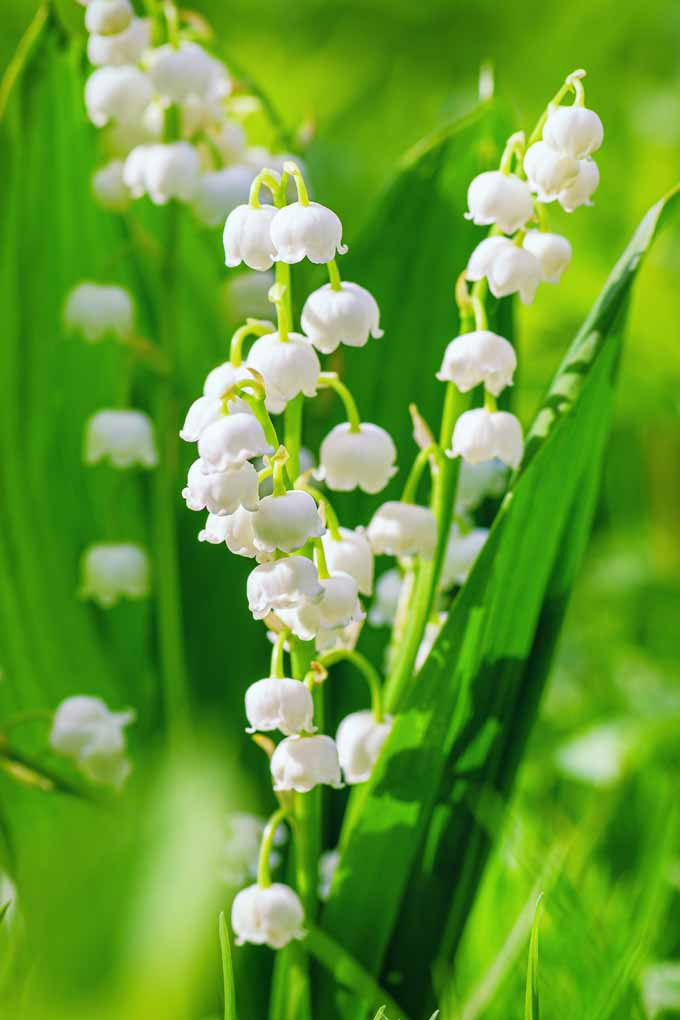
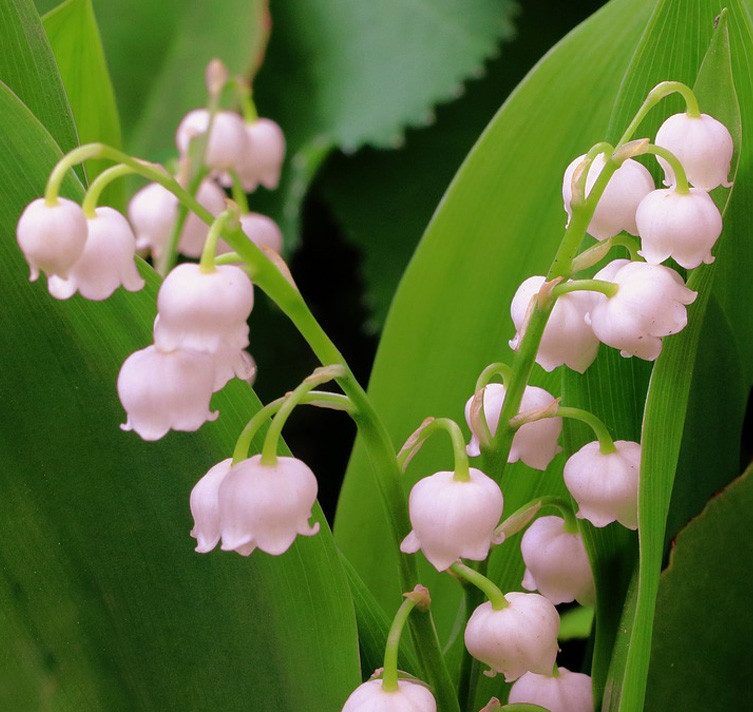
Growing Lily of the Valley (Convallaria majalis) from seed can be a rewarding but challenging endeavor. Known for its delicate, bell-shaped white flowers and sweet fragrance, Lily of the Valley adds a touch of elegance to any garden or landscape.
While it is more common to propagate Lily of the Valley through division or transplanting established plants, growing them from seed offers a unique opportunity to witness the entire life cycle of these enchanting plants.
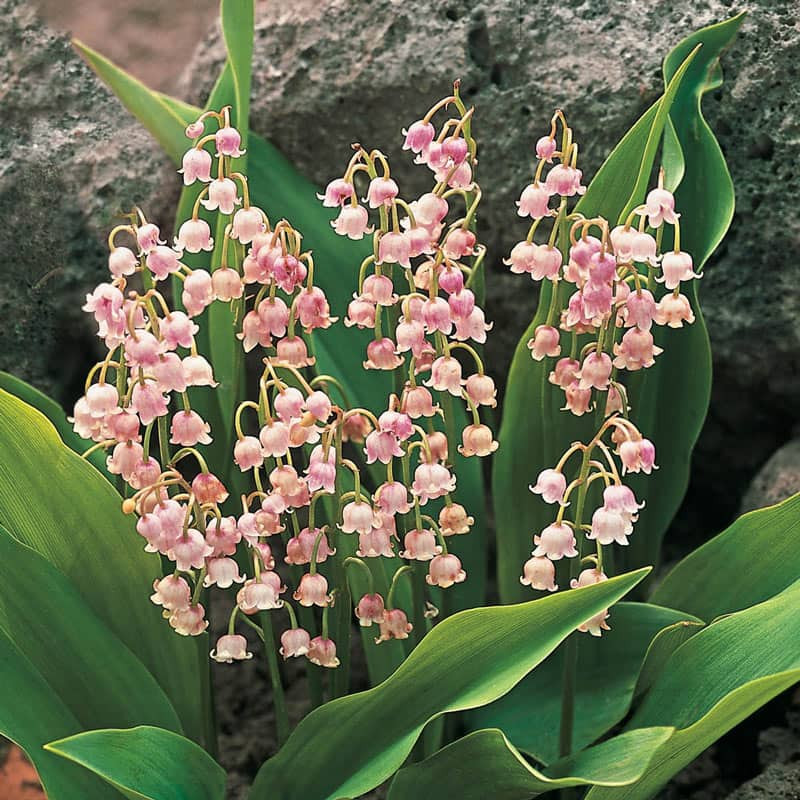
However, it requires patience and attention to detail, as Lily of the Valley seeds have specific germination requirements. By following the steps outlined below, you can embark on the journey of growing Lily of the Valley from seed, nurturing these beautiful plants from their earliest stages to maturity.
 Source: Gardener’s Path
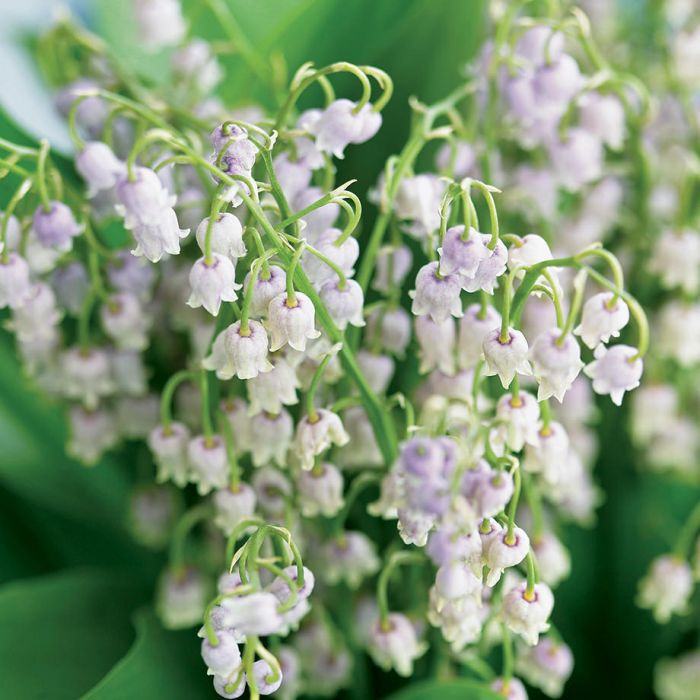
 Source: Proven Winners
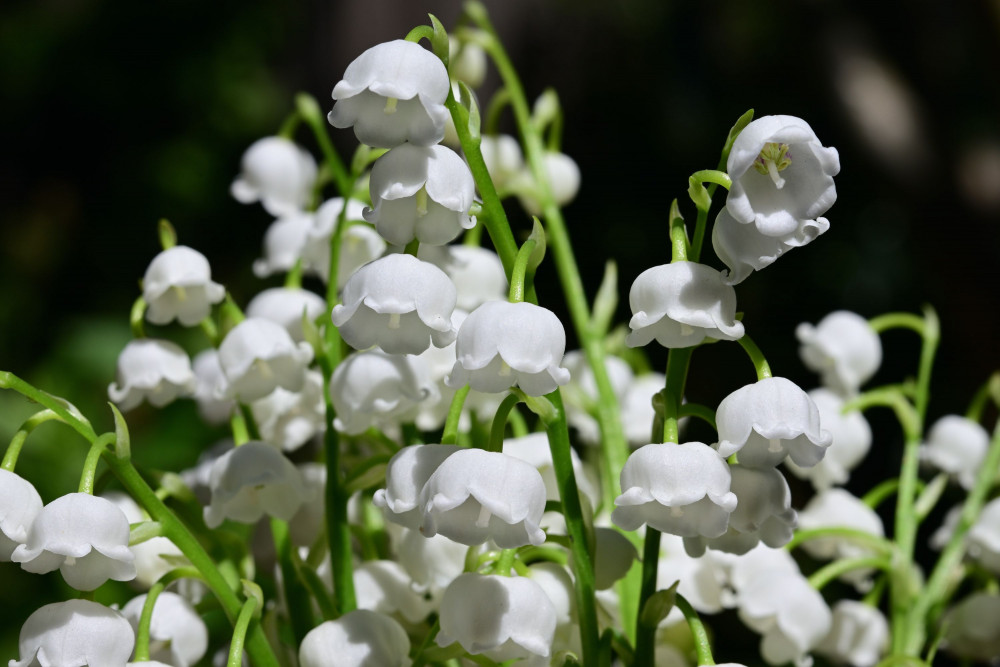
 Source: Van Wingerden Home & Garden Center
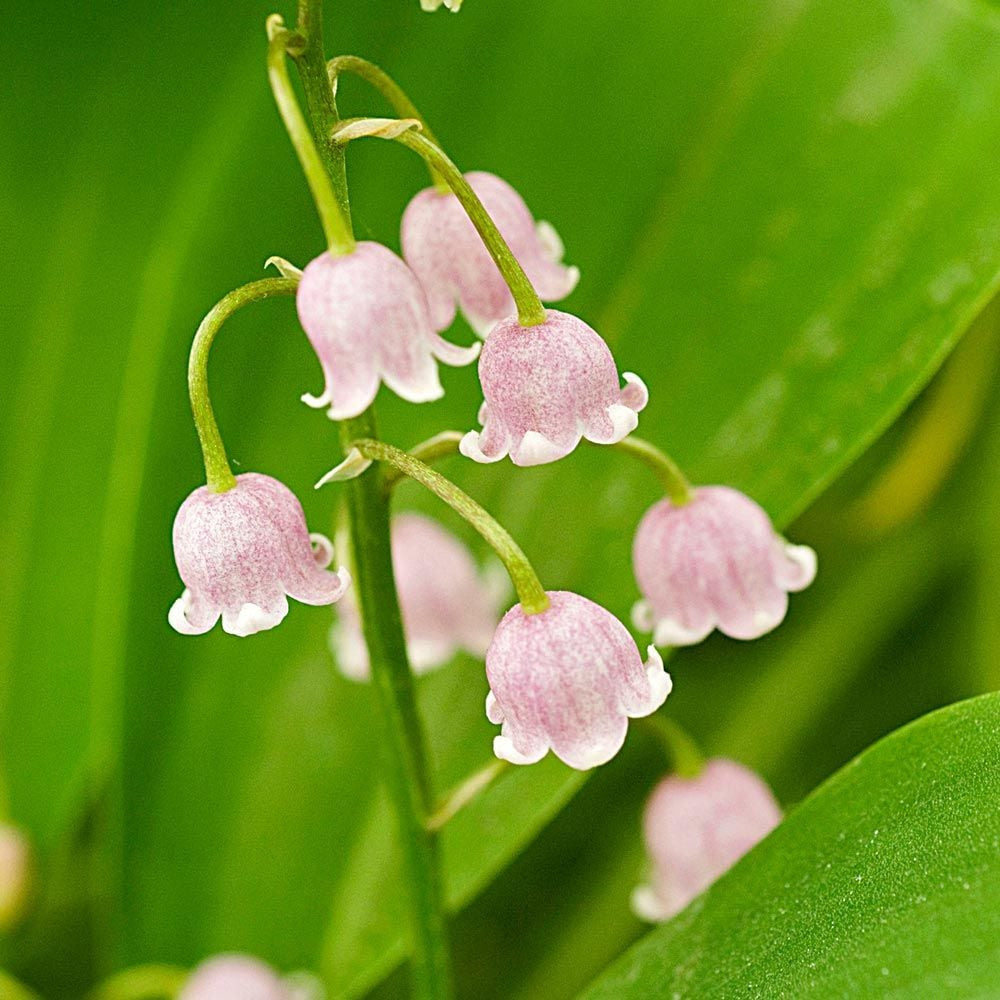
 Source: Instagram
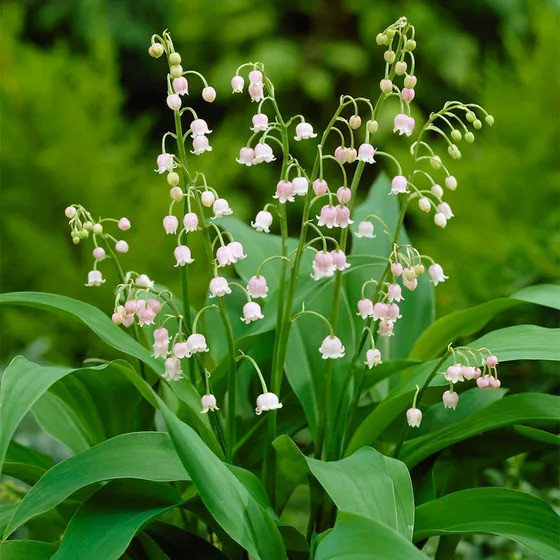
 Source: Instagram
1. Collect Seeds
Collect the seeds from a mature Lily of the Valley plant after the berries have turned red, usually in late summer or early autumn.
 Source: Halifax Perennials
2. Prepare The Soil
Choose a well-draining, nutrient-rich soil mixture for planting. Fill a seed tray or a small pot with soil, and water it until it is moist but not waterlogged.
 Source: Home Stratosphere
3. Sow The Seeds
Sow the seeds thinly on the soil surface, and cover them lightly with a fine layer of soil. Lily of the Valley seeds need light to germinate, so do not bury them too deep.
 Source: SeedScape
4. Water
Water the soil lightly, using a misting bottle or a gentle watering can. Keep the soil moist but not waterlogged, as too much water can cause the seeds to rot.
 Source: iStock
5. Cover And Label
Cover the seed tray with a clear plastic lid or a plastic wrap to retain moisture and warmth. Label the tray with the date and the name of the plant.
 Source: Spring Hill Nurseries
6. Germination
Lily of the Valley seeds can take up to a year or more to germinate. Place the seed tray in a warm, bright location, such as a windowsill, but out of direct sunlight. Check the soil regularly and mist it as needed.
 Source: Veseys Seeds
7. Transplanting
Once the seedlings have emerged and are large enough to handle, transplant them into individual pots or a well-prepared bed outdoors. Be careful not to damage the delicate roots. Keep the soil moist and protect the seedlings from direct sunlight until they are established.
 Source: House Beautiful
8. Care
Lily of the valley plants prefer a shaded or partially shaded location, and thrive in moist, well-drained soil. Water regularly, especially during dry spells, and fertilize with a balanced fertilizer once a month during the growing season. Remove any weeds or competing plants that may be growing nearby.
It’s important to note that growing Lily of the valley from seed can take a lot of time and patience, and there’s no guarantee of success. It’s often easier to propagate the plants by dividing the rhizomes or transplanting established plants.
 Source: White Flower Farm
 Source: American Meadows
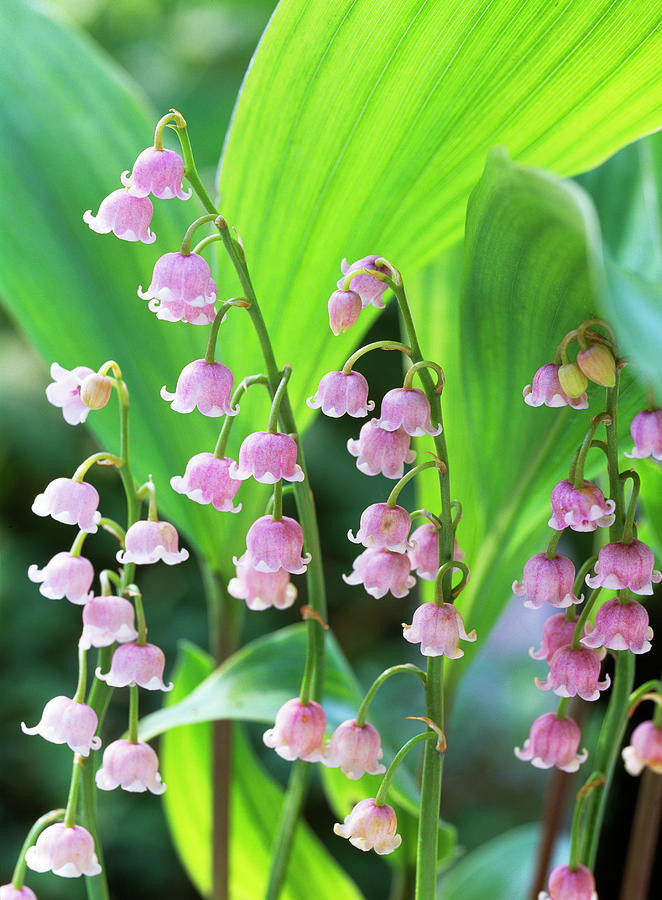 Source: Fine Art America