If you are finding something to make out of logs and branches, try some of the 16 brilliant ideas below. Instead of pulling out the chainsaw and making them into firewood, let your woodchipper transform all old tree parts into decorative art.
Whether they are tree removal projects or the result of the latest windstorm to whip through your town that has gifted your property with a bounty of branches, they all are great natural gifts to be turned into your own ingenious works of art.
Thanks to rustic and close beauty, they can stir up any outdoor space without going overboard or breaking your budget. Even better, these organic touches lend an easy, elegance that simply can’t be bought.
Are you ready to give your garden a quirky makeover by crafting these stunning and easy DIY Projects? Keep reading to find some that you love, try them, and see the interesting things!
This article contains affiliate links. If you purchase through them, I may earn a small commission at no extra cost to you. Thank you for your support!
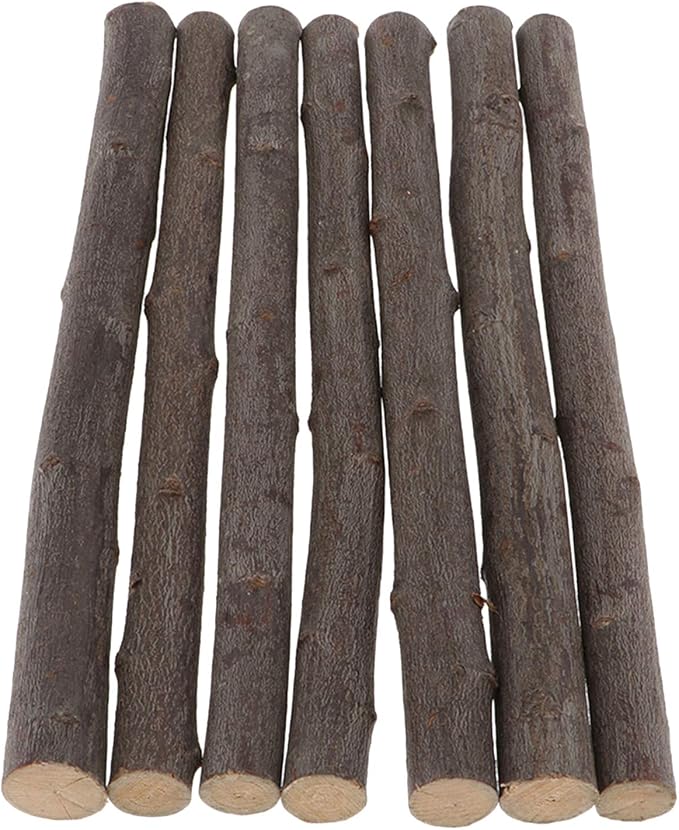
#1. A Natural Wind Chime

I made one on a sunny afternoon, using branches from a recent pruning session and leftover bells from last Christmas. It costs next to nothing but adds so much charm.
 SHOP DRIED BRANCHES
 SHOP ACRYLIC PAINT SET
 SHOP SMALL JINGLE BELLS
 SHOP TWINE
 SHOP HOT GLUE GUN AND STICKS
 SHOP DRILL WITH A SMALL BIT
Materials Needed
- 6 dried branches (length: 12–18 inches, roughly 1-inch thick)
- Acrylic craft paint (any color)
- Small jingle bells
- Twine
- Hot glue gun and sticks
- Drill with a small bit
Step-by-step Guide
Step 1: Trim branches to your desired lengths. Remove loose bark but leave texture. Drill a small hole at one end of each.
Step 2: Dip the bottom ends in paint and let dry completely.
Step 3: Attach a jingle bell to each hole using twine or string. Secure with knots.
Step 4: Bundle and glue the tops of the sticks around a central square base or cross-section of branches. Wrap securely with jute rope.
Step 5: Add a hanging loop to the top and hang it on a tree branch, pergola, or porch hook.
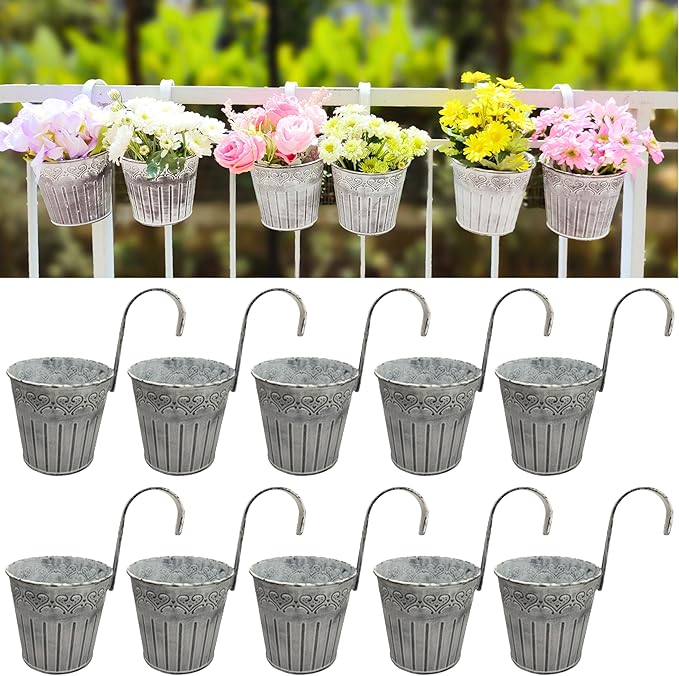
#2. Ladder Made From White Birch Branches

This simple yet striking ladder-style trellis brings a raw, earthy elegance to any garden wall or fence. It’s perfect for displaying trailing blooms or herbs.

Materials Needed
- 5 straight tree branches (length: ~3–4 ft for verticals, ~1.5–2 ft for rungs)
- Galvanized hanging planters
- Outdoor-safe twine
- Hand drill
Step-by-step Guide
Step 1: Arrange two longer branches vertically on the ground, spacing them evenly apart, then lay shorter sticks across to create the ladder steps. Secure tightly with screws or strong twine.
Step 2: Prop the trellis against a wall or anchor it in the soil. Hang lightweight planters from each rung using hooks or twine.
Step 3: Add trailing plants like petunias, herbs, or string-of-pearls for a cascading effect.
#3. Twig Ball Hanging Garden Art

There’s something meditative about shaping living wood into a gentle sphere. This willow branch orb is a natural sculpture that dances in the breeze.
Materials Needed
- 12 flexible branches like grapevine (about 3–4 ft long)
- Twine
- Optional: Garden gloves
Step-by-step Guide
Step 1: Soak branches in water overnight to make them pliable.
Step 2: Start with one branch to form a rough circular base, securing the ends with twine. Gradually weave additional branches around and across the base to form a sphere.
Step 3: Tuck in any sharp ends and reinforce the shape with extra loops.
Step 4: Attach a piece of twine for hanging, and suspend it from a pergola, branch, or hook.
#4. Flowers in Tree Stump

The blend of wood, greenery, and soft lighting feels like stepping into a fairytale, especially when the lantern begins to glow at dusk.

Materials Needed
- 1 hollowed-out log stump (10–12 inches tall, 6–8 inches wide)
- 1 solar lantern with stake
- Potting soil, approximately 2 cups
- Annual flowers (marigold, impatiens, or basil)
Step-by-step Guide
Step 1: If needed, carve a small hollow in the center of your log using a chisel or drill with a hole saw bit.
Step 2: Fill the hollow with a bit of soil, just enough to plant your flowers securely. Gently insert your plants or seeds and press soil around the roots.
Step 3: Position the solar lantern by inserting the stake into the soil or attaching the lantern to the log with glue or brackets.
#5. A Fairy World

This DIY idea stole my heart the first time I tried it. Instead of removing an old stump, I transformed it into a charming fairy home.
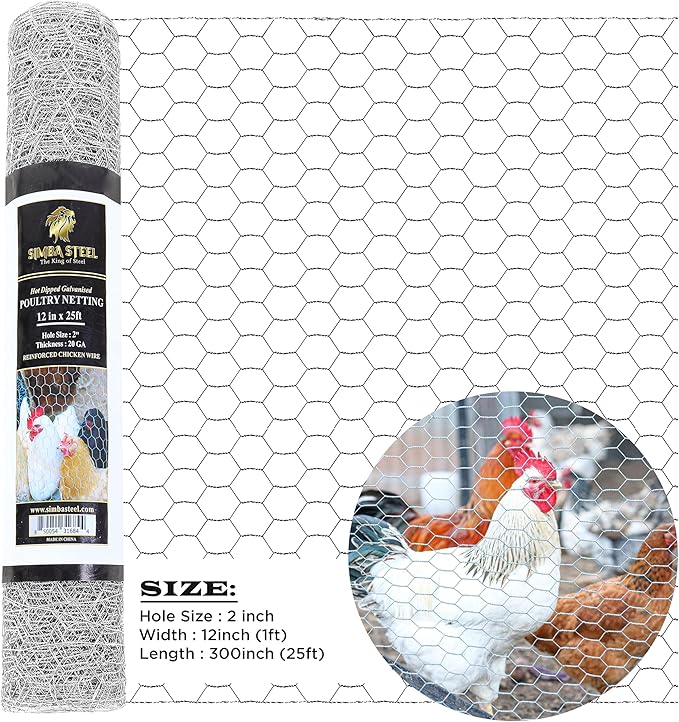 SHOP WIRE MESH
 SHOP SMALL GARDEN STATUE
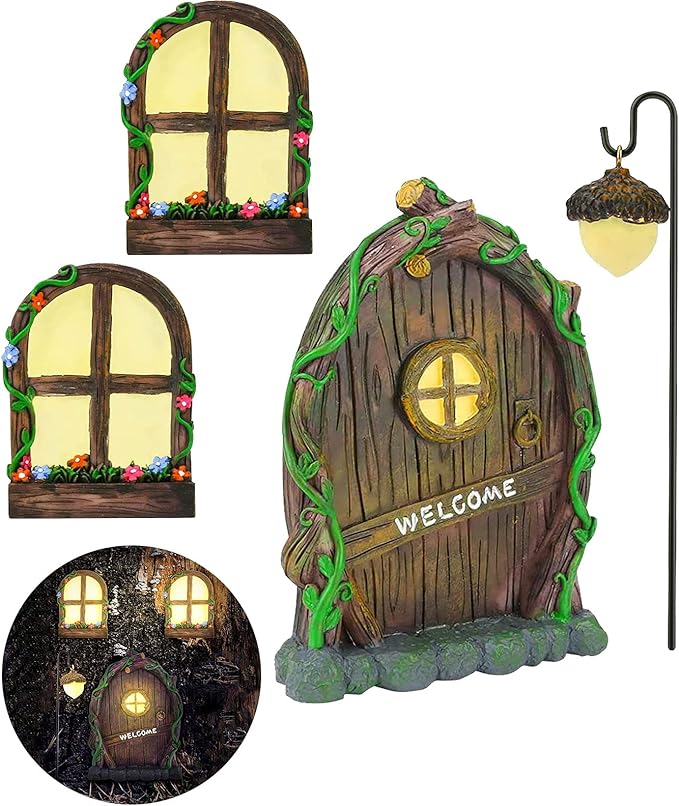 SHOP MINIATURE DOORS AND WINDOWS SET
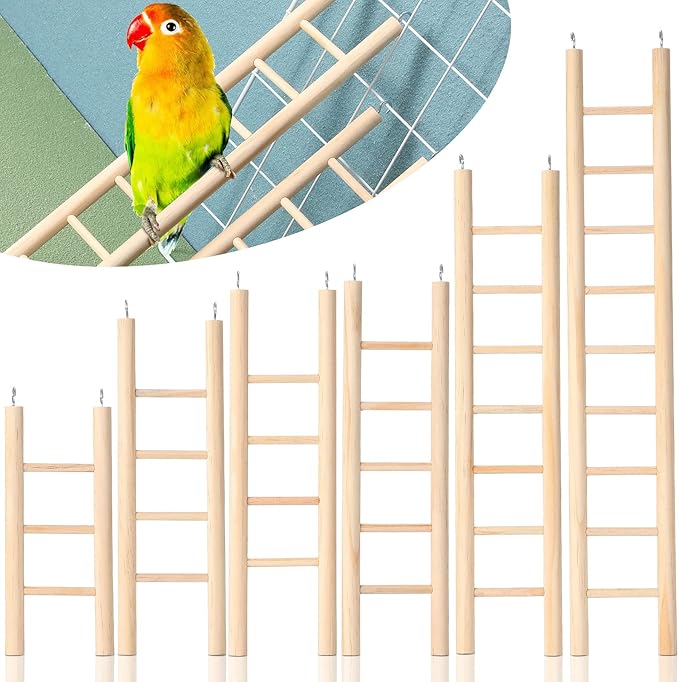 SHOP MINI WOODEN LADDER
 SHOP PEBBLES
Materials Needed
- 1 large tree stump (already cut, 18–30 inches tall)
- Wire mesh, 24″x36″
- 1 small garden statue (waterproof)
- Miniature doors and windows set
- Mini wooden ladder
- Potting soil + mixed seasonal flowers
- Hot glue gun
- Optional: pebbles or faux moss
Step-by-step Guide
Step 1: Wrap wire mesh around the top of the stump and form a shallow bowl; secure tightly using staples or nails.
Step 2: Fill the mesh area with soil and plant your favorite seasonal blooms.
Step 3: Attach miniature windows and a small door around the stump using glue or nails.
Step 4: Place your statue at the center of the planted area, then add a mini ladder or path using twigs and rocks for extra charm.
Step 5 (optional): Nestle in moss or decorative stones around the base to blend the stump with the garden.
#6. A Tree Stump Water Feature

This DIY project transforms an old tree stump into a functional, rustic water fountain.

Materials Needed
- 1 large hollowed-out tree stump (about 18″–24″ diameter, 16″–20″ tall)
- Submersible fountain pump (300–400 GPH capacity)
- Tubing compatible with your pump
- Waterproof liner
- Optional: gravel or rocks
Step-by-step Guide
Step 1: Hollow out the stump’s center if not already done. Ensure the cavity can hold at least 2–3 gallons of water.
Step 2: Line the inner bowl of the stump using a waterproof liner to prevent leaks.
Step 3: Insert the fountain pump in the center, threading the tubing through a small drilled hole in the back or center if needed.
Step 4: Fill the cavity with water, plug in the pump, and adjust the tubing until the fountain height and sound are just right.
Step 5 (optional): Add river rocks or moss around the base to integrate the fountain into your garden bed.
#7. Log Planter

I used a reclaimed log from a neighbor’s felled tree, and now it sits like a natural sculpture in the garden.

Materials Needed
- 1 large hollow log (around 30″–40″ long, 8″–10″ diameter)
- Handsaw or chainsaw
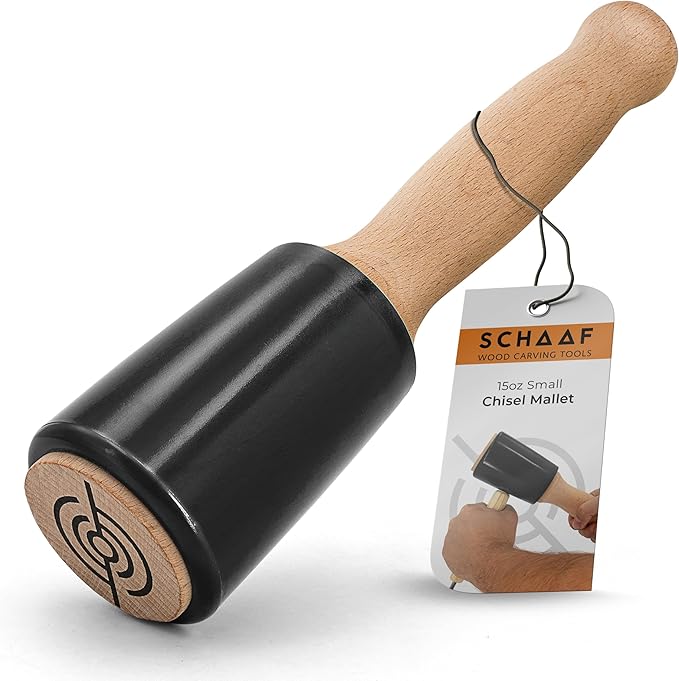
- Chisel and mallet
- 2 sturdy wood blocks
- Potting soil and flowers of choice
Step-by-step Guide
Step 1: Cut the top of the log lengthwise to create a planting trough. Use a saw to score the area, then chisel out the interior about 4″ deep.
Step 2: Drill a few drainage holes in the bottom to prevent root rot.
Step 3: Place the log securely on top of two wood blocks to raise it off the ground. This helps with water flow and aesthetic height.
Step 4: Fill the trough with nutrient-rich potting soil, then plant your choice of blooms like rain lilies, marigolds, or trailing vines.
#8. Pretty Plant Pot

Who says garden décor can’t have personality? This adorable log lady planter is full of life, literally and figuratively.


Materials Needed
- 1 medium to large log (around 20″–30″ tall)
- Acrylic paint set and paintbrushes
- Old scarf or fabric wrap
- Soil and small potted plants
Step-by-step Guide
Step 1: Hollow out the top of the log about 5–6 inches deep and wide enough for planting.
Step 2: Sketch the facial features using pencil first, then fill in with acrylic paint. Let dry.
Step 3: Wrap the scarf or fabric around the top like a headband, tying it securely at the front or side.
Step 4: Fill the hollow with potting soil and plant your greenery of choice—ferns, vines, or succulents work beautifully.
#9. Santa Logs

These jolly wooden Santas are ridiculously simple to craft, budget-friendly, and full of handmade warmth. Each log gets a personality of its own from nose to hat tip.


Materials Needed
- 3 wood logs (ranging from 18″ to 36″)
- Red and white acrylic paint and paintbrush set
- 3 red ornaments
- Rope
- Hot glue gun
Step-by-step Guide
Step 1: Clean and sand down the front surface of each log to prep for painting. Use red paint for the hats, white for the beards, and a small brush for eyes and brows. Let dry thoroughly.
Step 2: Glue a red pom-pom on each for Santa’s nose, then tie a jute rope belt around the middle of each log, knotting it in front for rustic flair.
Step 3 (optional): Seal with a clear spray if placing outdoors long-term.
#10. Man And Woman In Love

The beauty lies in its symbolism, two weathered souls growing together, quietly holding space for each other.


Materials Needed
- 2 thick logs (approx. 3–4 feet tall)
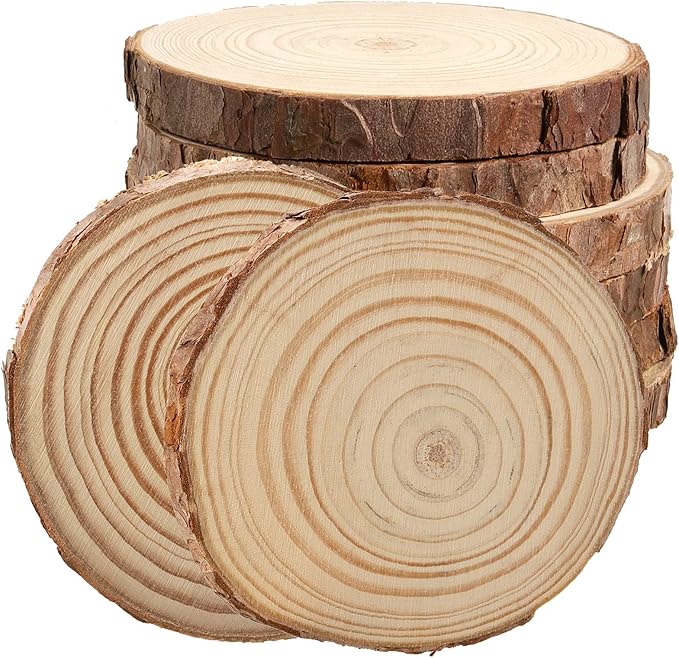
- 2 round log slices (6–8 inches diameter)
- 2 branches
- Burlap ribbon
- Wood screws
Step-by-step Guide
Step 1: Position the logs upright and secure them into the ground or to a base using a support rod.
Step 2: Drill a small hole on top of each log and attach the head slices with wood dowels and glue or screws.
Step 3: Use wire or thin rope to loosely bind the logs together to resemble arms.
Step 4: Wrap and tie the burlap around their middle in a crossbody shape, giving it the look of an affectionate embrace.
#11. DIY Succulent Planter

This project turned a forgotten log into the centerpiece of my entire garden. The twisted, weathered wood already held so much character, adding colorful succulents brought it fully to life.


Materials Needed
- 1 piece of driftwood (2–3 ft tall)
- A mix of succulent cuttings (10–15 varieties)
- Cactus/succulent soil
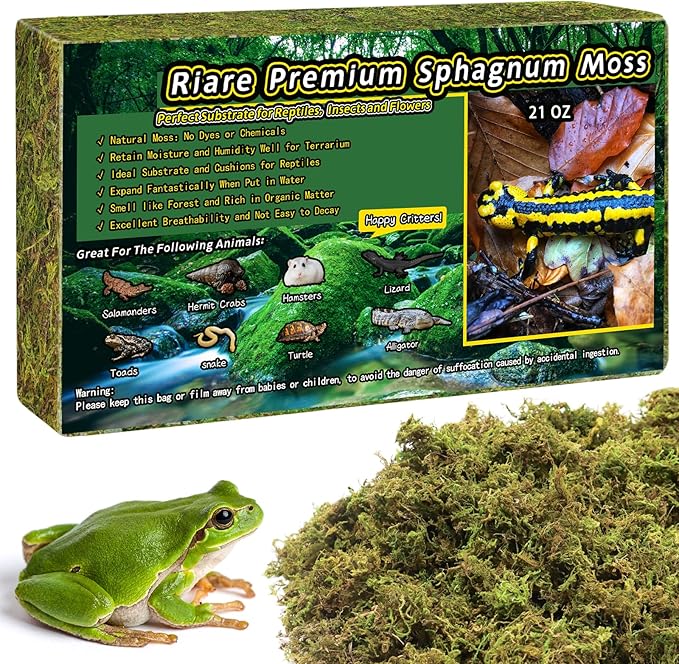
- Sphagnum moss
- Hot glue gun
- Small garden trowel
Step-by-step Guide
Step 1: Clean the driftwood and hollow out pockets or grooves if none exist naturally. Use a hammer and chisel if needed.
Step 2: Fill pockets with sphagnum moss, then layer in succulent soil mix for drainage and root stability.
Step 3: Nestle your succulent cuttings into the prepared spaces. Use floral wire or hot glue at the base (not roots) to hold them in place until established.
Step 4: Mist lightly every few days until roots form, then reduce watering to once a week or less depending on humidity.
#12. Log Candle Holder

These log candle holders brought a cozy, woodland charm to my outdoor garden nook and honestly, they were incredibly simple to make.

Materials Needed
- 3 log sections (4″, 6″, and 8″ high; 3–4″ diameter)
- 3 tealight candles
- 1.5” wood boring drill bit
- Electric drill
- Sandpaper
Step-by-step Guide
Step 1: Measure the diameter of your tealight and mark the center top of each log section.
Step 2: Use the wood boring drill bit to hollow out the top of each log about 1 inch deep. Test-fit your tealight for a snug hold.
Step 3: Sand the edges of the cutout to prevent splinters and neaten the finish.
Step 4: Insert your tealight, light it up, and enjoy the natural ambiance it brings to your garden or porch.
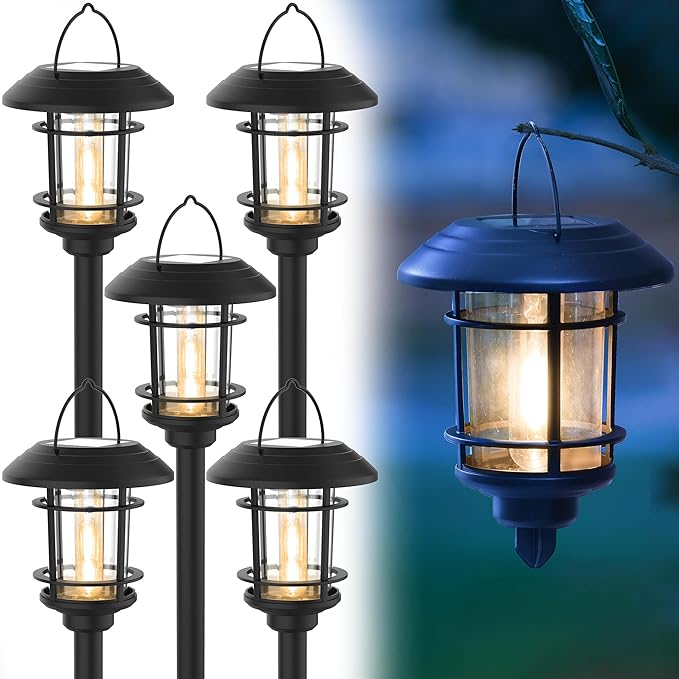
#13. Beautiful Lighting Idea

These glowing log lights are pure enchantment. They look like they’ve been plucked from a fantasy movie yet you can recreate them with basic tools and a bit of patience.

Materials Needed
- 3 to 5 thick logs (16″–20″ tall, 8″+ diameter)
- Outdoor waterproof LED strip lights
- Battery pack
- Power saw or hand saw
- Wood chisel set
- Clear outdoor wood sealant
Step-by-step Guide
Step 1: Cut a vertical slit (or two) from top to bottom of each log using a saw. Make sure it’s wide enough to fit your LED strip.
Step 2: Use a chisel to slightly hollow out the slit so the strip sits flush or slightly inside. Insert the LED strip and connect it to your power source (battery or solar converter).
Step 3: Seal the entire log with a waterproof wood sealant to protect it from the elements.
Step 4: Place your glowing logs along a garden trail or under trees, and switch them on as the sun dips down.
#14. Garden Structures Made With Sticks And Branches

This towering leaf-shaped sculpture made from curved branches is a masterpiece of organic design. It instantly draws the eye and brings an artistic touch to the garden.


Materials Needed
- 6–10 long, flexible branches (at least 5 ft)
- Strong twine
- Garden stakes
- Hand pruner and loppers
- Optional: Wood sealer
Step-by-step Guide
Step 1: Sketch a leaf shape in your garden space using chalk, string, or a stick to map out the proportions.
Step 2: Bend and secure the longest branches to form the outer contour of the leaf, using wire to join tips and anchor the base into the soil with garden stakes.
Step 3: Add inner veins by tying thinner branches across the structure, mimicking natural leaf patterns.
Step 4: Tighten all connections with extra twine or wire for strength, and optionally apply wood sealer to extend durability through weather changes.
#15. Unique Garden Fence

This is a perfect weekend project if you have leftover logs or tree trimmings. Cost-effective and visually rich.
Materials Needed
- Tree logs (cut into 4–8 inch thick slices, various diameters)
- Heavy-duty landscaping adhesive
- Wire mesh (optional)
- Soil mix
- Cascading plants: Sweet Alyssum, Creeping Jenny, Ivy varieties
Step-by-step Guide
Step 1: Cut or collect log slices of different diameters. The irregularity adds charm.
Step 2: On a vertical surface or garden border, arrange the slices like a puzzle, working from bottom to top.
Step 3: Secure each slice using strong exterior adhesive. Optional: attach chicken wire behind for added support and soil containment.
Step 4: Fill in behind the top row with rich garden soil and tuck in your chosen plants. Go for spillers and trailing types for the best effect.
#16. Fun Painted Tree Stump Idea

Great for beginner DIYers and a hit with kids, it turns an old stump into a living cartoon character.


Materials Needed
- Tree stump (approx. 18–24 inches tall)
- Exterior white paint + black acrylic
- Plastic bottle
- Acrylic paints set
- Potting soil and small flowering plant
Step-by-step Guide
Step 1: Clean and lightly sand the log surface. Paint it with white outdoor paint, let dry, then use a sponge or brush to dab on black cow-like spots.
Step 2: Craft the pig’s head using a plastic bottle. Paint it pink, add eyes, nostrils, and glue on cardboard or foam ears.
Step 3: Hollow out a small pocket at the top of the log or attach a planter on top. Fill it with potting soil.
Step 4: Plant a small green or flowering plant so it looks like the pig has hair. Attach the pig’s face to the front using nails or strong adhesive.
Step 5: Add extra leafy vines around the log base for a playful finishing touch.