Inspired by the ombre hair trend, many talented nail technicians have created gorgeous ombre nail designs.
From sophisticated neutral tones to bold neon shades, you can find at least one ombre manicure design of your favorite color. You can even have a whole rainbow on your fingertips!
Ombre nails are the perfect choice for girls who love to play with color. They are bold yet classy, simple yet eye-catching. On top of that, ombre nails can be suitable for every season.
You can create thousands of stunning manicure looks by changing the color combinations. It will be a shame if you miss out on them, so don’t.
Here is your ultimate ombre nail design inspiration list. Scroll down and save these pictures to your phone. Impress your nail technician with these cool ideas!
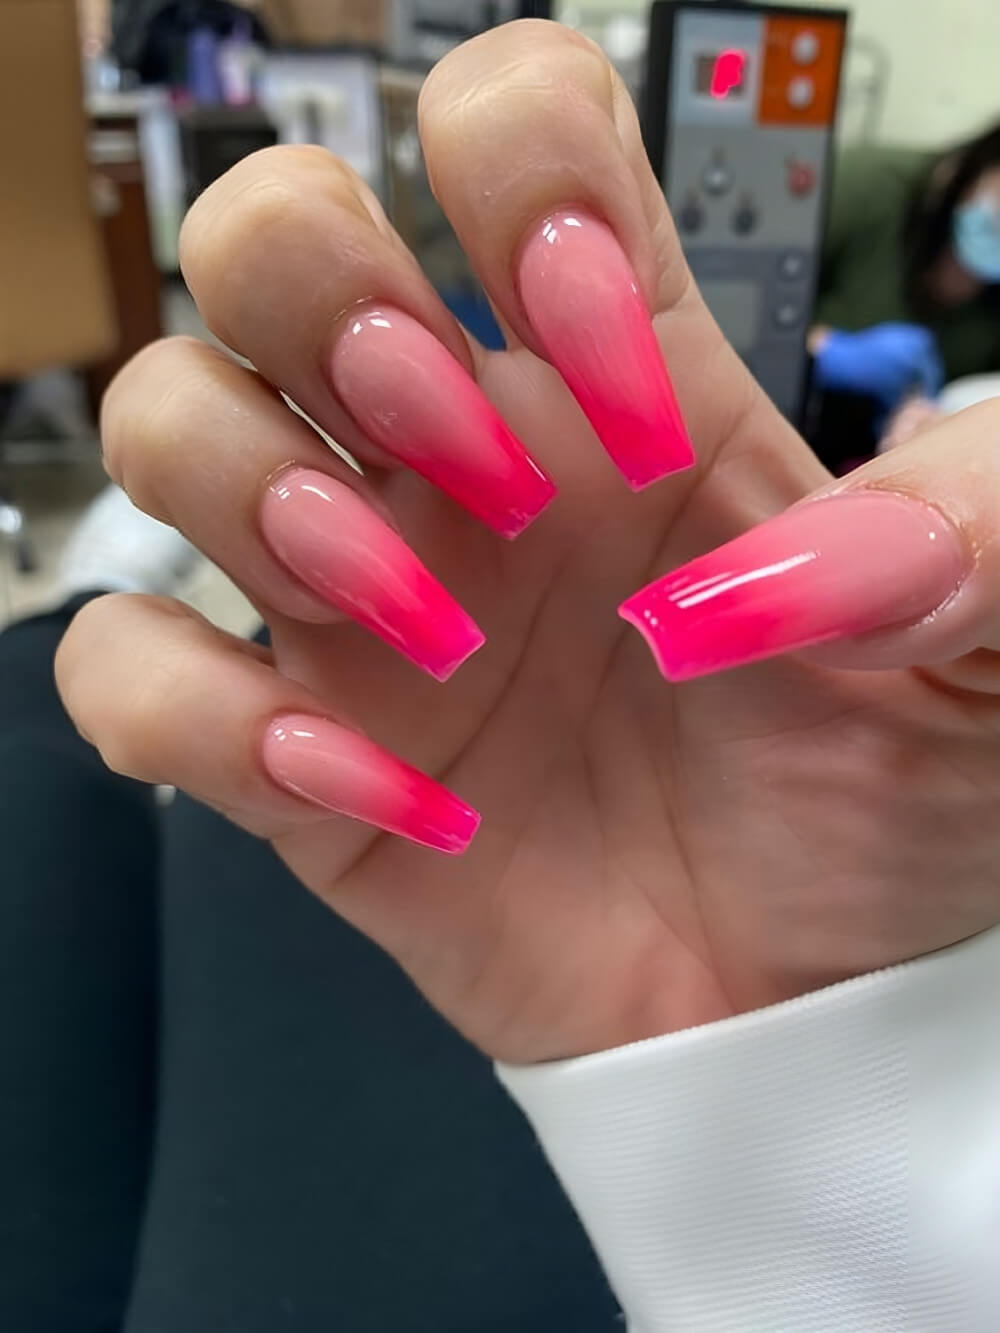
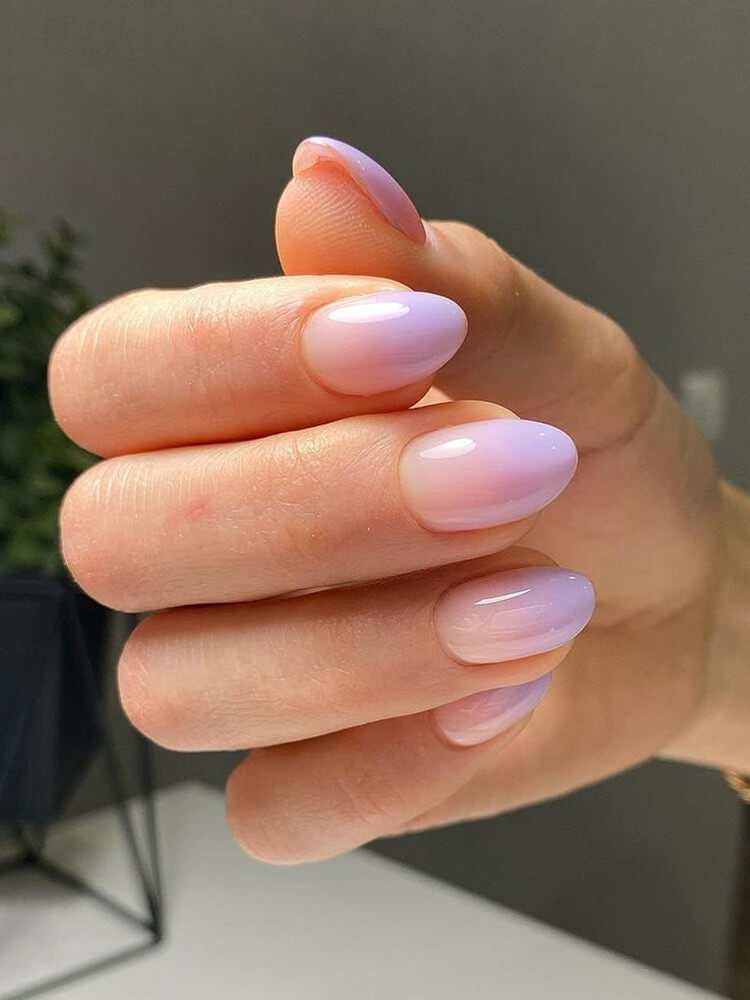
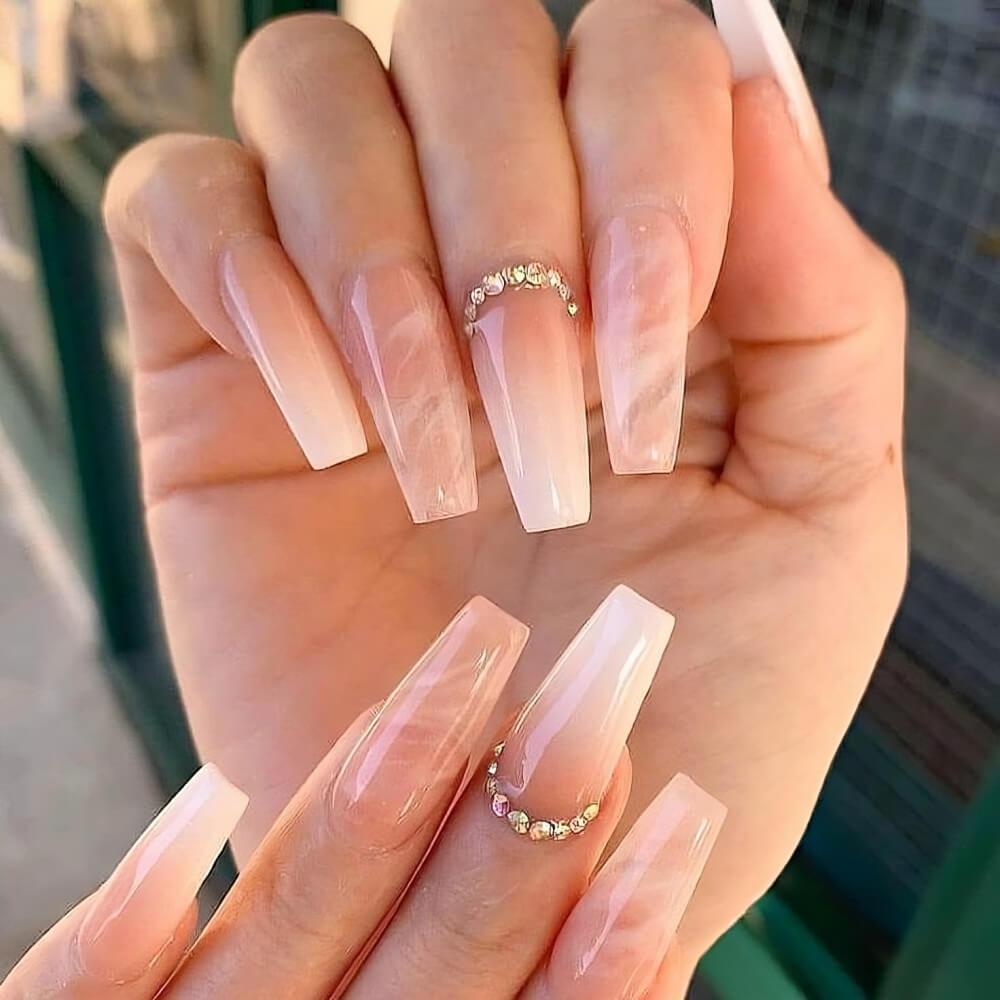
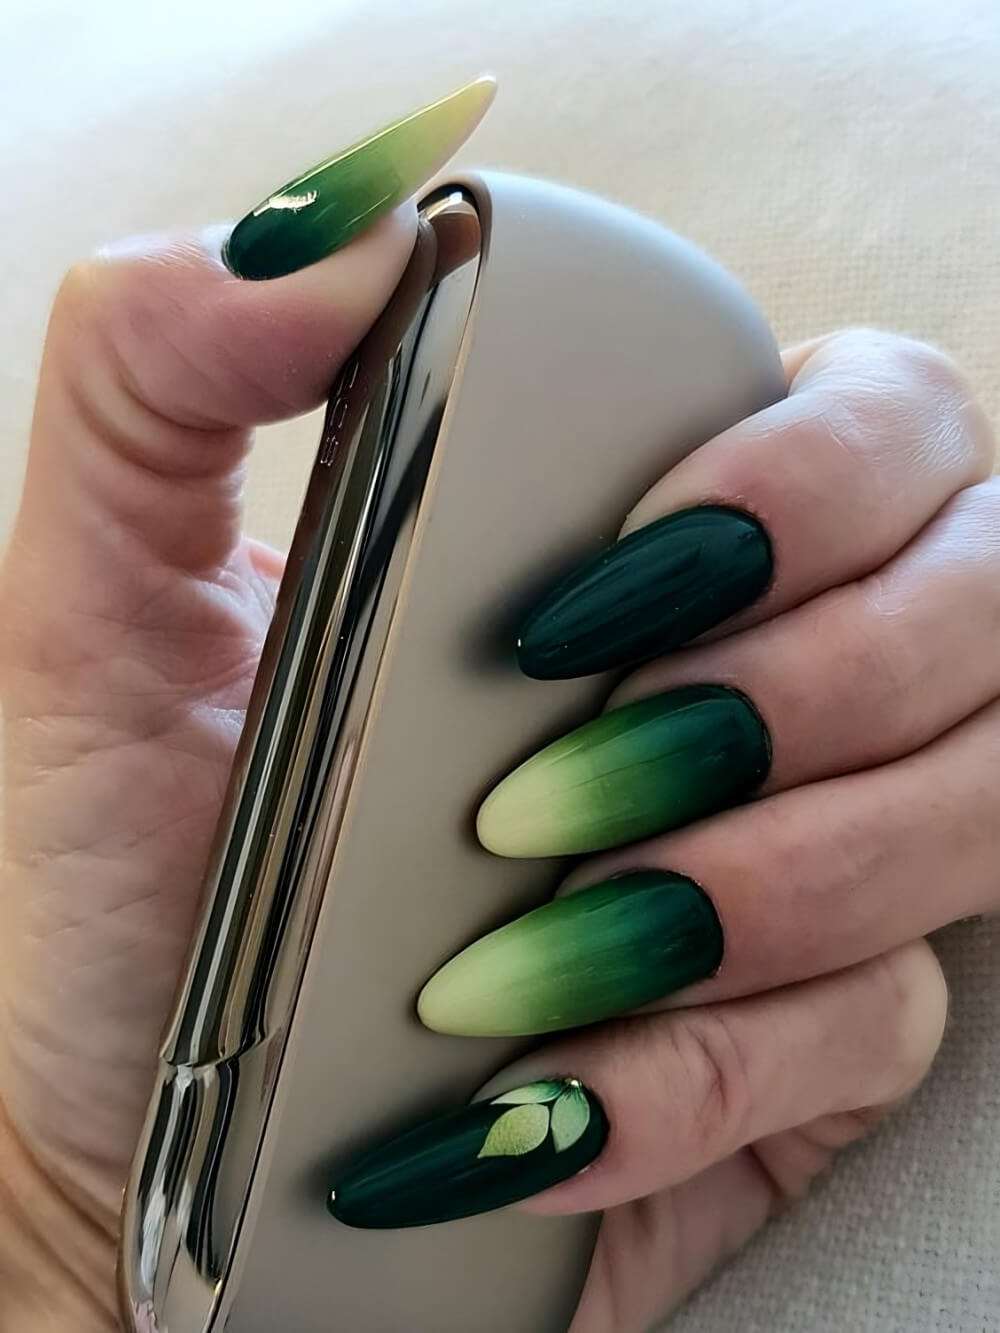
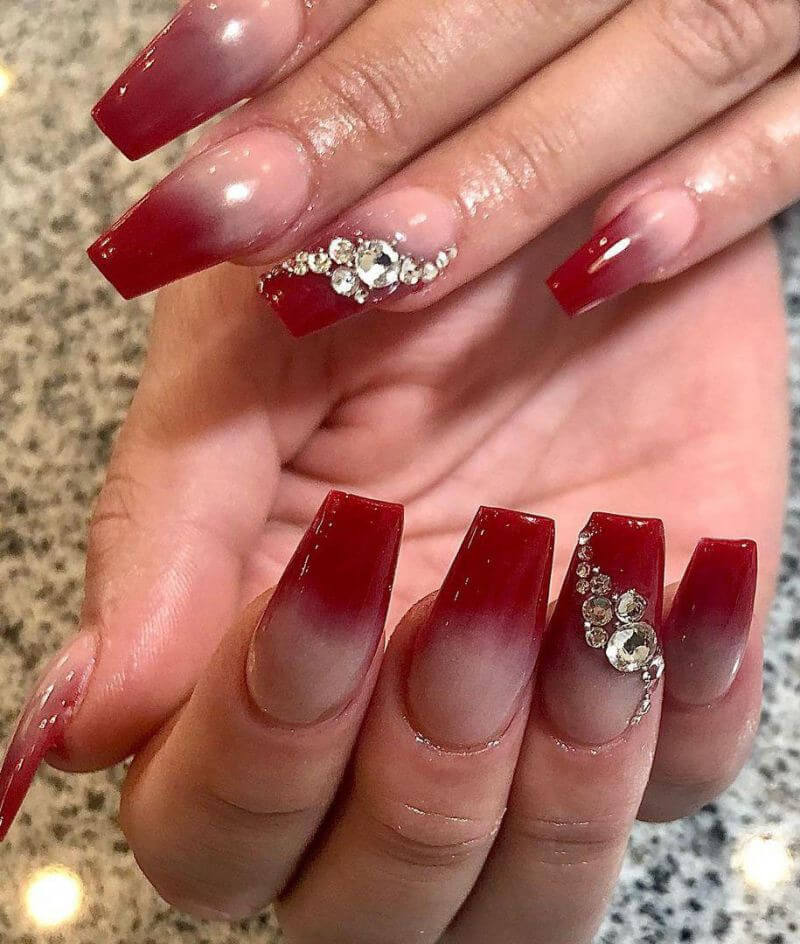
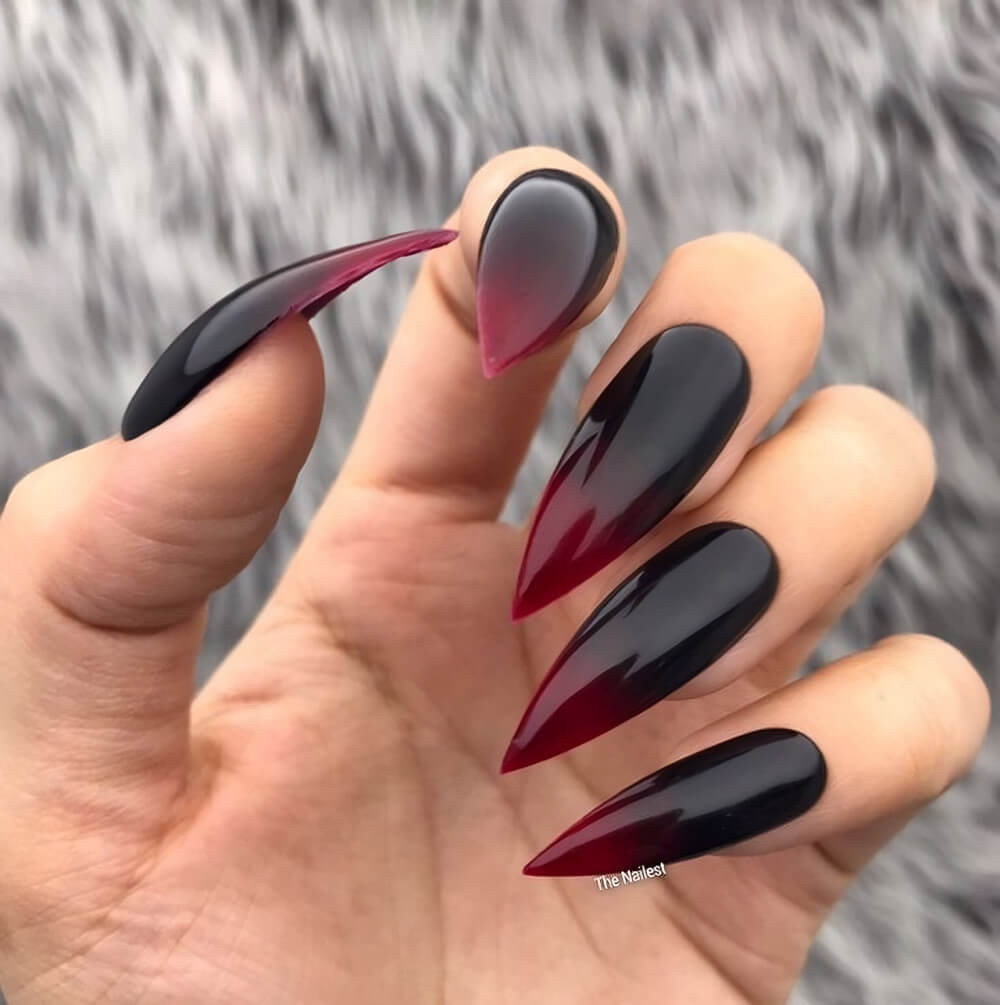
1.
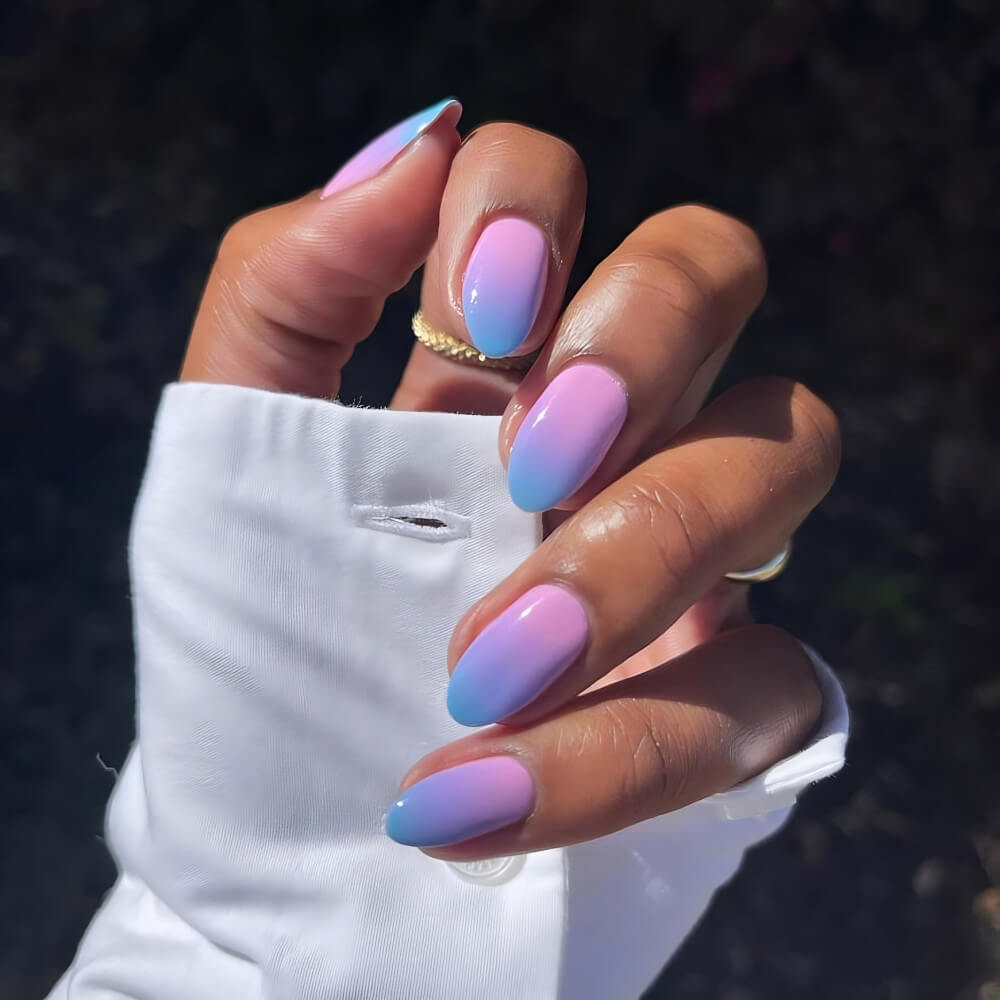
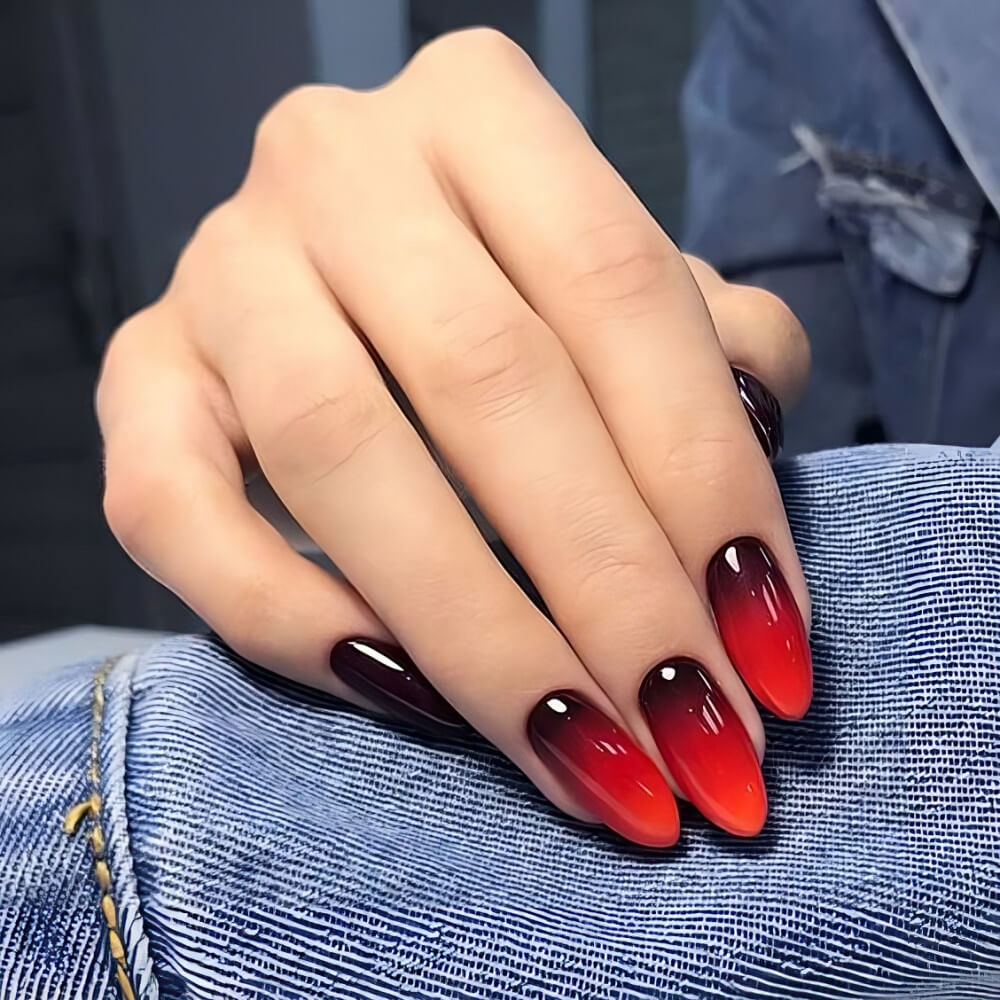
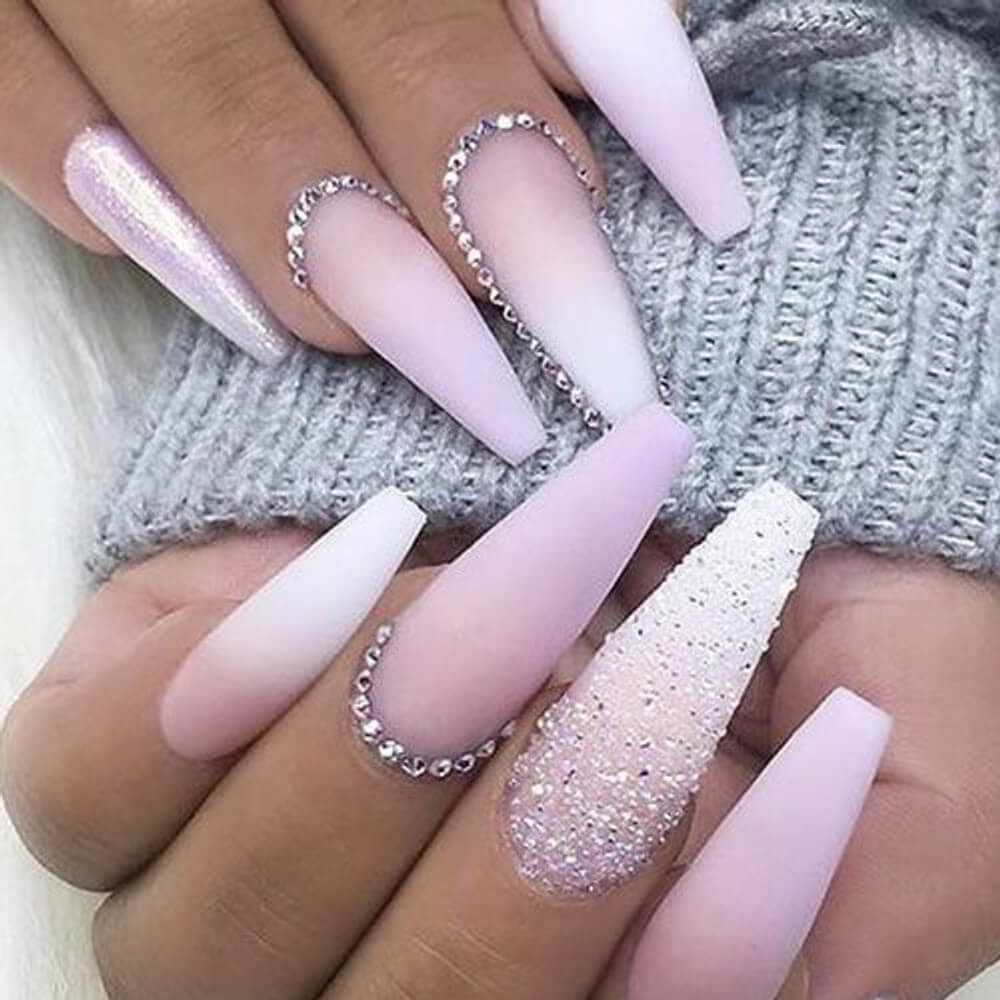
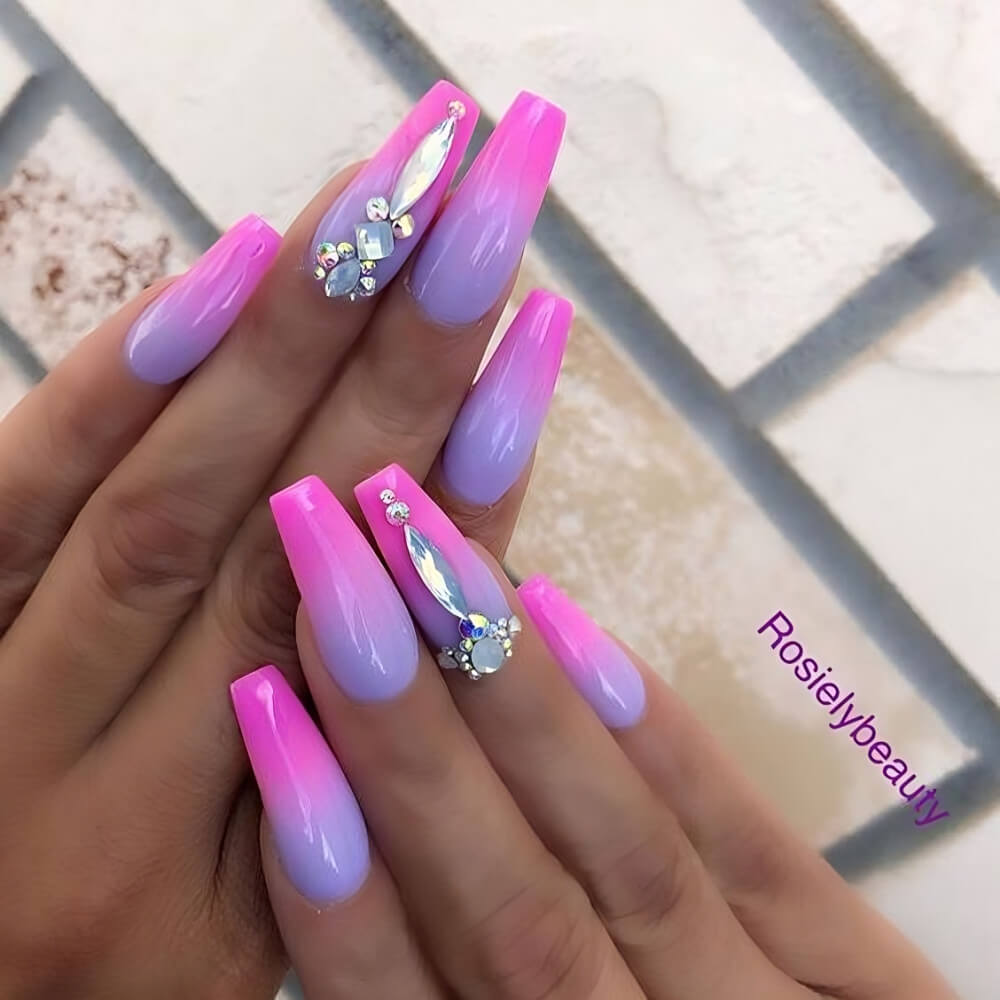
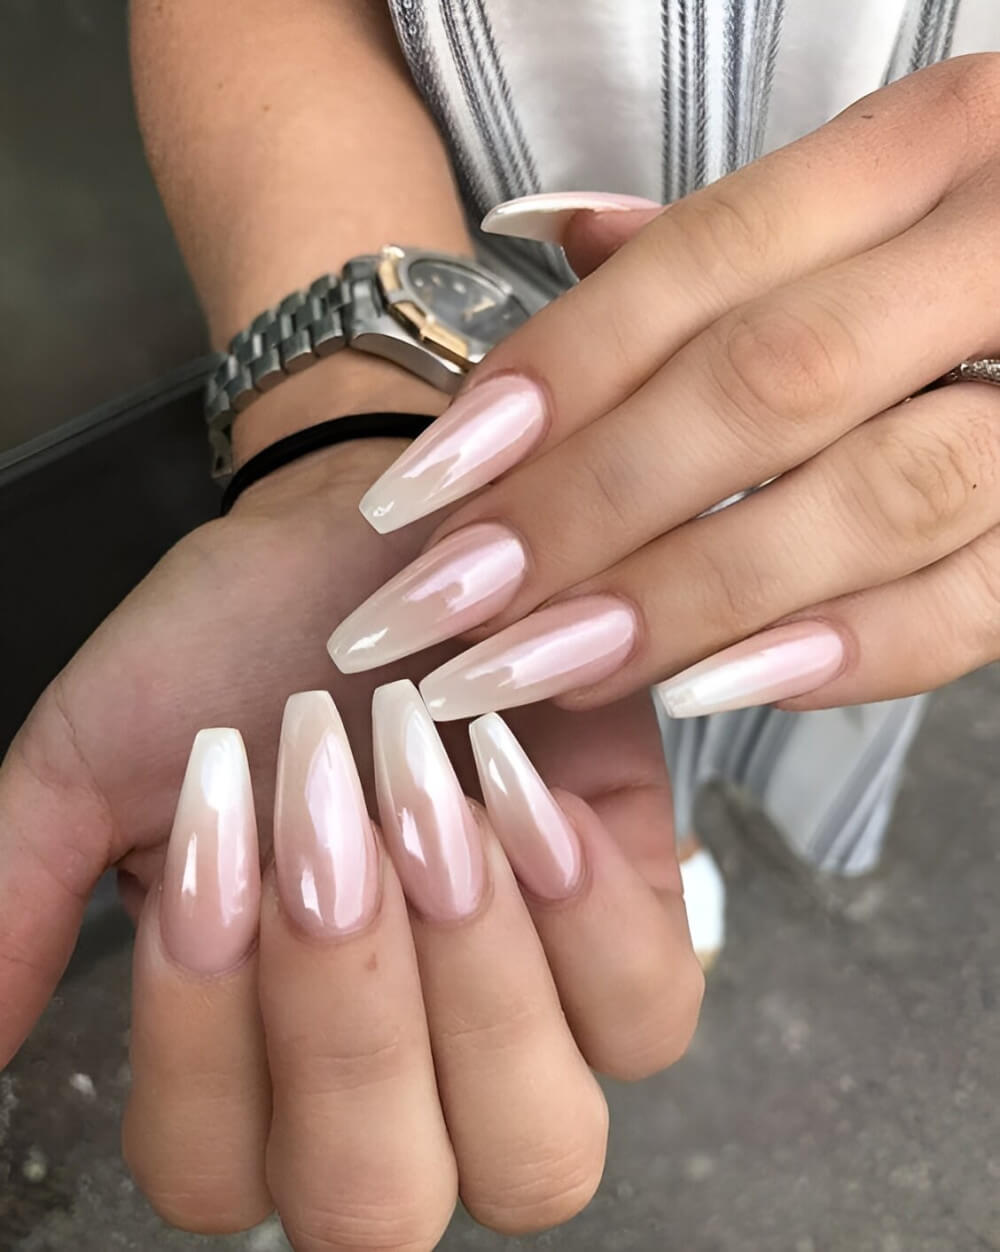
2.
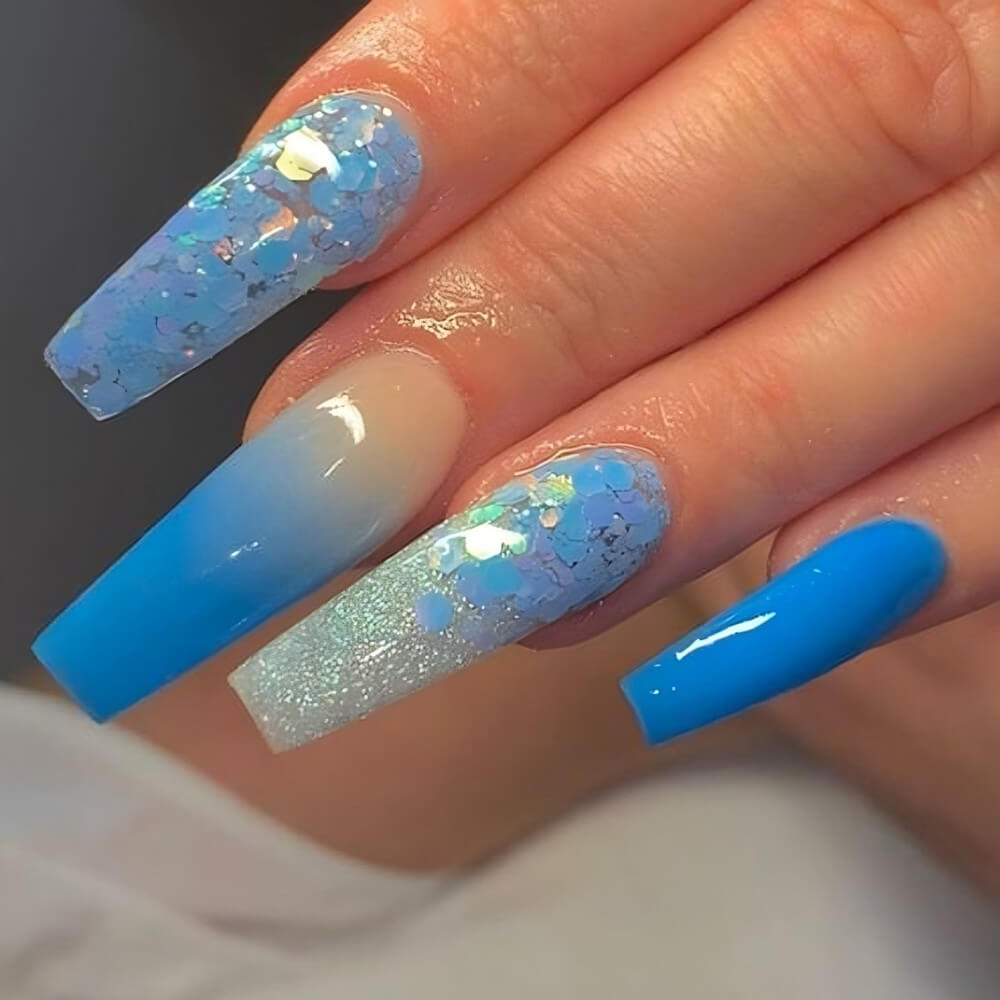
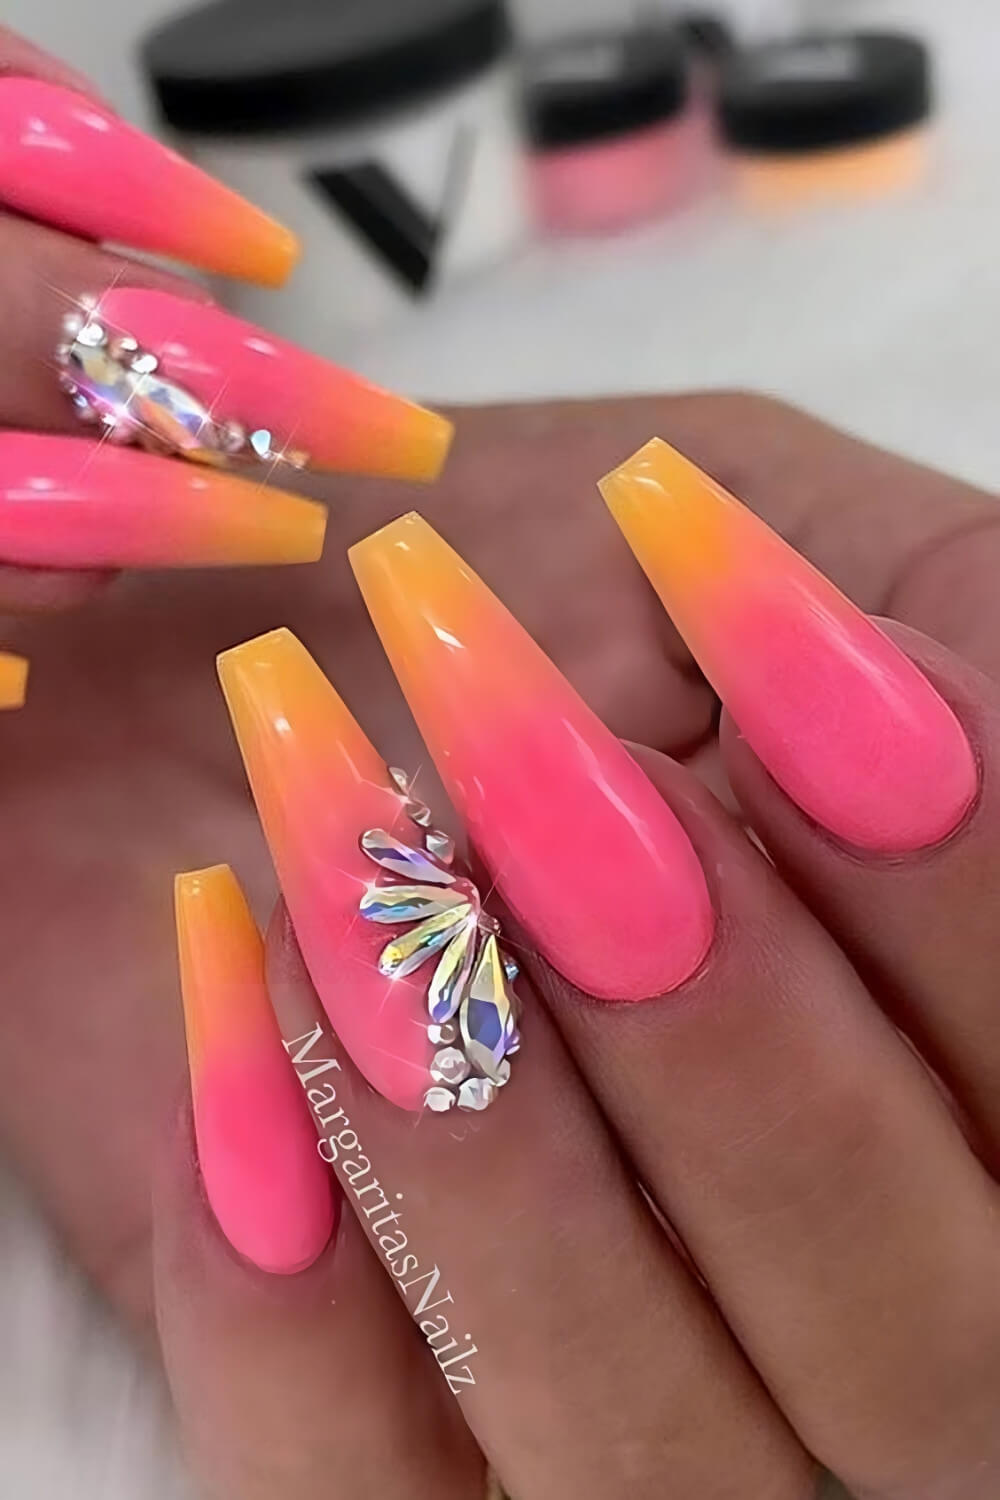
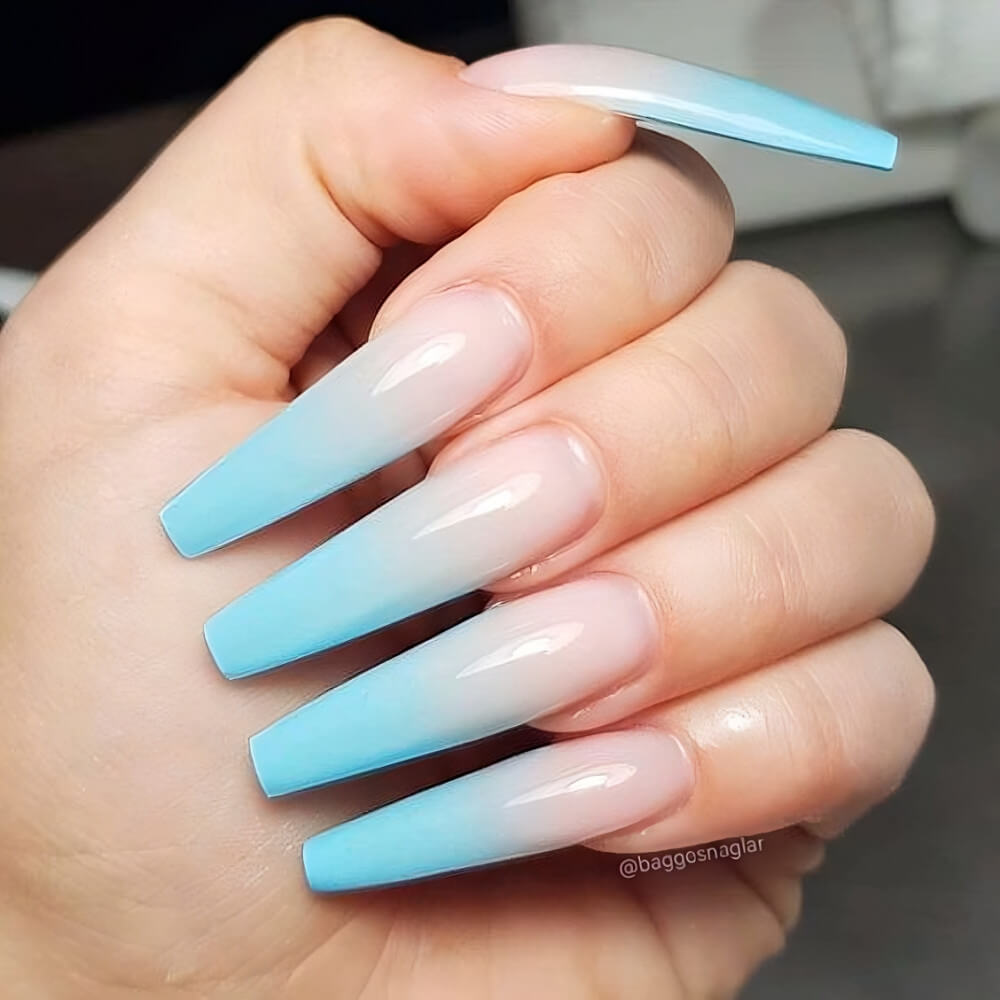
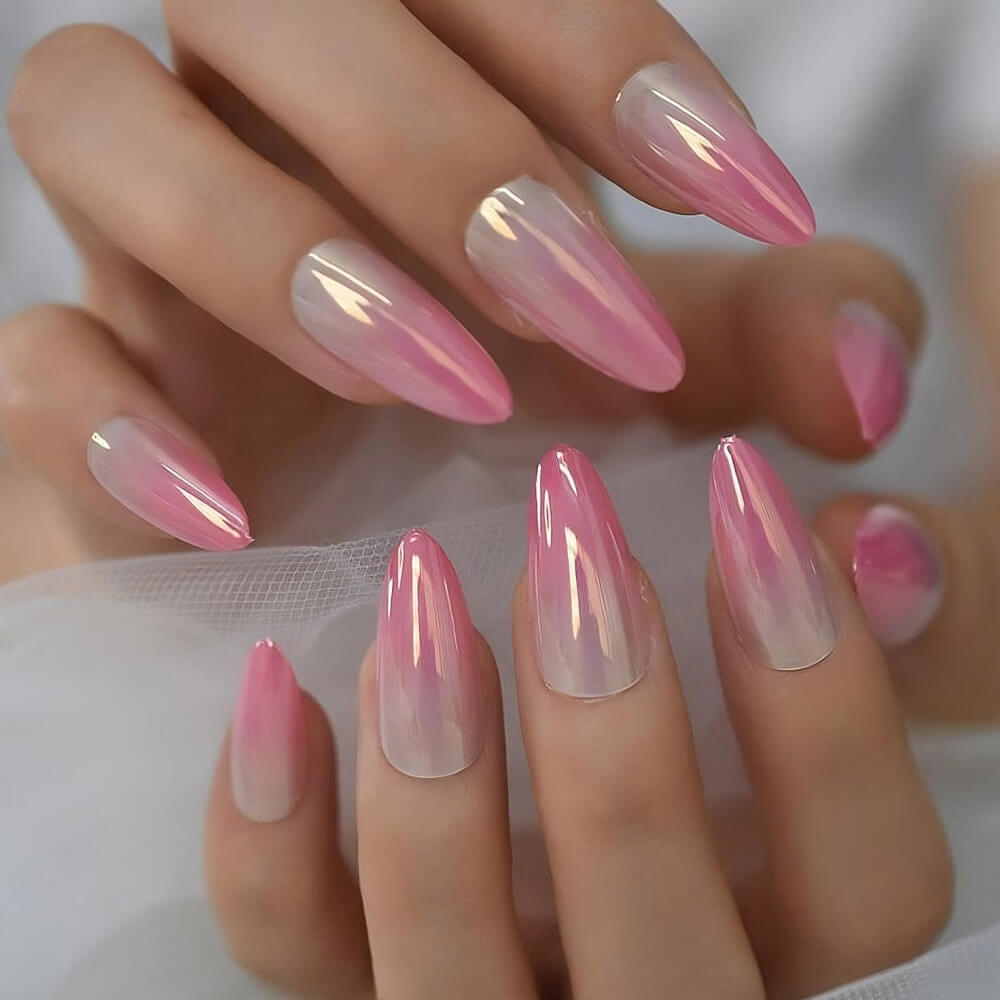
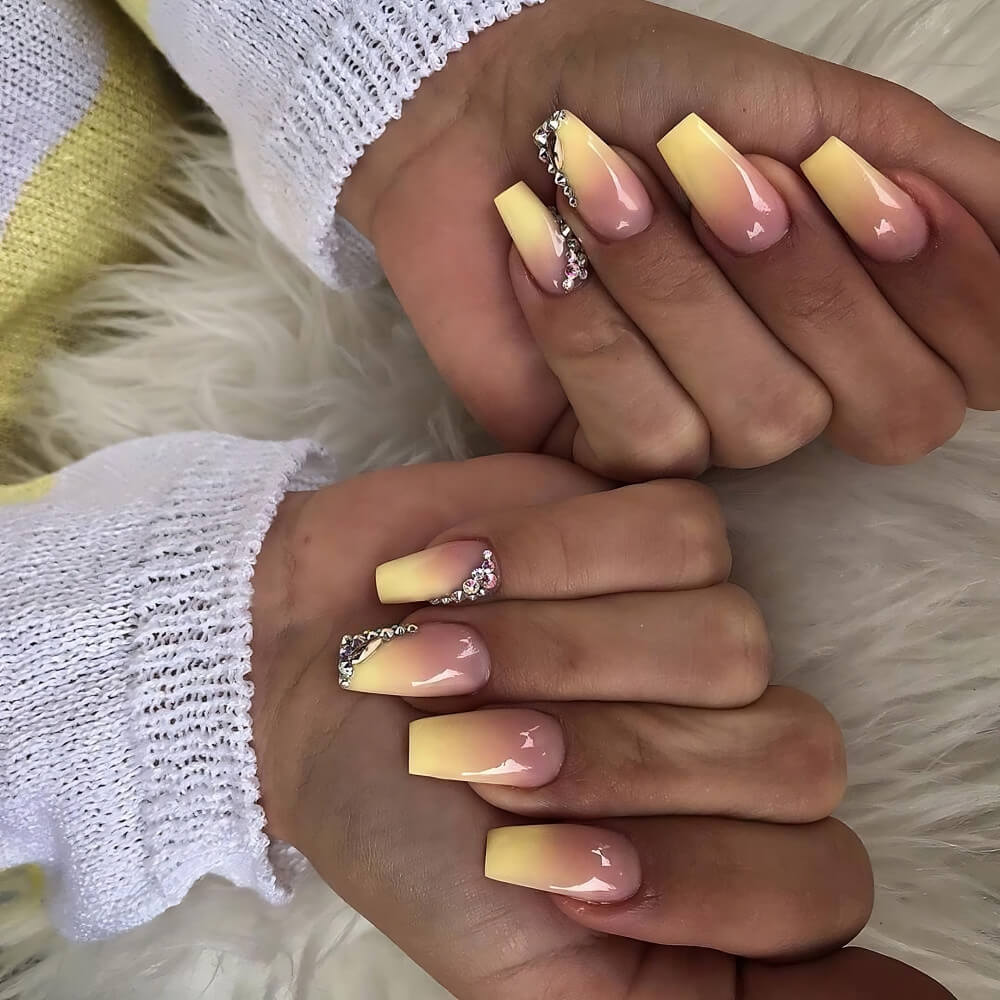
3.

Your Easiest Guide to DIY Ombré Nails at Home
The ombré manicure, characterized by a smooth, seamless color transition across the nail, is one of the most stunning and highly sought-after nail art trends.
While it looks complicated and often requires a professional touch in a salon, achieving a flawless gradient at home is surprisingly accessible with one simple tool: the makeup sponge.
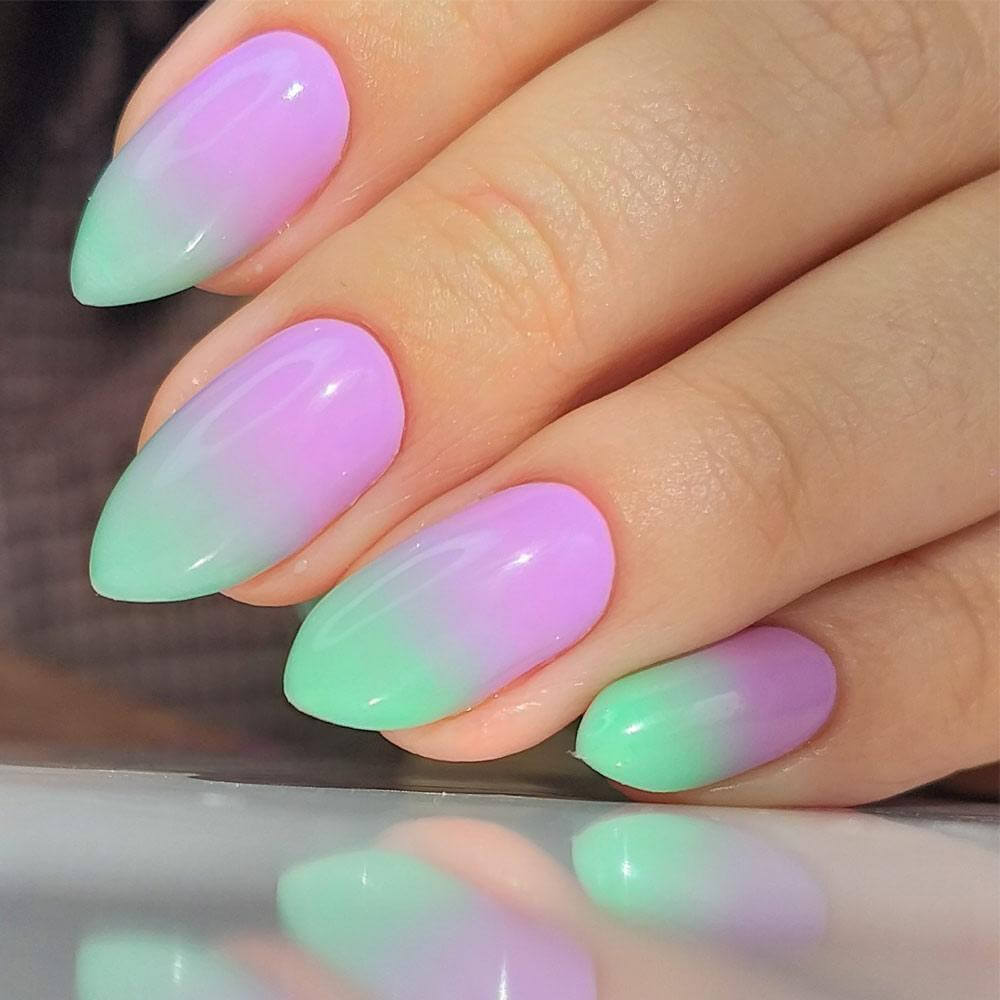
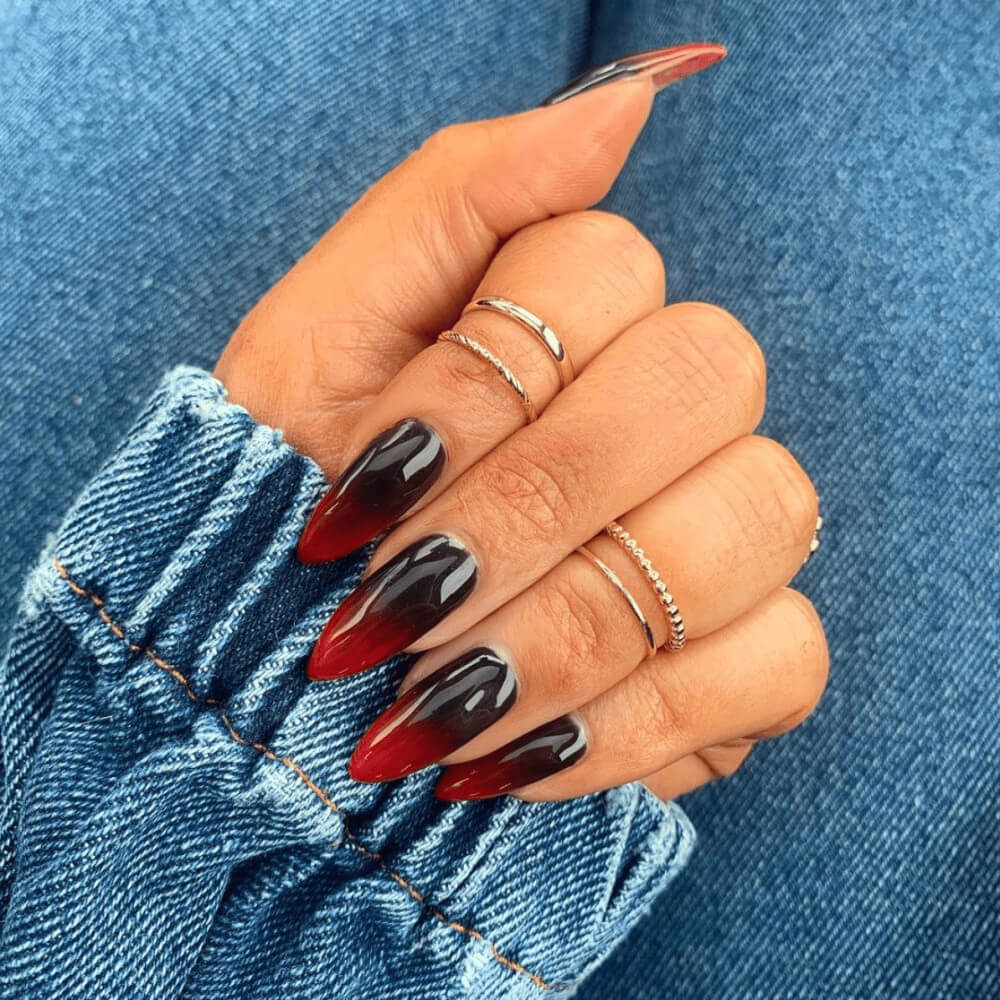
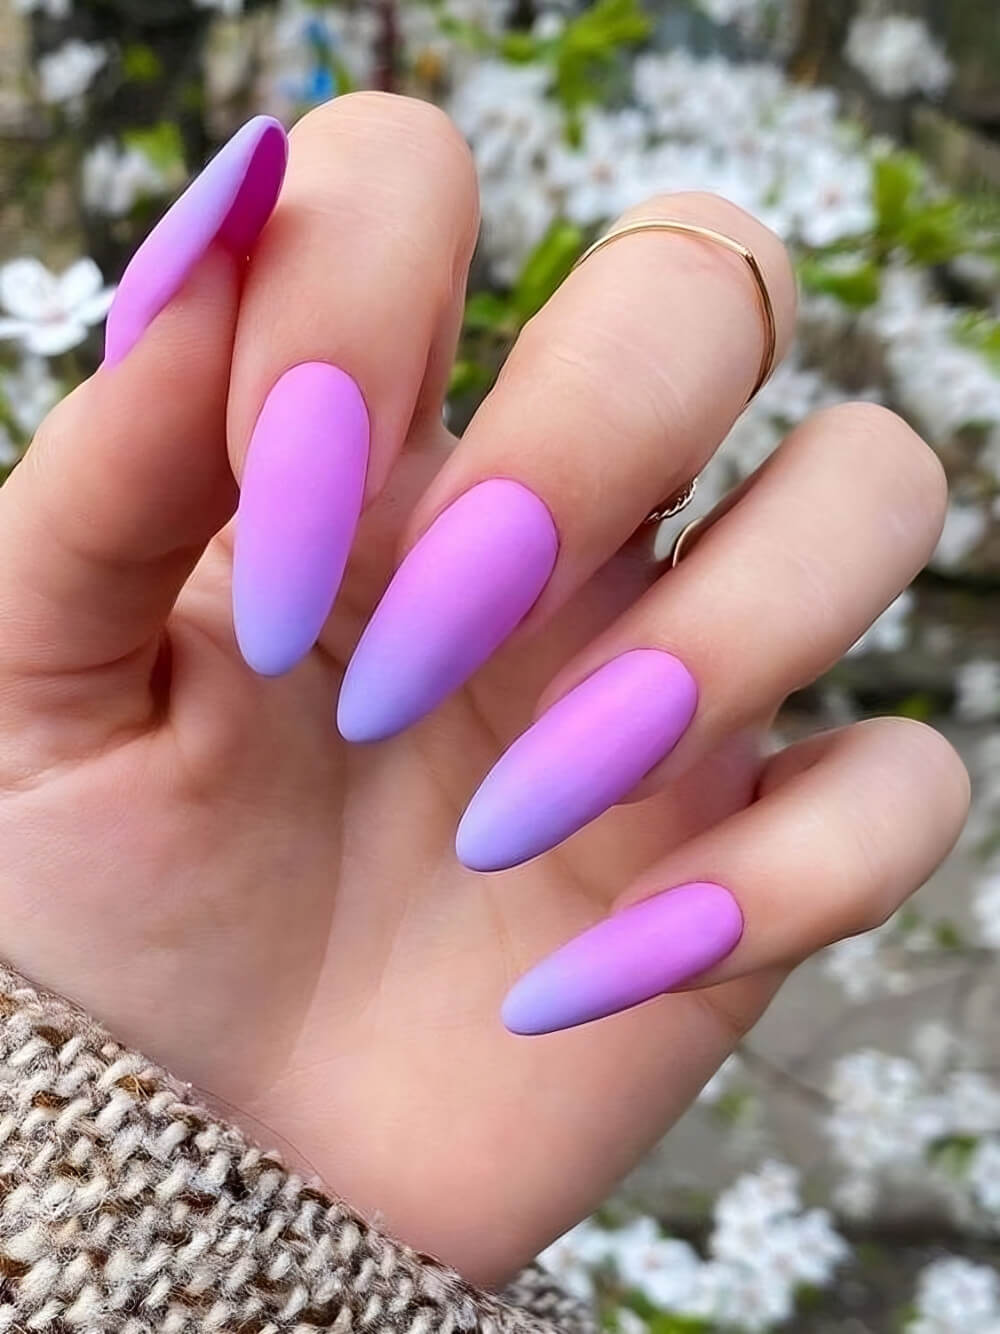
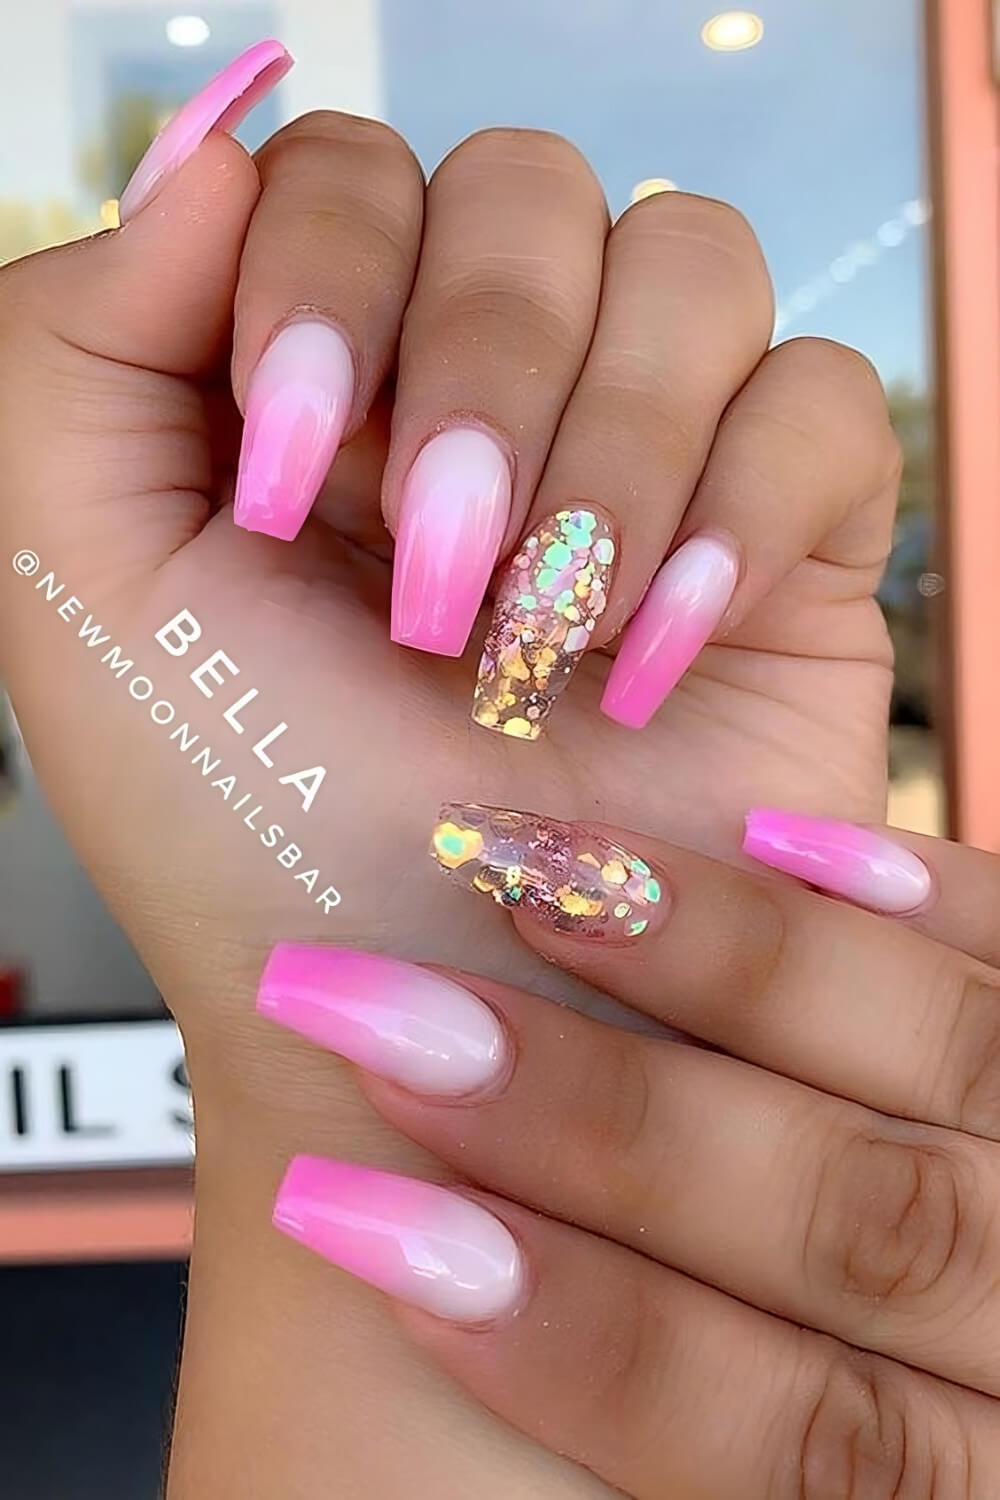
4.
5.
The core charm of the DIY ombré technique lies in its ability to deliver a professional-level finish using minimal, inexpensive equipment.
This guide will demystify the process, turning a complex-looking gradient into an easy, enjoyable at-home ritual.
Mastering this technique unlocks a world of color possibilities, allowing you to blend your favorite shades while saving you time, money and giving you complete creative control.
6.

7.

8.
Sponge, Blend, Repeat
The reason the makeup sponge technique works so well is that the porous material naturally softens the harsh line where two colors meet, diffusing the pigment layer by layer to create a smooth, airbrushed effect.
The Magic of the Sponge
A high-density makeup sponge (or a small piece of a cosmetic wedge) is superior to using a brush for blending.
The sponge lifts and deposits tiny, overlapping micro-dots of polish, which visually trick the eye into seeing a seamless color flow, rather than distinct lines.
9.

10.
11.
Why Choose DIY Ombré?
Cost-Effective: Requires only polishes you already own and an inexpensive cosmetic sponge.
Creative Freedom: Mix and match custom color combinations not offered in pre-made kits.
Therapeutic Process: The repetitive stamping is relaxing and satisfying, turning a chore into self-care.
12.
13.
14.
The Step-by-Step DIY Ombré Guide
Follow these five simple stages to create a perfect two-color ombré (the process is easily adapted for three colors).
Stage 1: Prep and Prime (The Foundation)
- Shape and Clean: File your nails to your desired shape and ensure they are clean, dry, and free of oils.
- Base Coat: Apply a layer of your preferred base coat and let it dry completely. This protects your natural nail and helps the manicure last longer.
15.
16.

- The Light Base: Apply two coats of your lightest ombré color to all your nails. This acts as the background and helps the subsequent blended colors pop. Let this layer dry fully (crucial!).
- Skin Protection: Generously apply liquid latex or a layer of petroleum jelly to the skin surrounding your nails. This acts as a barrier, making the messy cleanup instant.
17.

18.

Stage 2: Load the Sponge (The Color Stripe)
- Stripe the Colors: Take your piece of foil and paint a stripe of your lighter color next to a stripe of your darker color. Ensure the two colored stripes touch slightly in the middle.
- Transfer to Sponge: Immediately press the clean edge of your makeup sponge directly onto the two color stripes on the foil. The sponge should pick up both colors with a soft, slightly blurred line where they meet.
- Re-Apply: The polish on the foil will dry quickly, so re-stripe the foil before working on the next nail.
19.

20.
21.

Stage 3: The Blend (The Stamping Action)
- The Gentle Bounce: Immediately after loading the sponge, gently and quickly dab the sponge onto your nail plate.
- Focus the Blend: Concentrate the stamping motion in the center of the nail, where the colors need to transition. Avoid excessive dabbing at the very edges (tip and cuticle) unless you want the entire nail covered in the textured sponge look.
22.

23.

- Lift and Repeat: Let the first layer dry for about 30 seconds. Repeat the sponge-dabbing process (Stage 2 and 3) two to three times. Each layer will build the opacity and deepen the color saturation, making the blend look more seamless.
24.
25.

Stage 4: Seal and Smooth (The Finishing Touch)
- The Quick Clean: While the polish is still slightly damp, gently peel off the liquid latex or wipe away the petroleum jelly barrier. The vast majority of the mess will come off instantly.
- Detail Clean: Dip your small detail brush into pure acetone and carefully clean up any remaining color around the cuticles and edges.
- The Top Coat: Apply a generous layer of a glossy, quick-dry top coat. This is essential for two reasons: a) it protects the art, and b) it smooths out the slightly bumpy, textured finish left by the sponge.
26.
27.
28.
Troubleshooting and Advanced Tips
- My Colors Aren’t Blending: This usually happens if the polish on the sponge dried before you started stamping. Work quickly, and be sure to re-apply the polish to the foil for every nail.
- The Sponge Texture is Too Noticeable: Use a thicker top coat and apply two coats if necessary. The top coat is the great equalizer, smoothing the texture into a flawless, glossy sheet.
29.
30.
31.
- For Three Colors: Stripe your three colors onto the foil in the desired order, making sure all three are touching. Stamp as usual, ensuring the sponge covers the entire length of the nail.
- Glitter Ombré: For a perfect glitter gradient, apply a solid color base. Then, dip the sponge only into a chunky glitter polish and stamp just the tips of the nails, fading the sparkle down towards the center. This is often easier than blending two solid creams.
32.
33.

34.

35.