Don’t underestimate the charm of pretty toe nails. You might not show them off as often as your fingernails, but they’re no less important. Plus, painting your toes means you have more room for your creativity to blossom.
Want to add more cool art to your nails but run out of space? Paint them on your toenails instead! Now you don’t have to choose between two pretty nail designs anymore. You can have both!
And if you’re a fan of sandals or flip-flops, then you definitely should get a pedicure. Pretty toenails can be a great accessory to spice up your look, no matter how boring your footwear is.
Things can never go wrong with classic colors such as nude, red, or burgundy. Choosing a proper toenail design is the easiest way to level up any look.
If you’re looking for awesome ideas to paint on your toenails, you have come to the right spot.
Ahead are 35 toe nail designs that can make your feet 10 times prettier. From simple and elegant to bold and wild, we got them all in the list below!
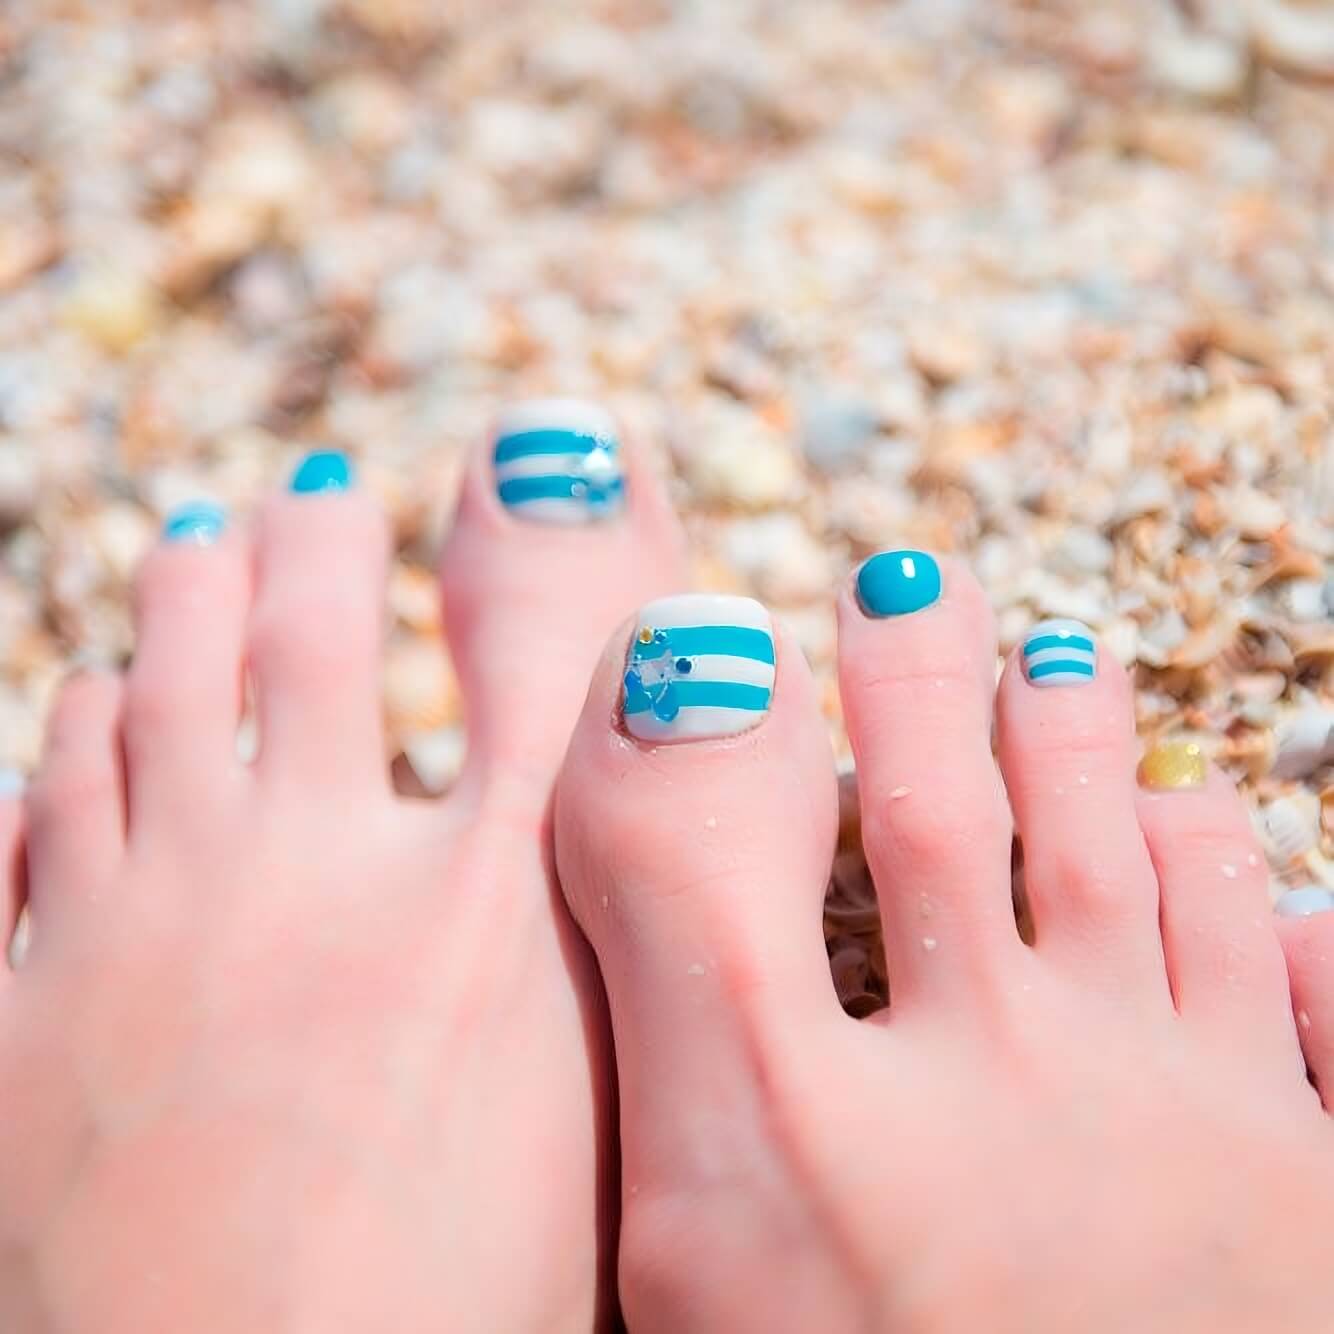
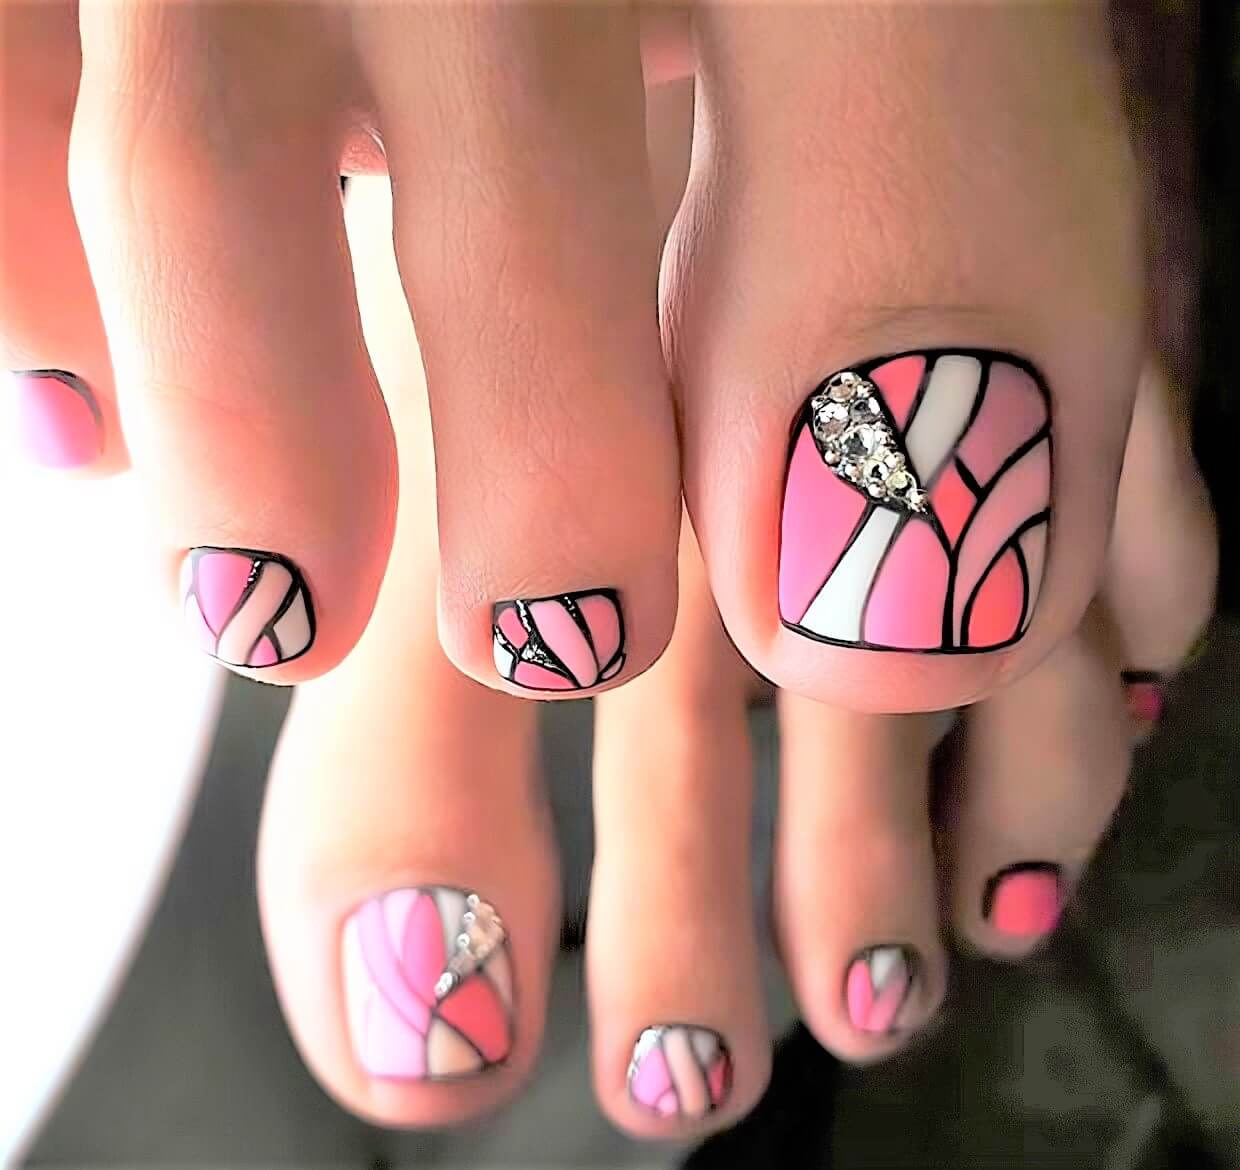
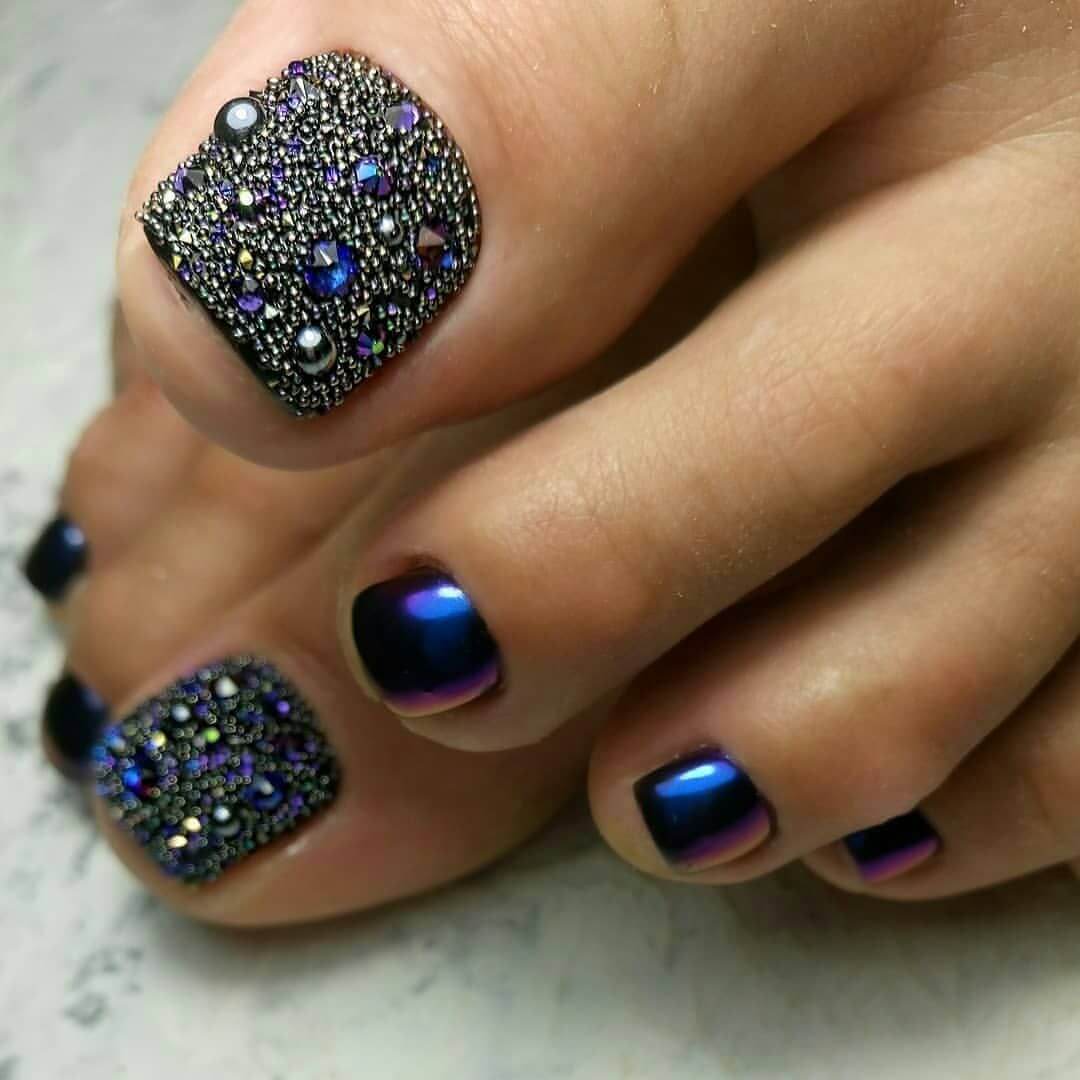
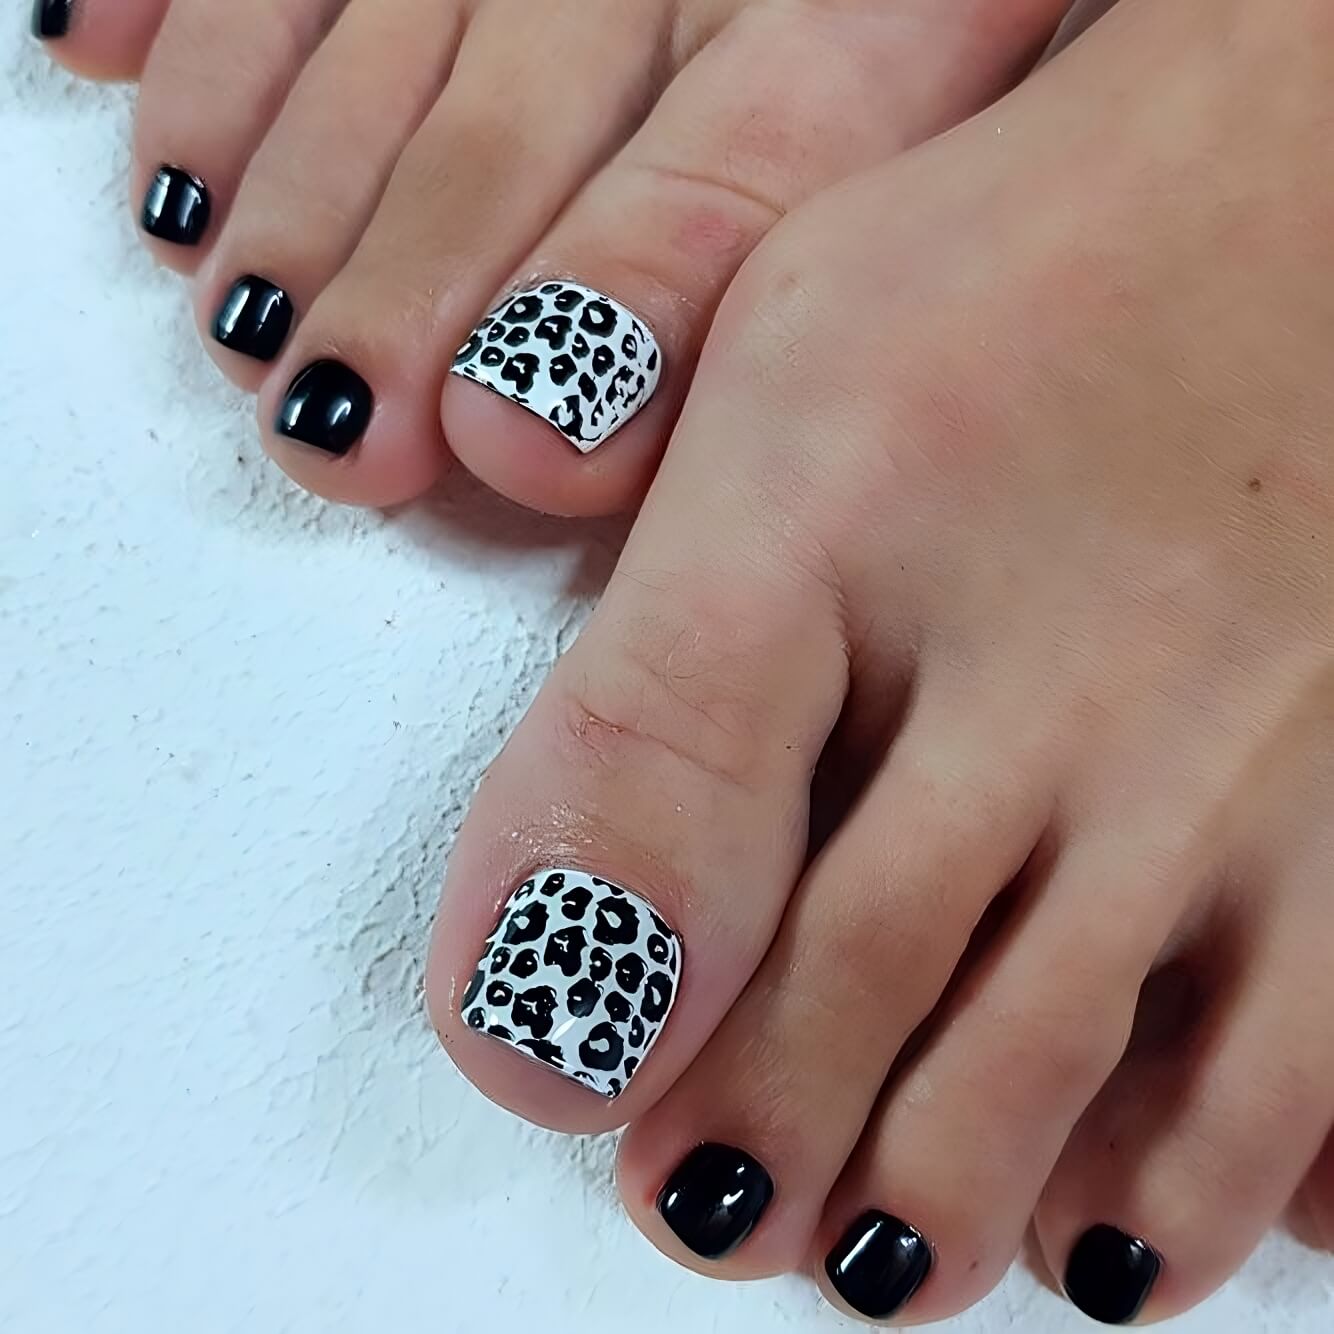
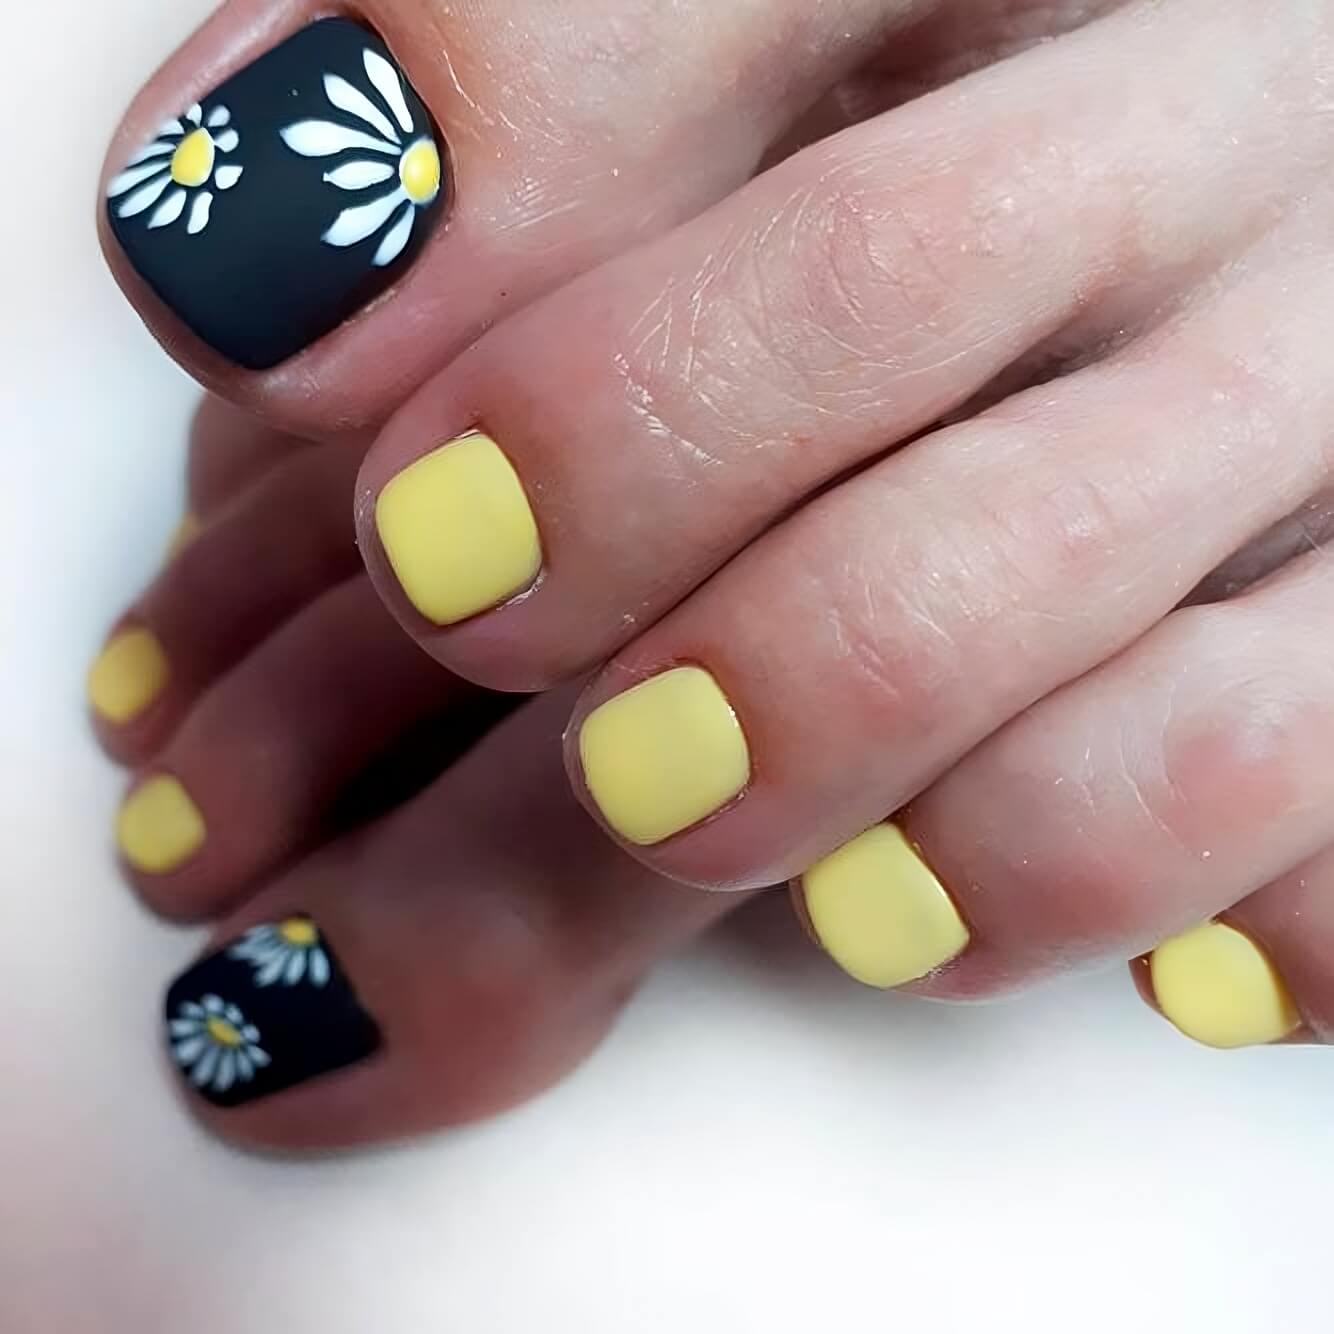
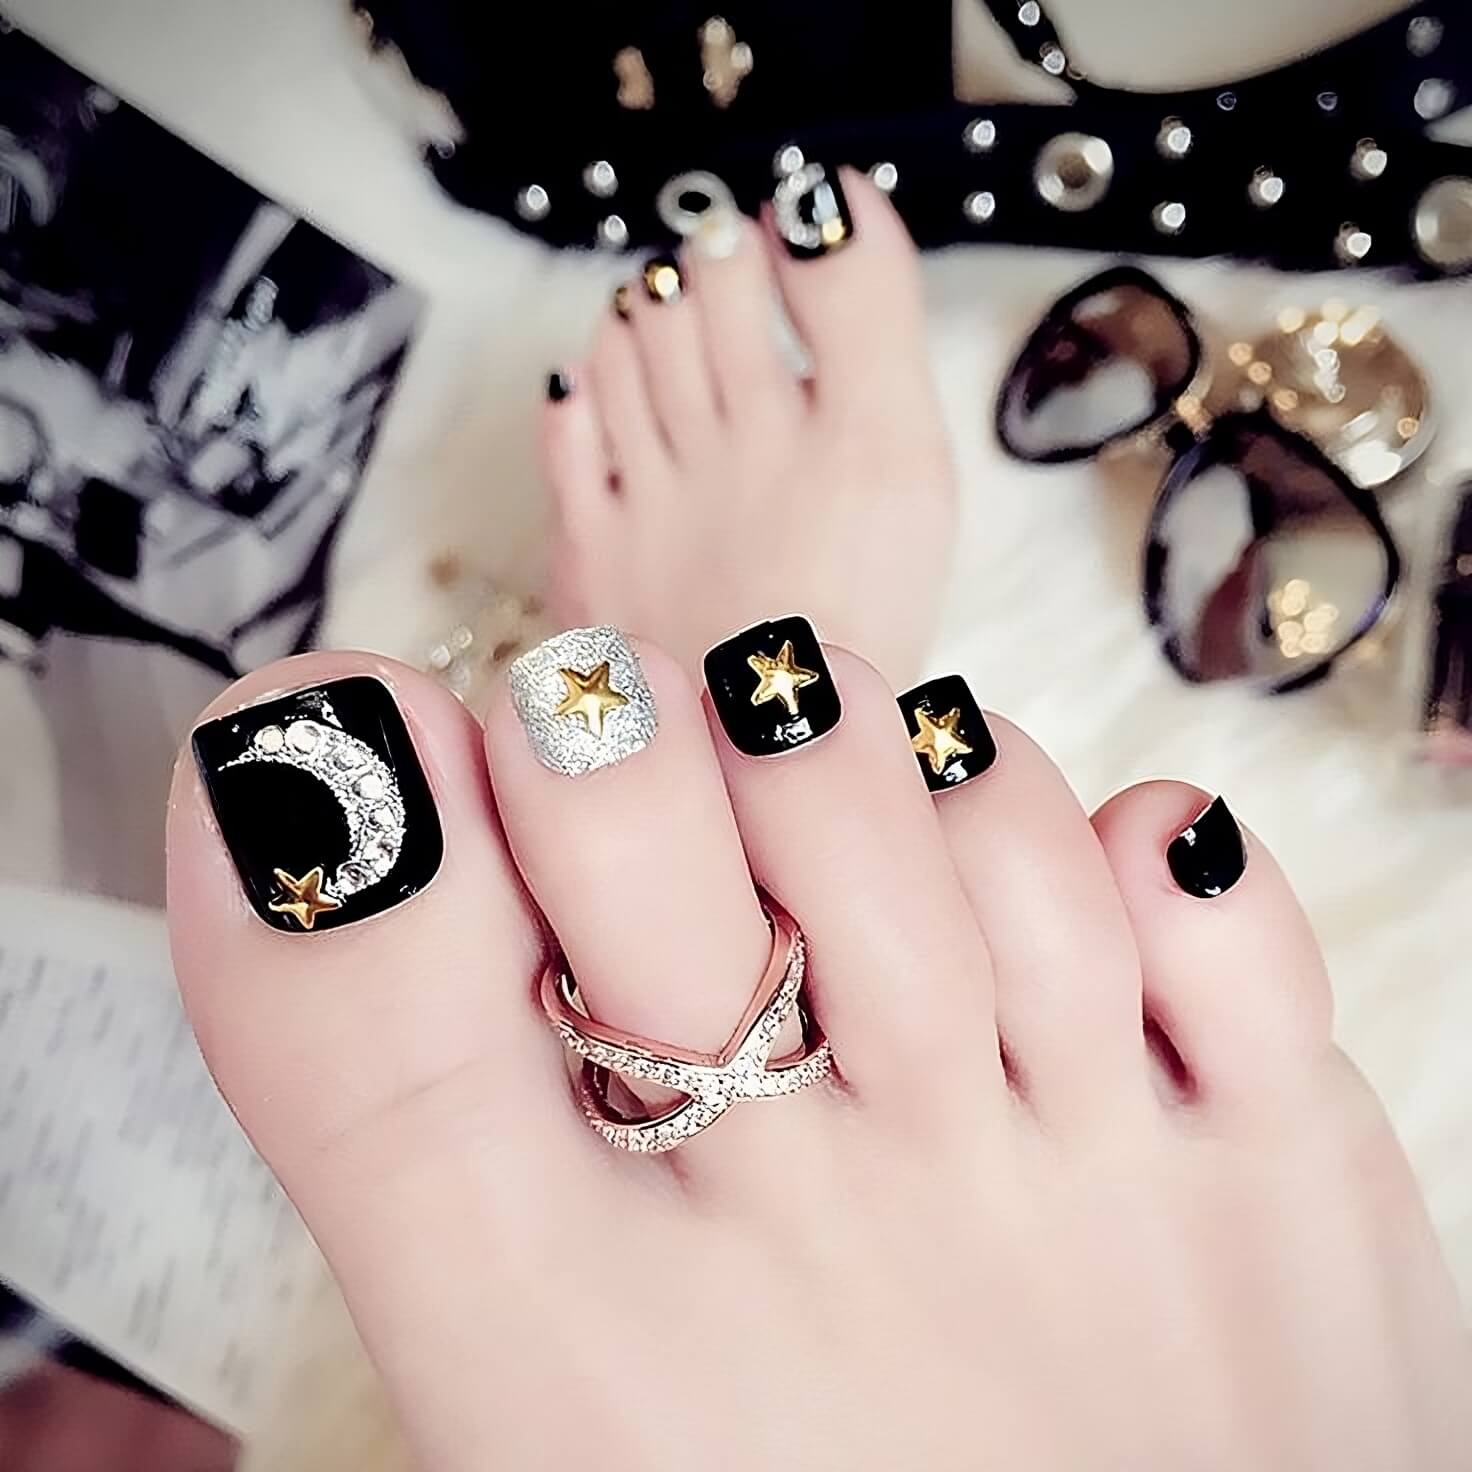
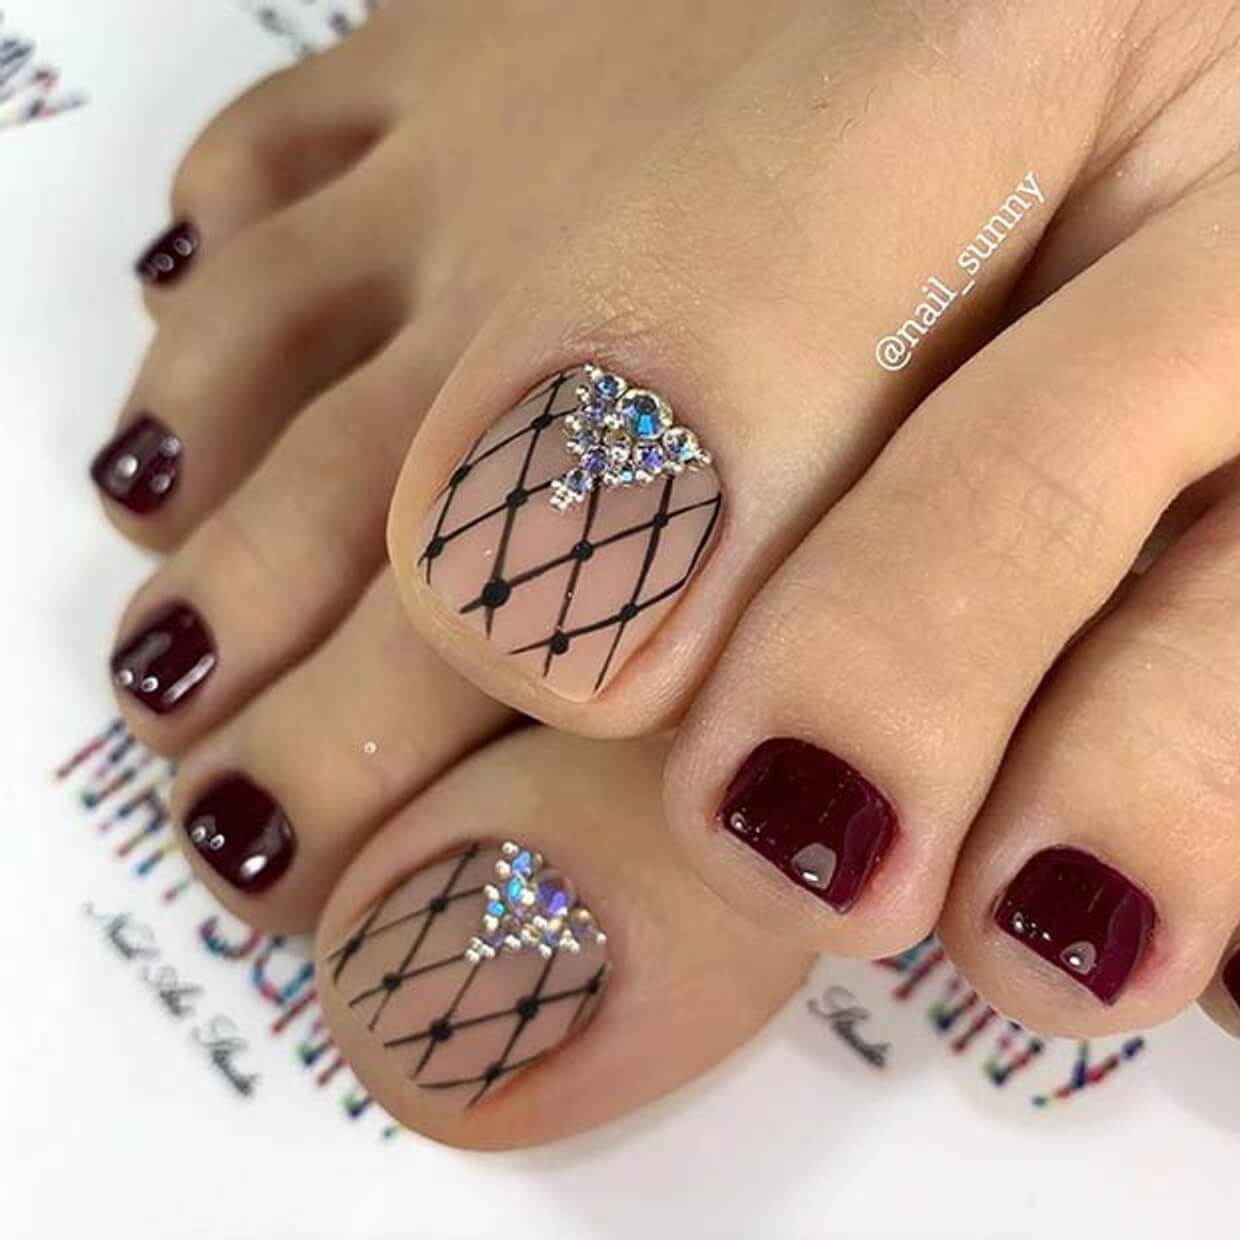
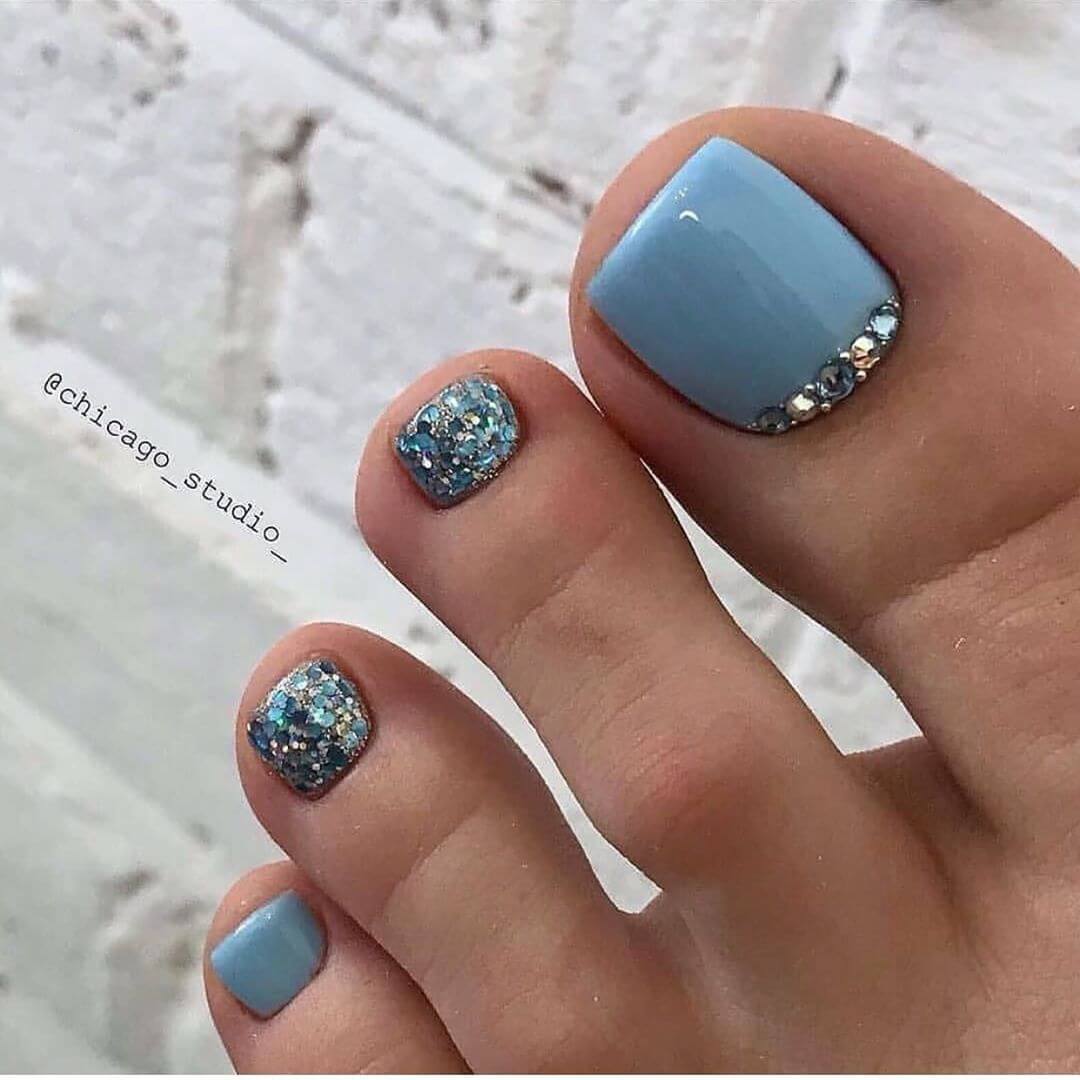
1.
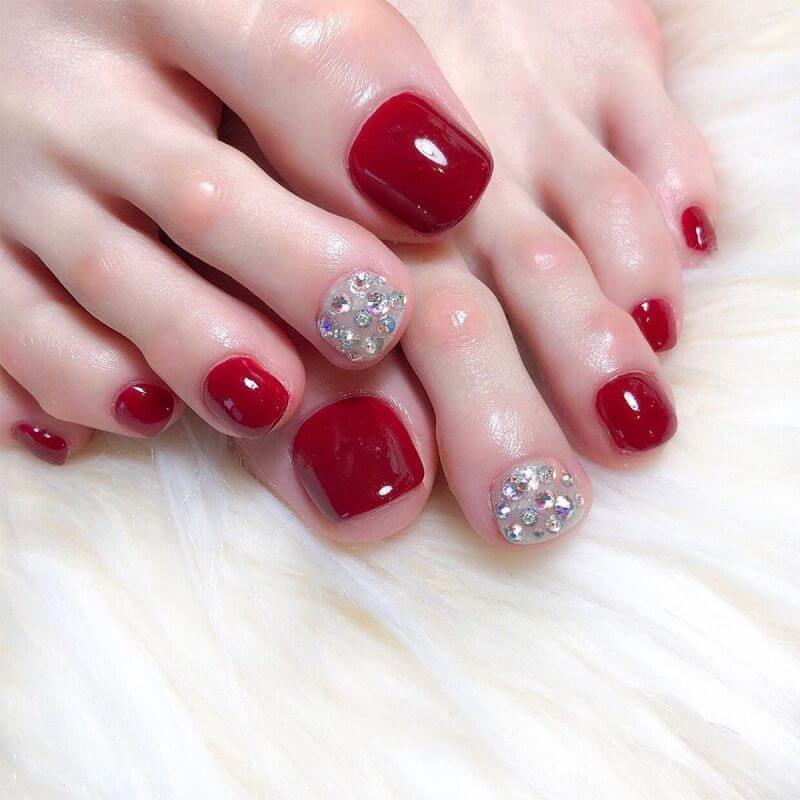
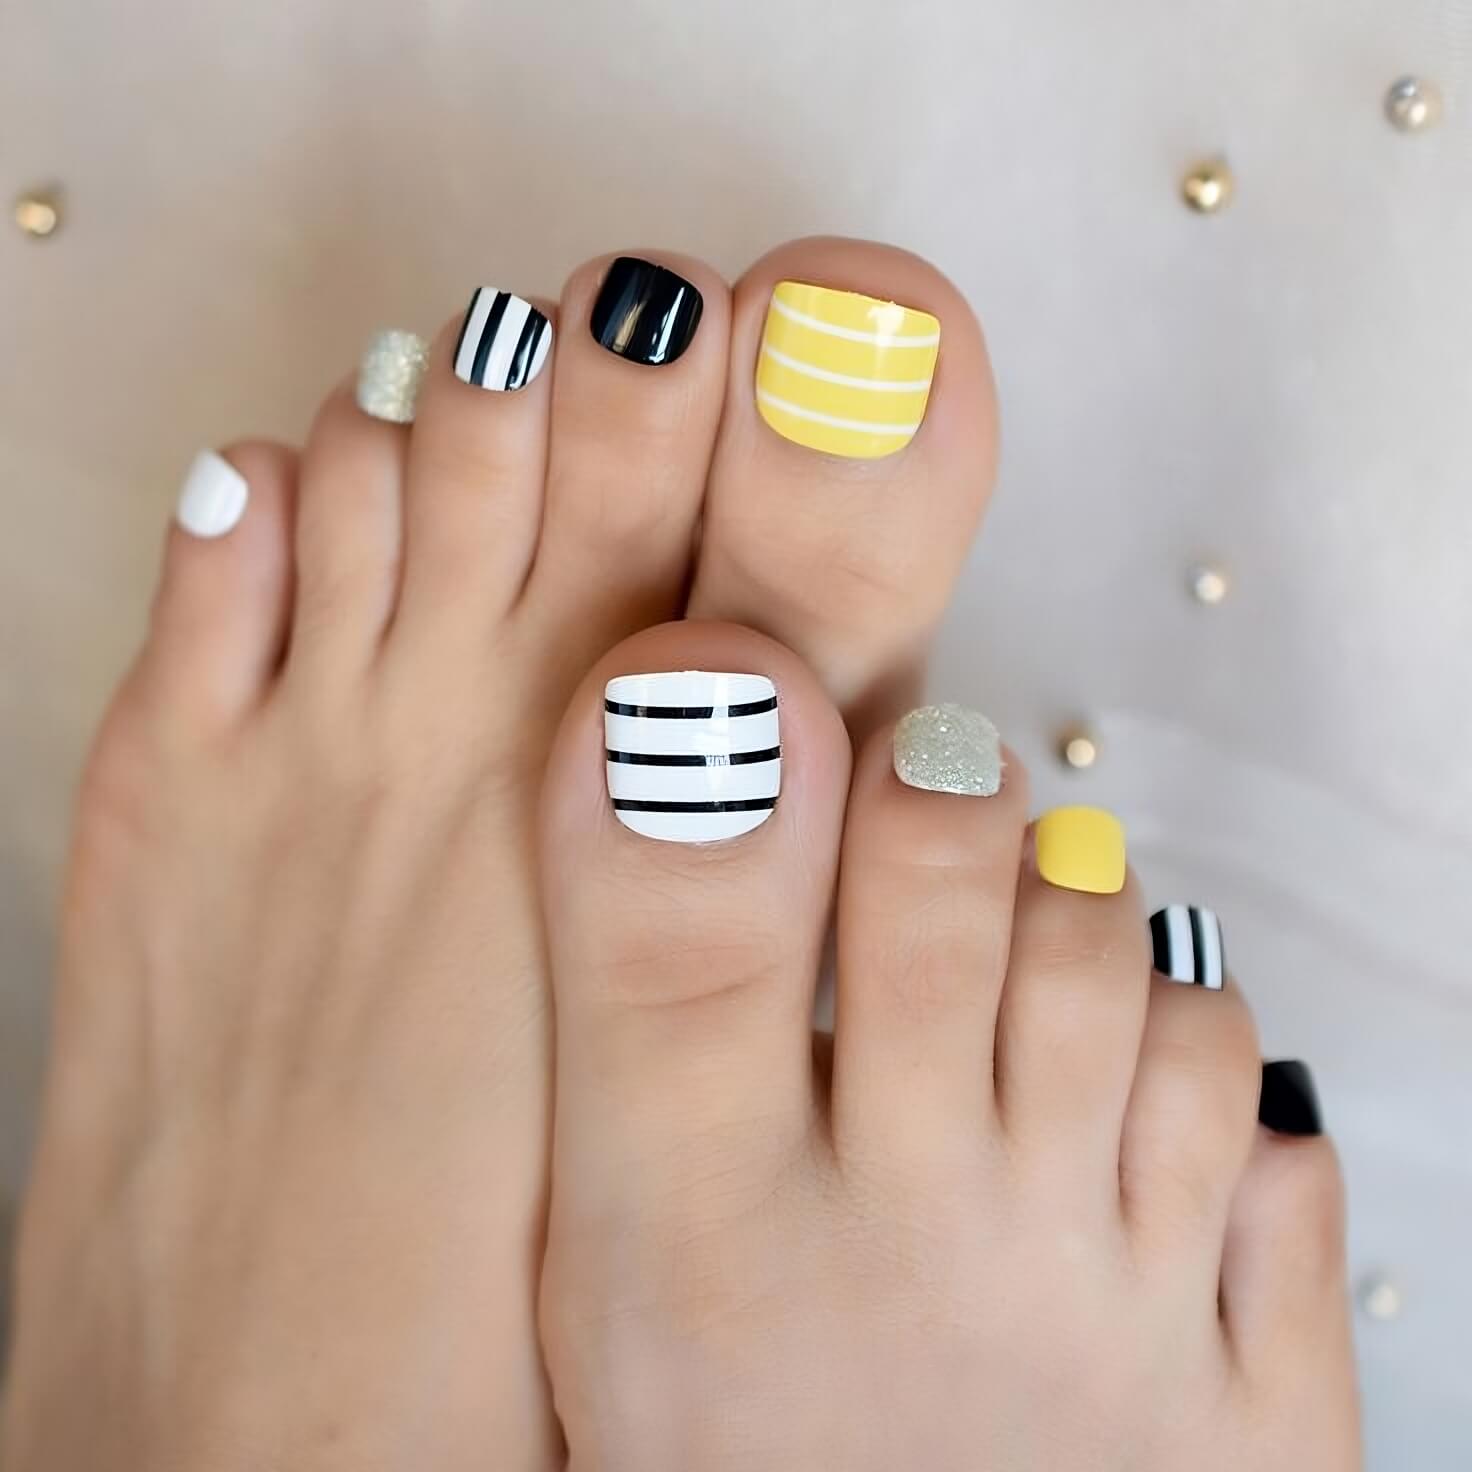
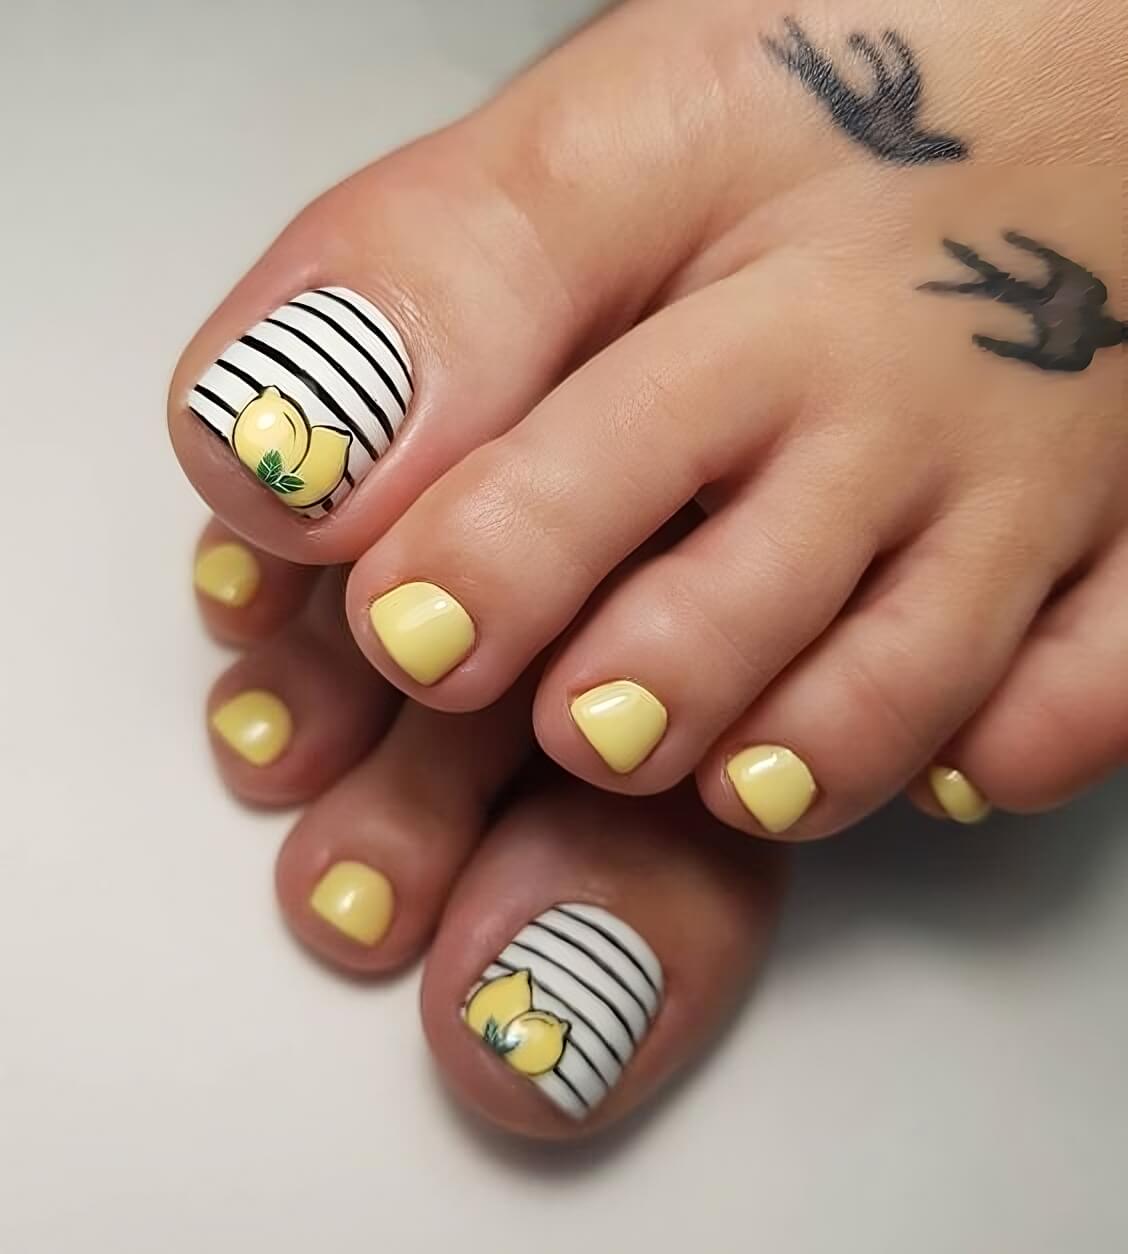
2.
The Ultimate Guide to Pedicure Care at Home
There’s nothing quite like the feeling of leaving the salon with a fresh, flawless pedicure. Your feet feel soft, your nails look vibrant, and you feel ready to step confidently into the world.
But that “freshly pedicured” feeling doesn’t have to vanish after a few days.
With a targeted and consistent at-home routine, you can significantly extend the life and beauty of your pedicure, keeping your feet soft and your polish chip-free for weeks.
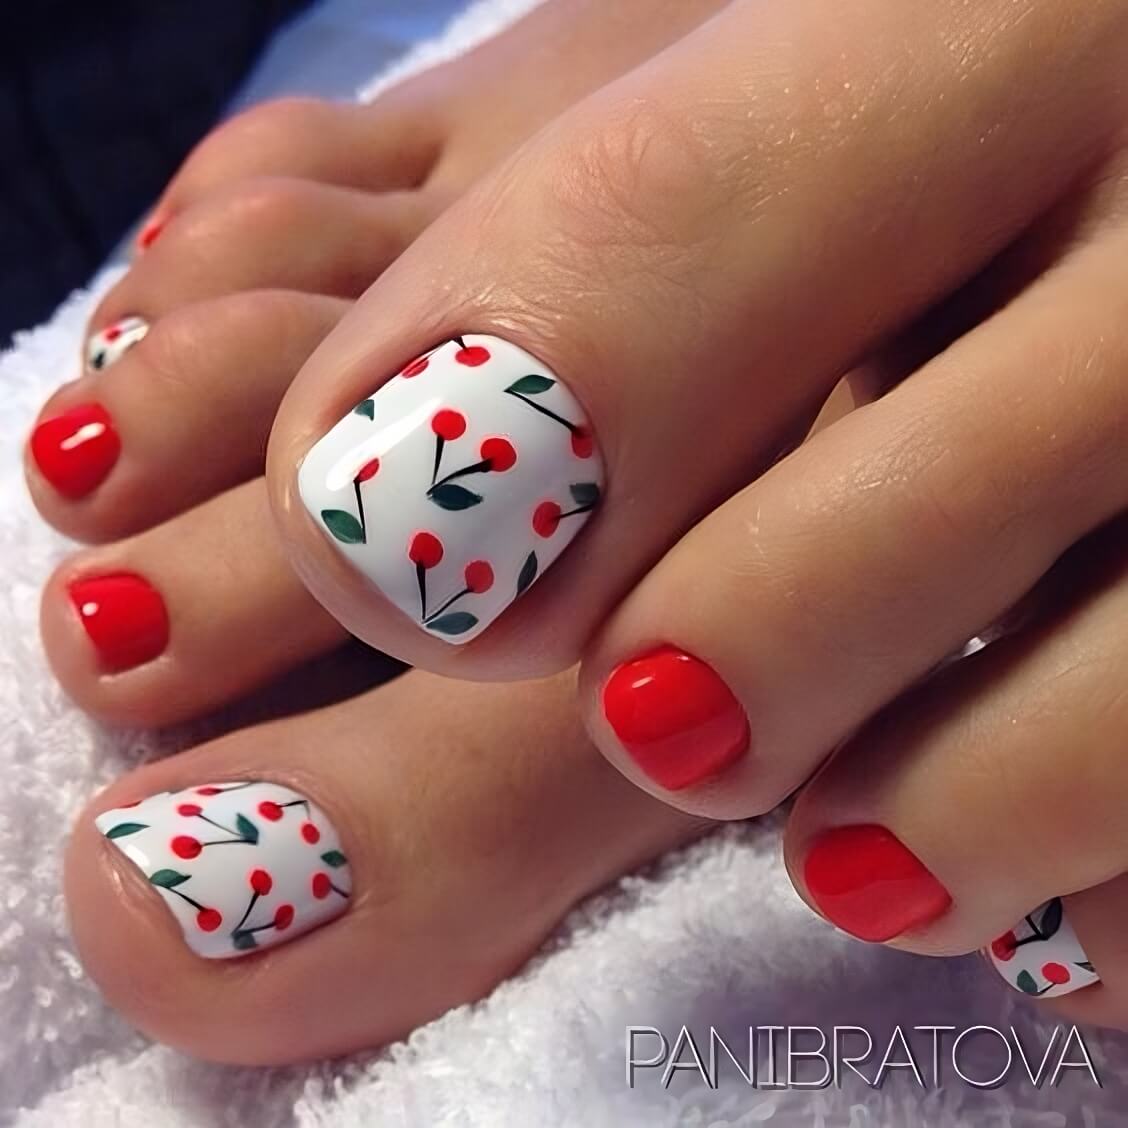
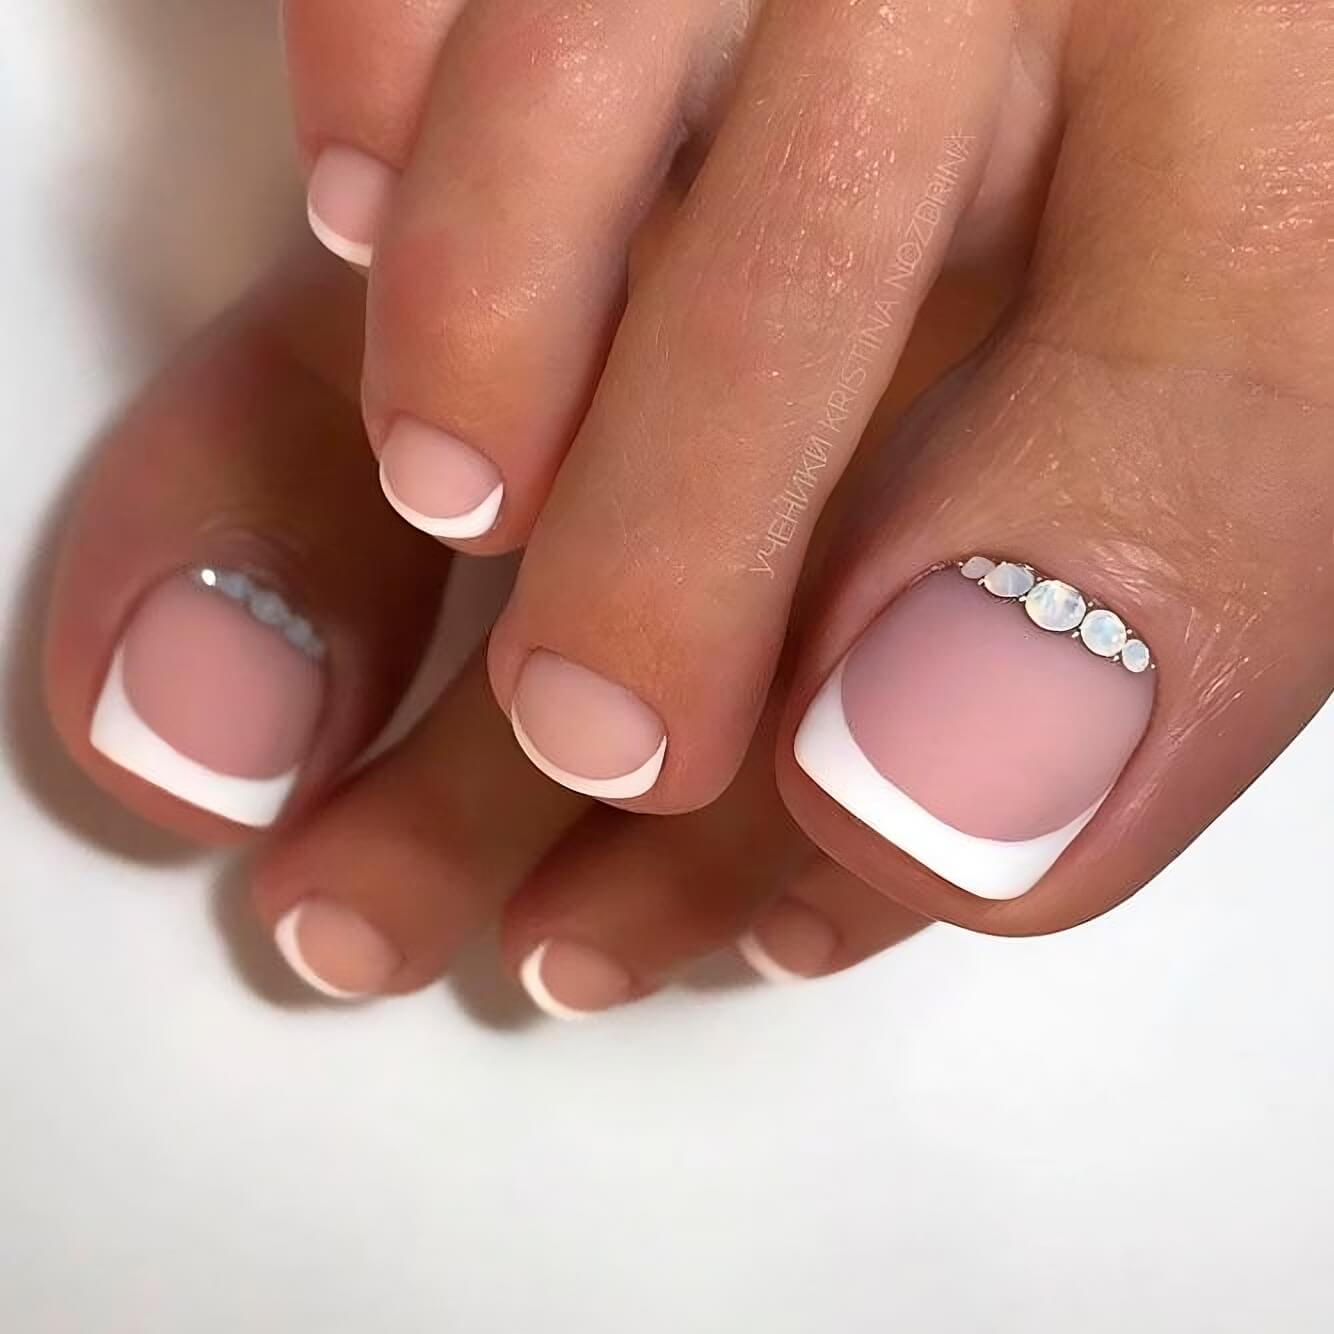
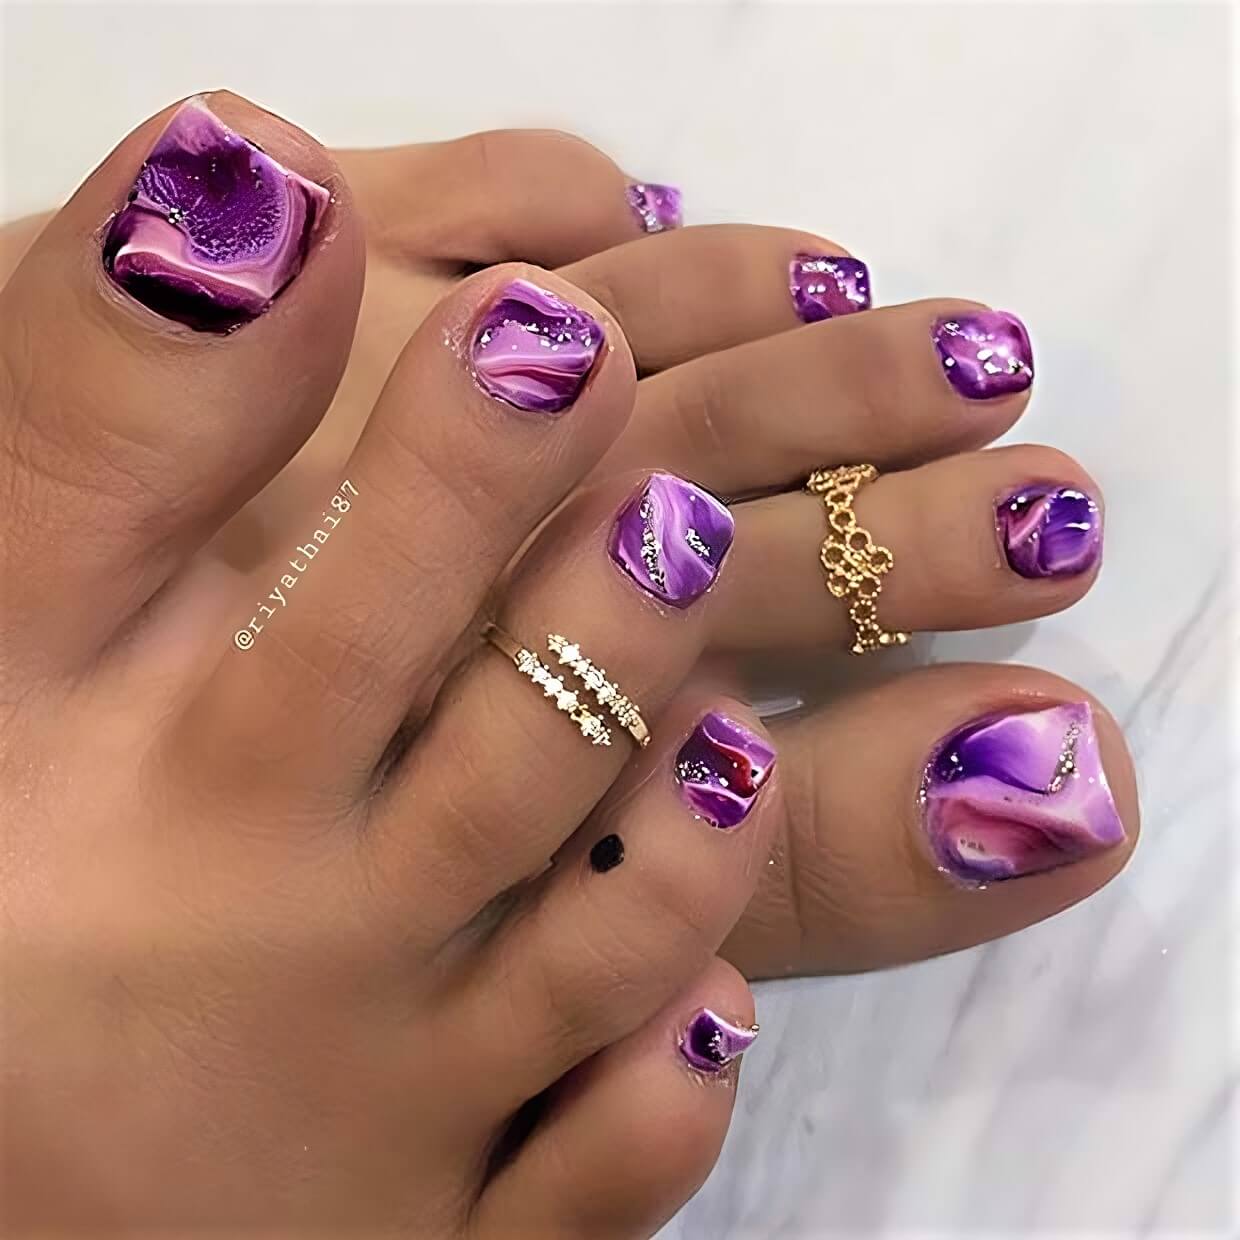
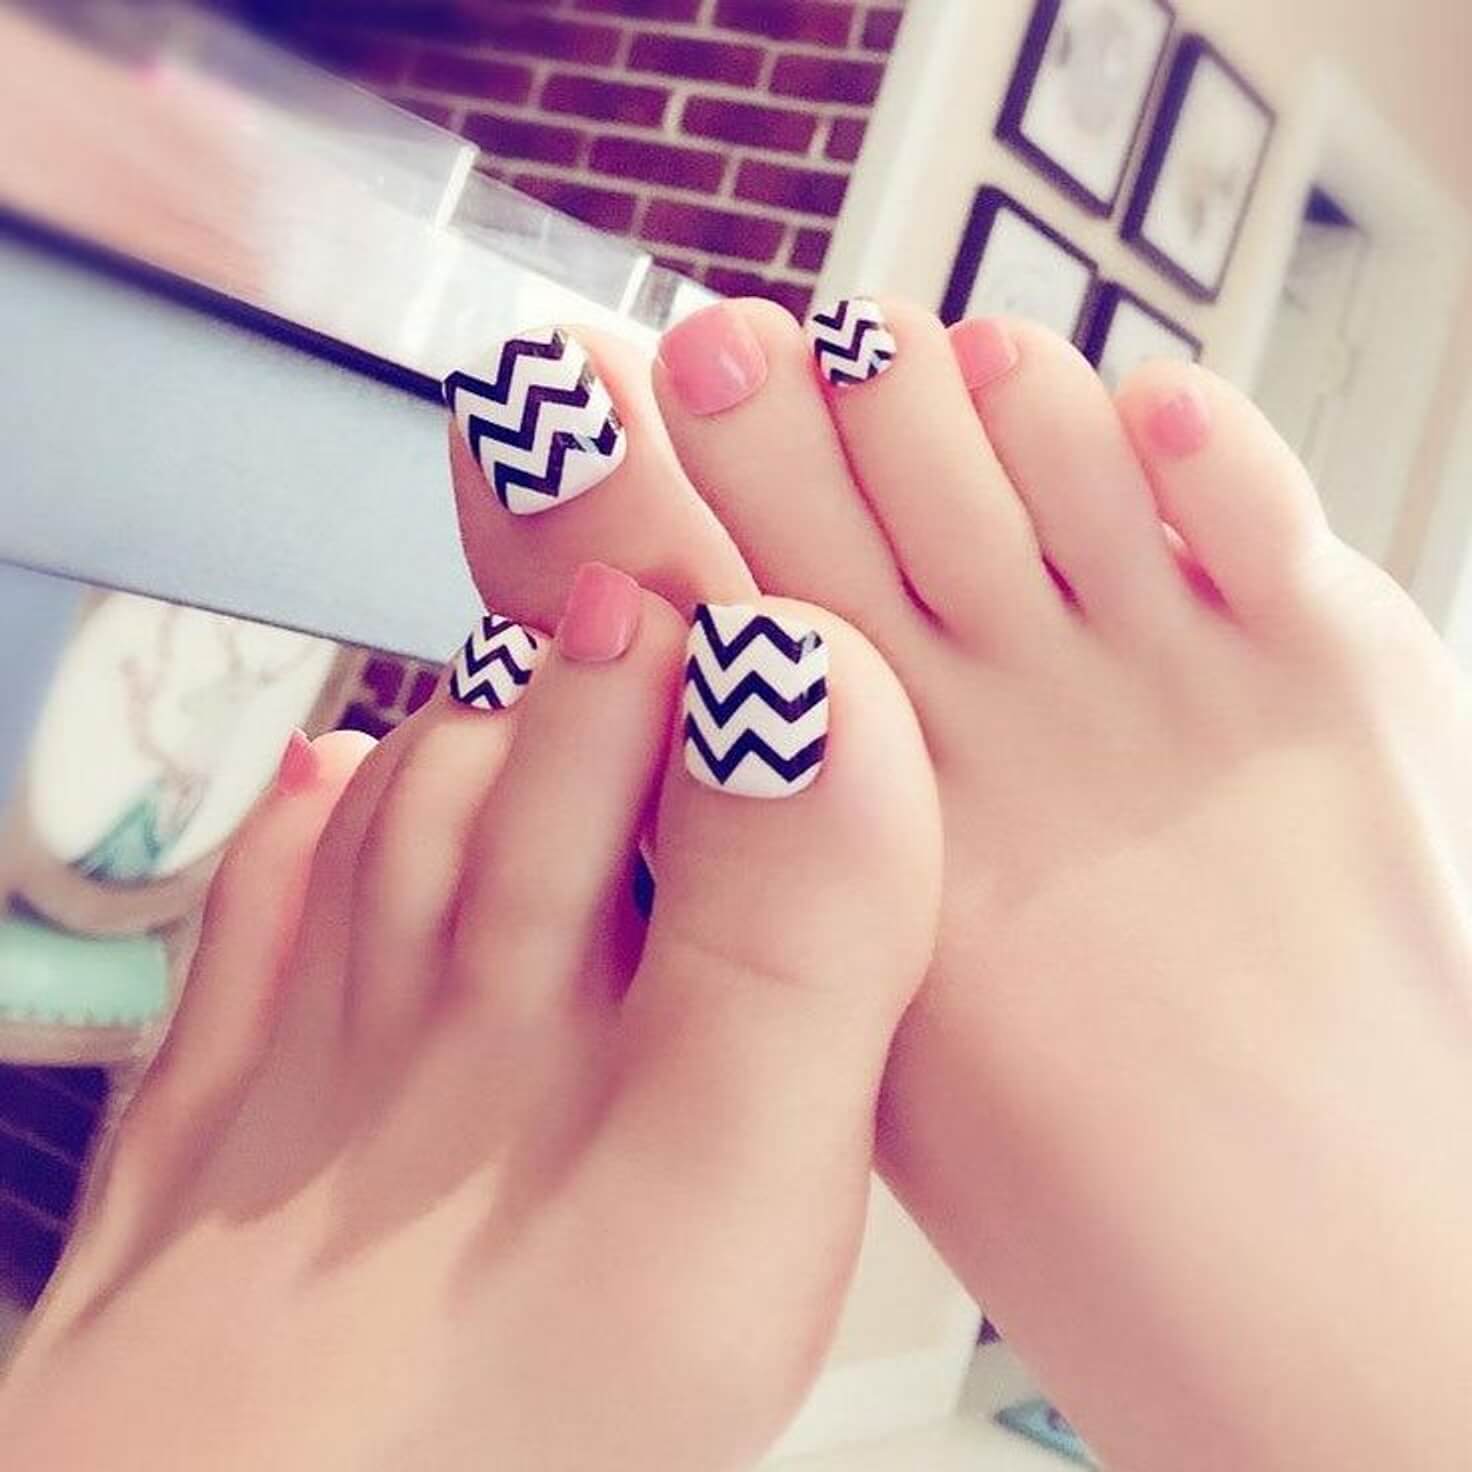
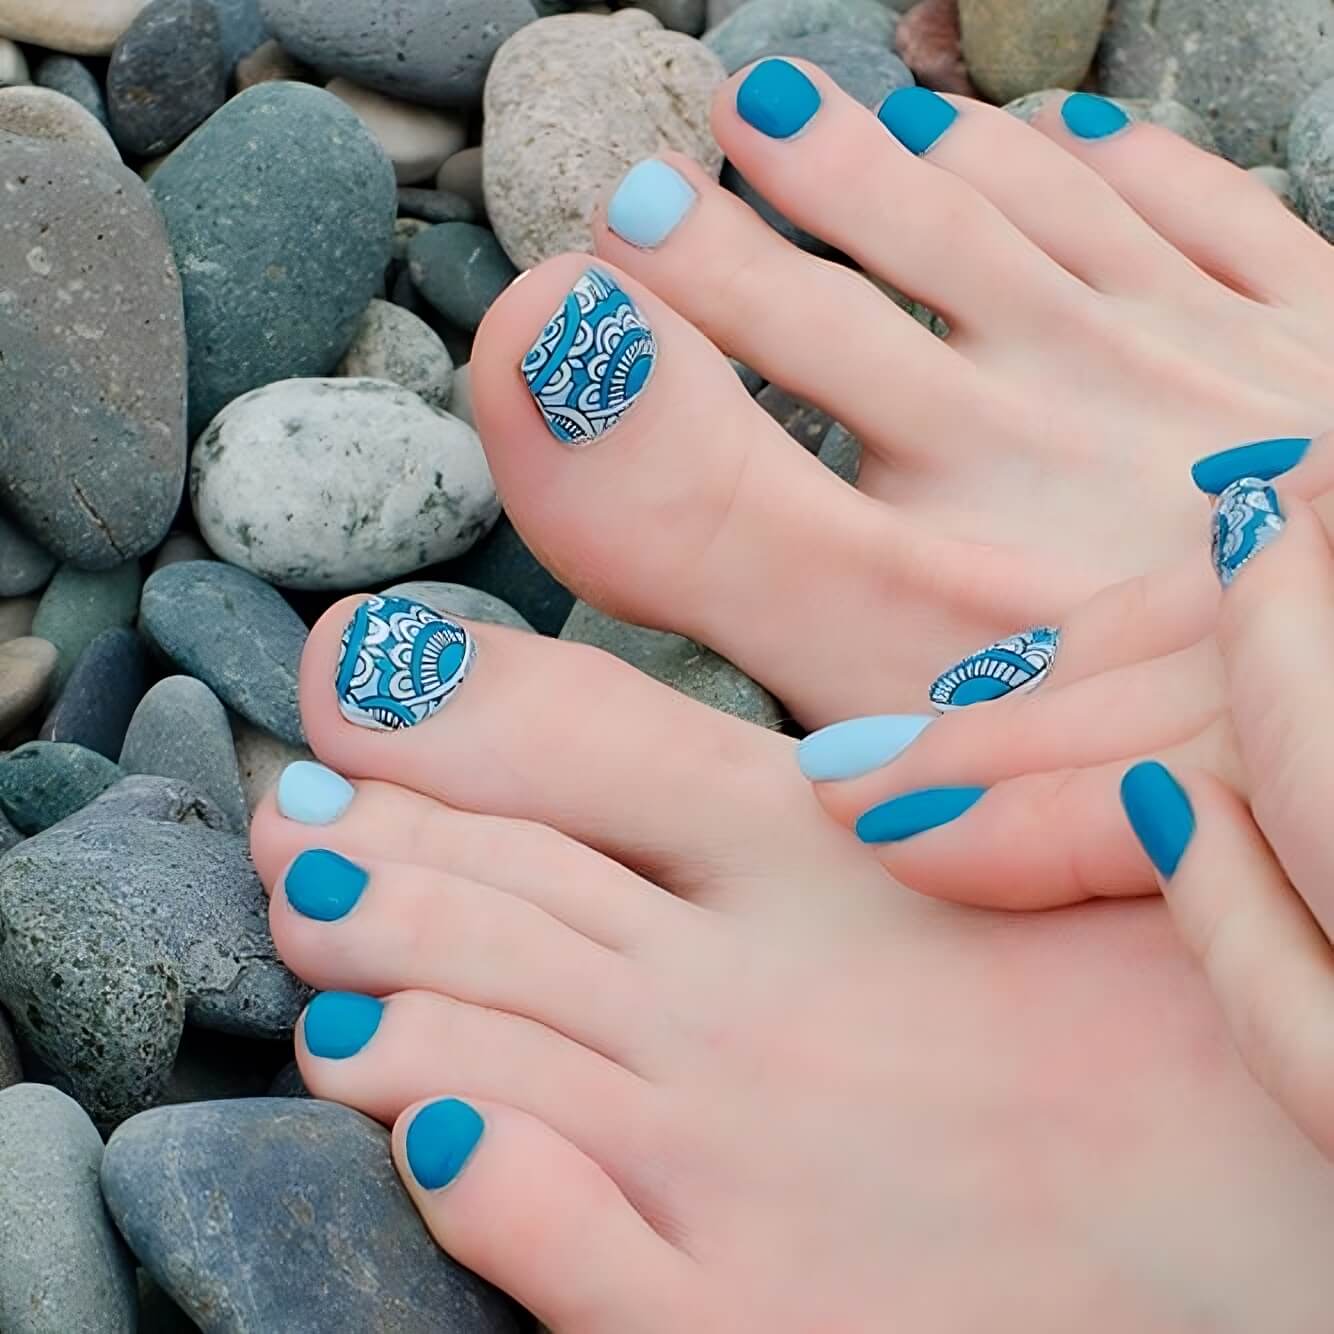
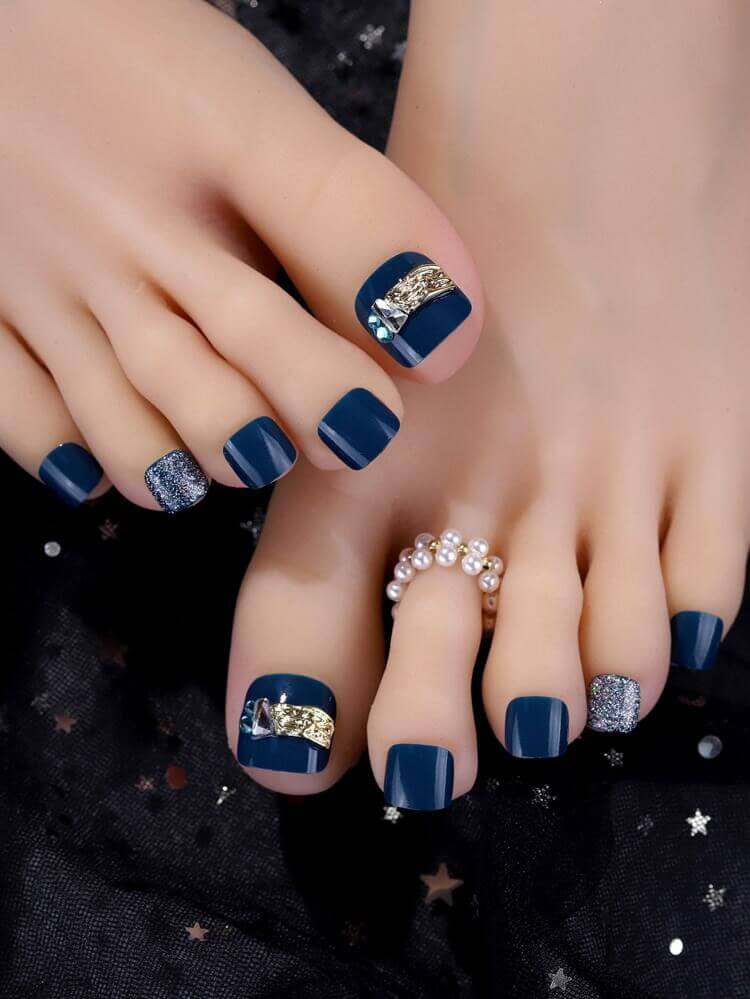
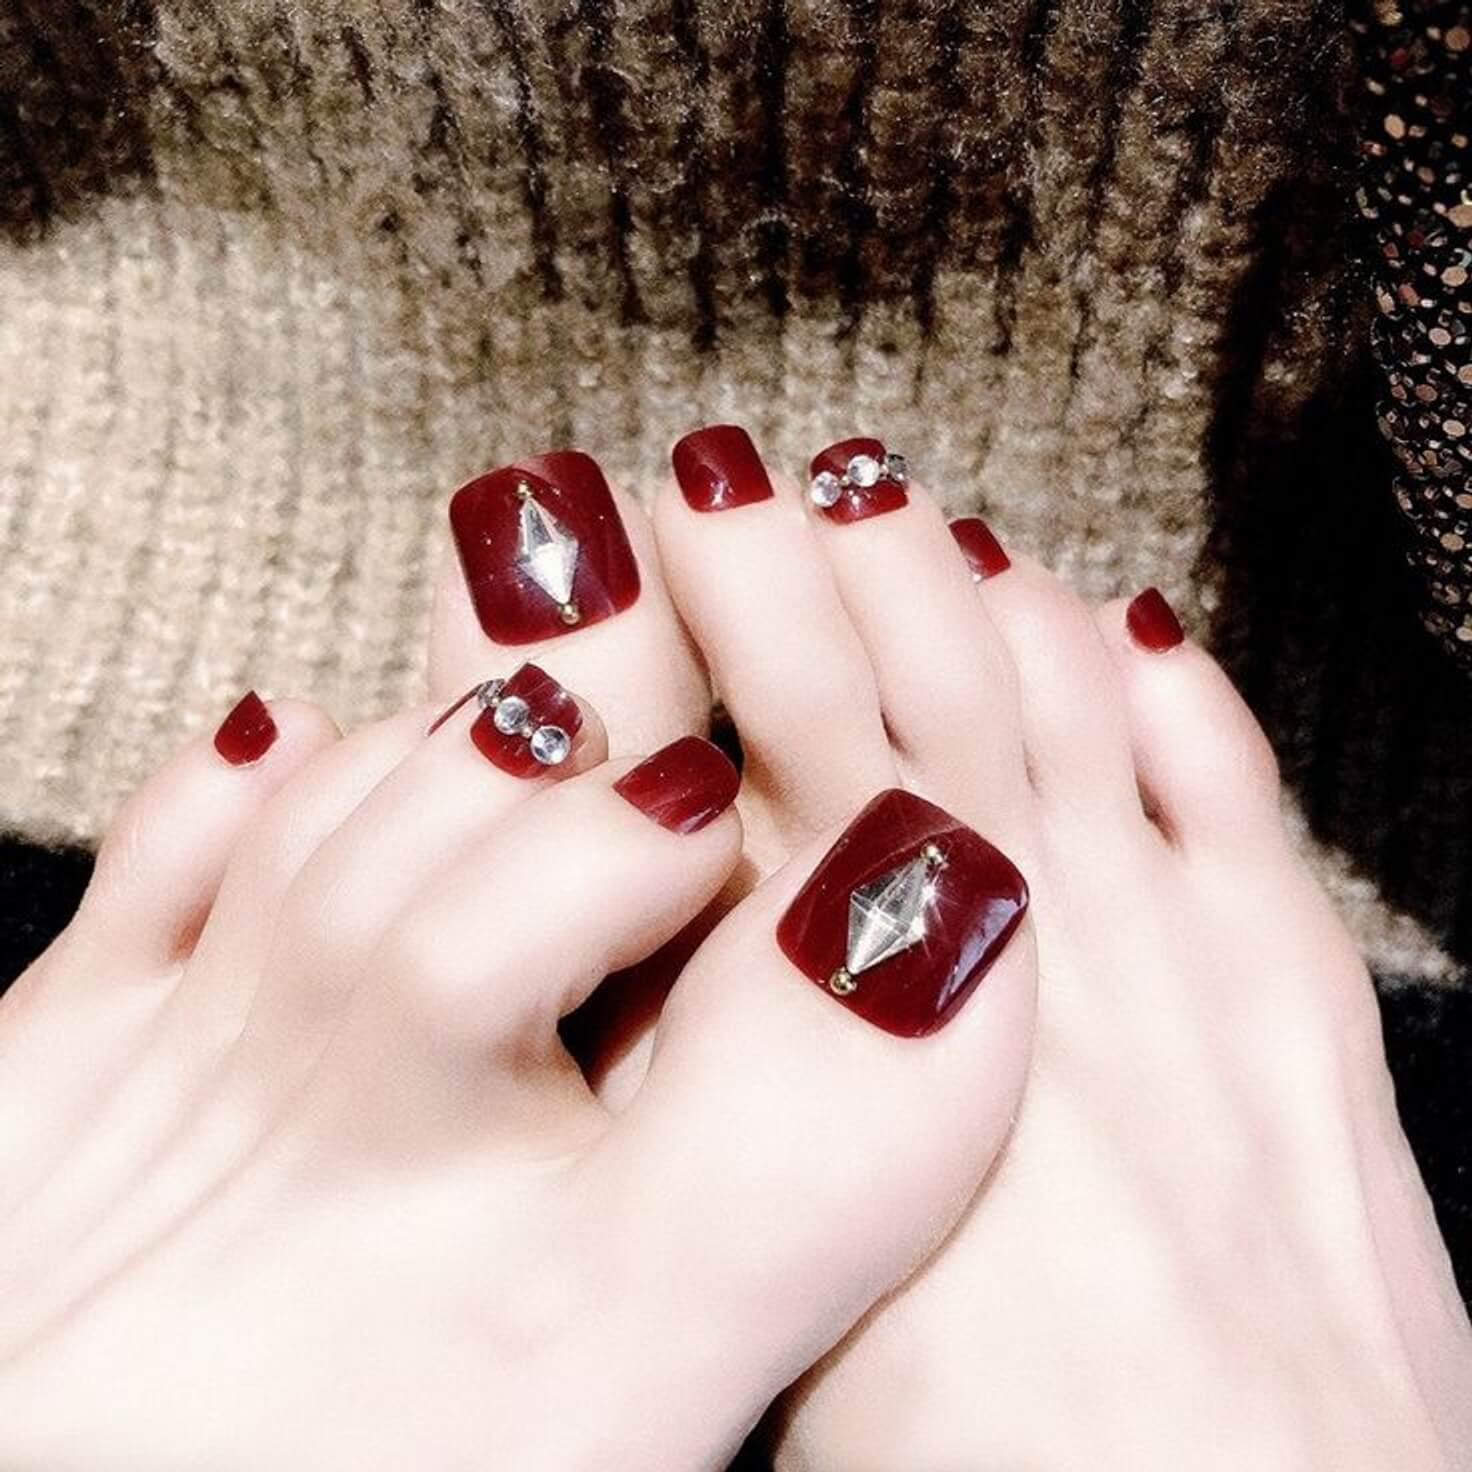
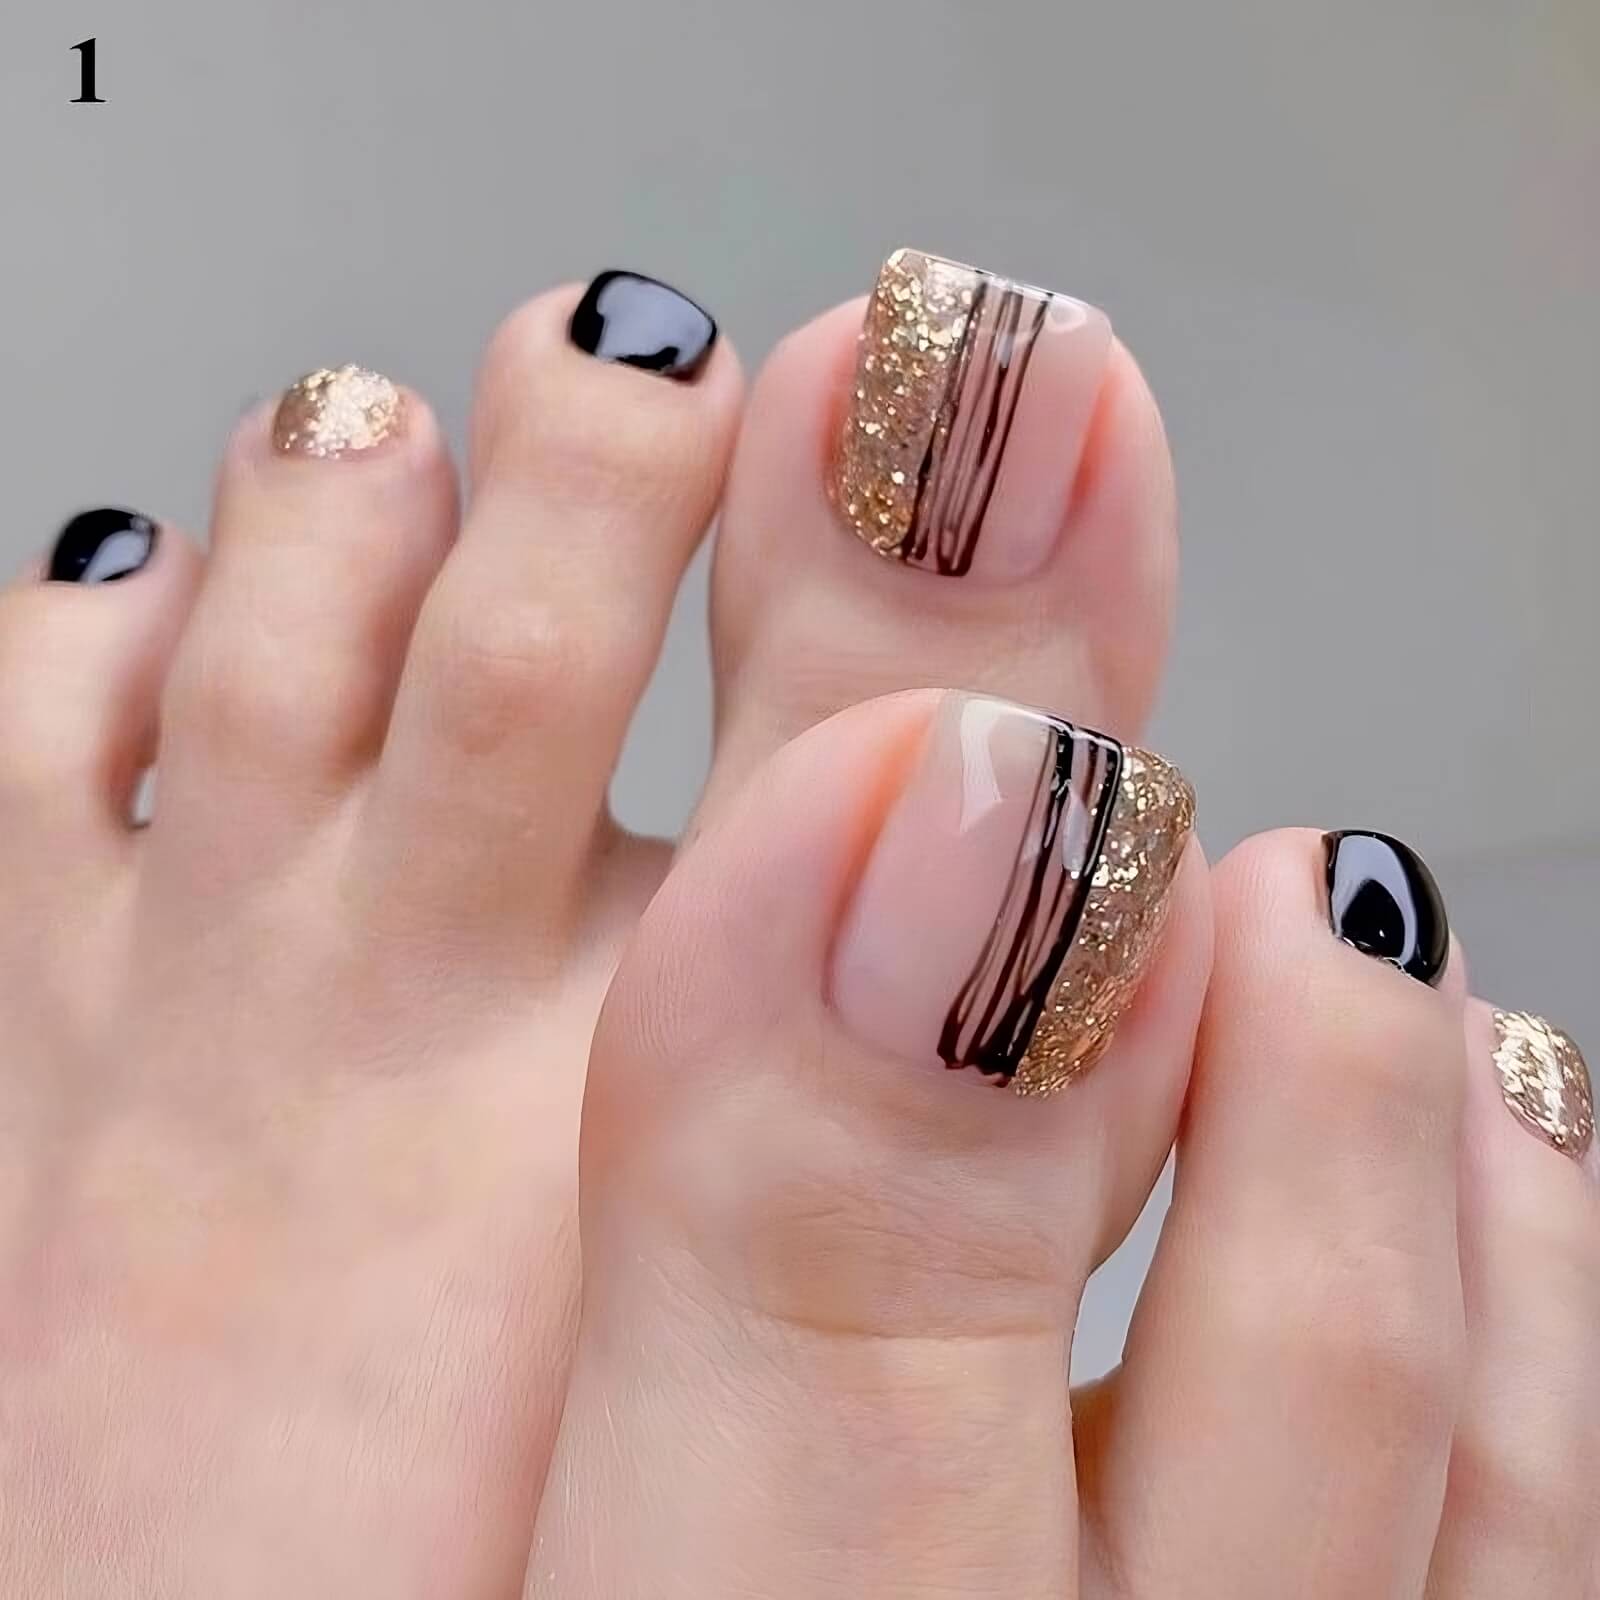
3.
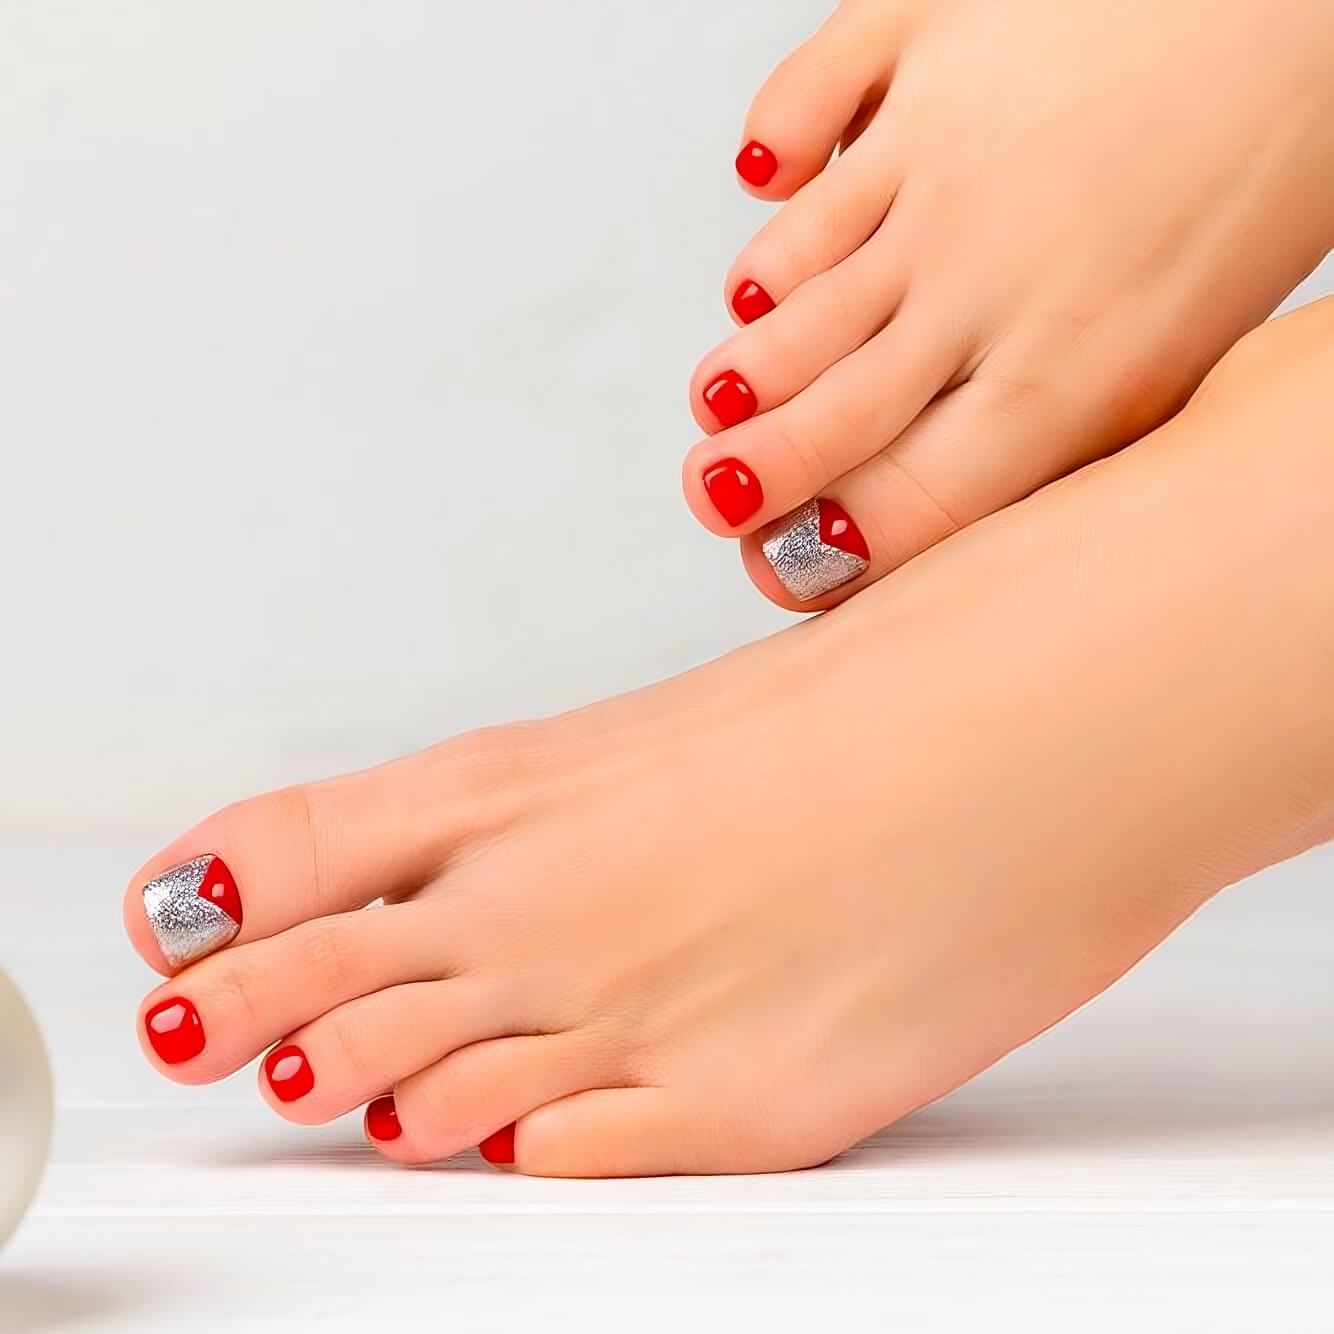
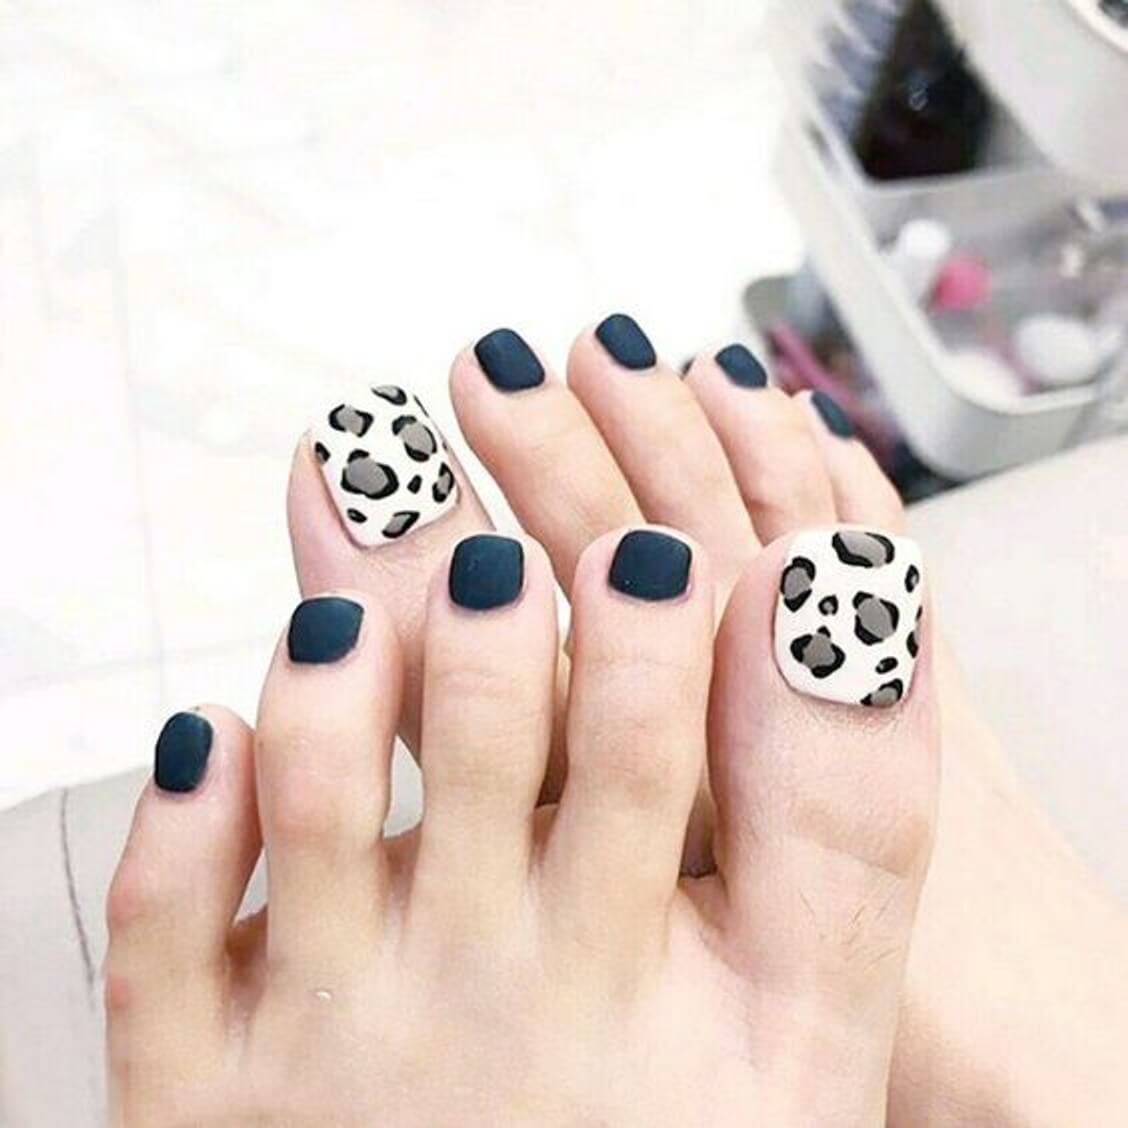
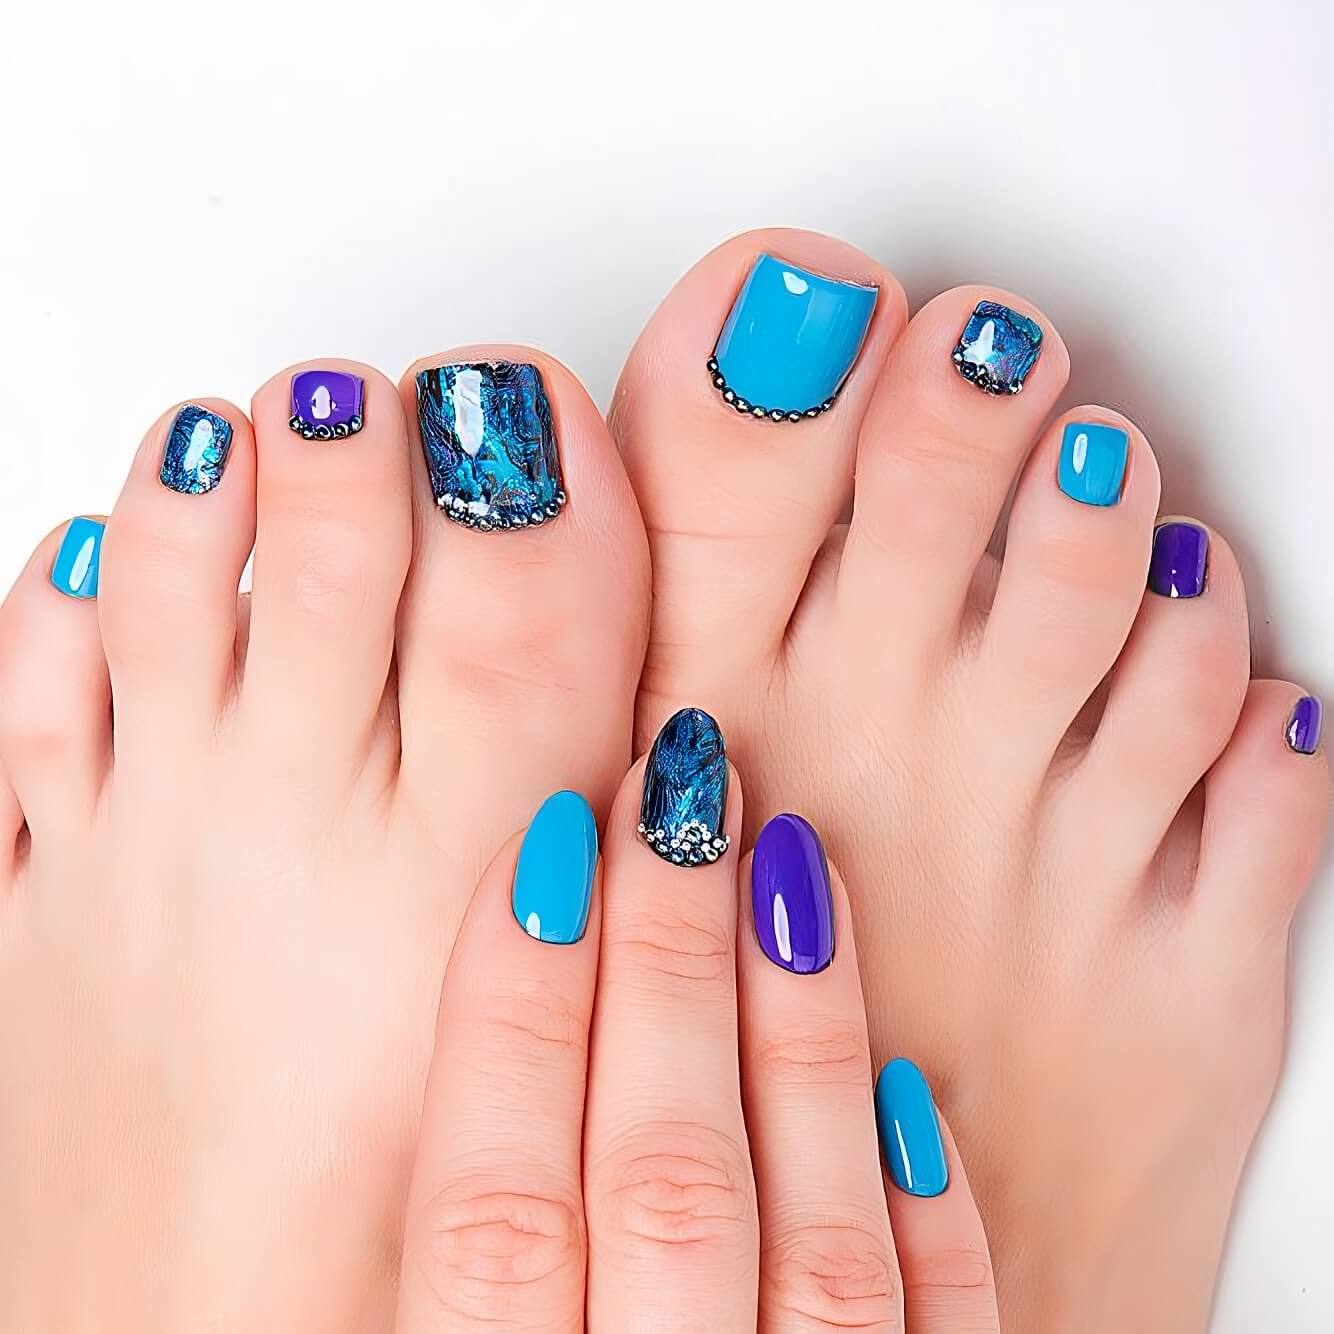
4.
5.
Maintaining a salon-quality pedicure at home isn’t about expensive products; it’s about prevention, hydration, and using the right techniques to protect your polish and your skin.
Think of it as investing just a few minutes of effort each day to preserve your initial investment and ensure your feet remain beautiful and healthy between appointments.
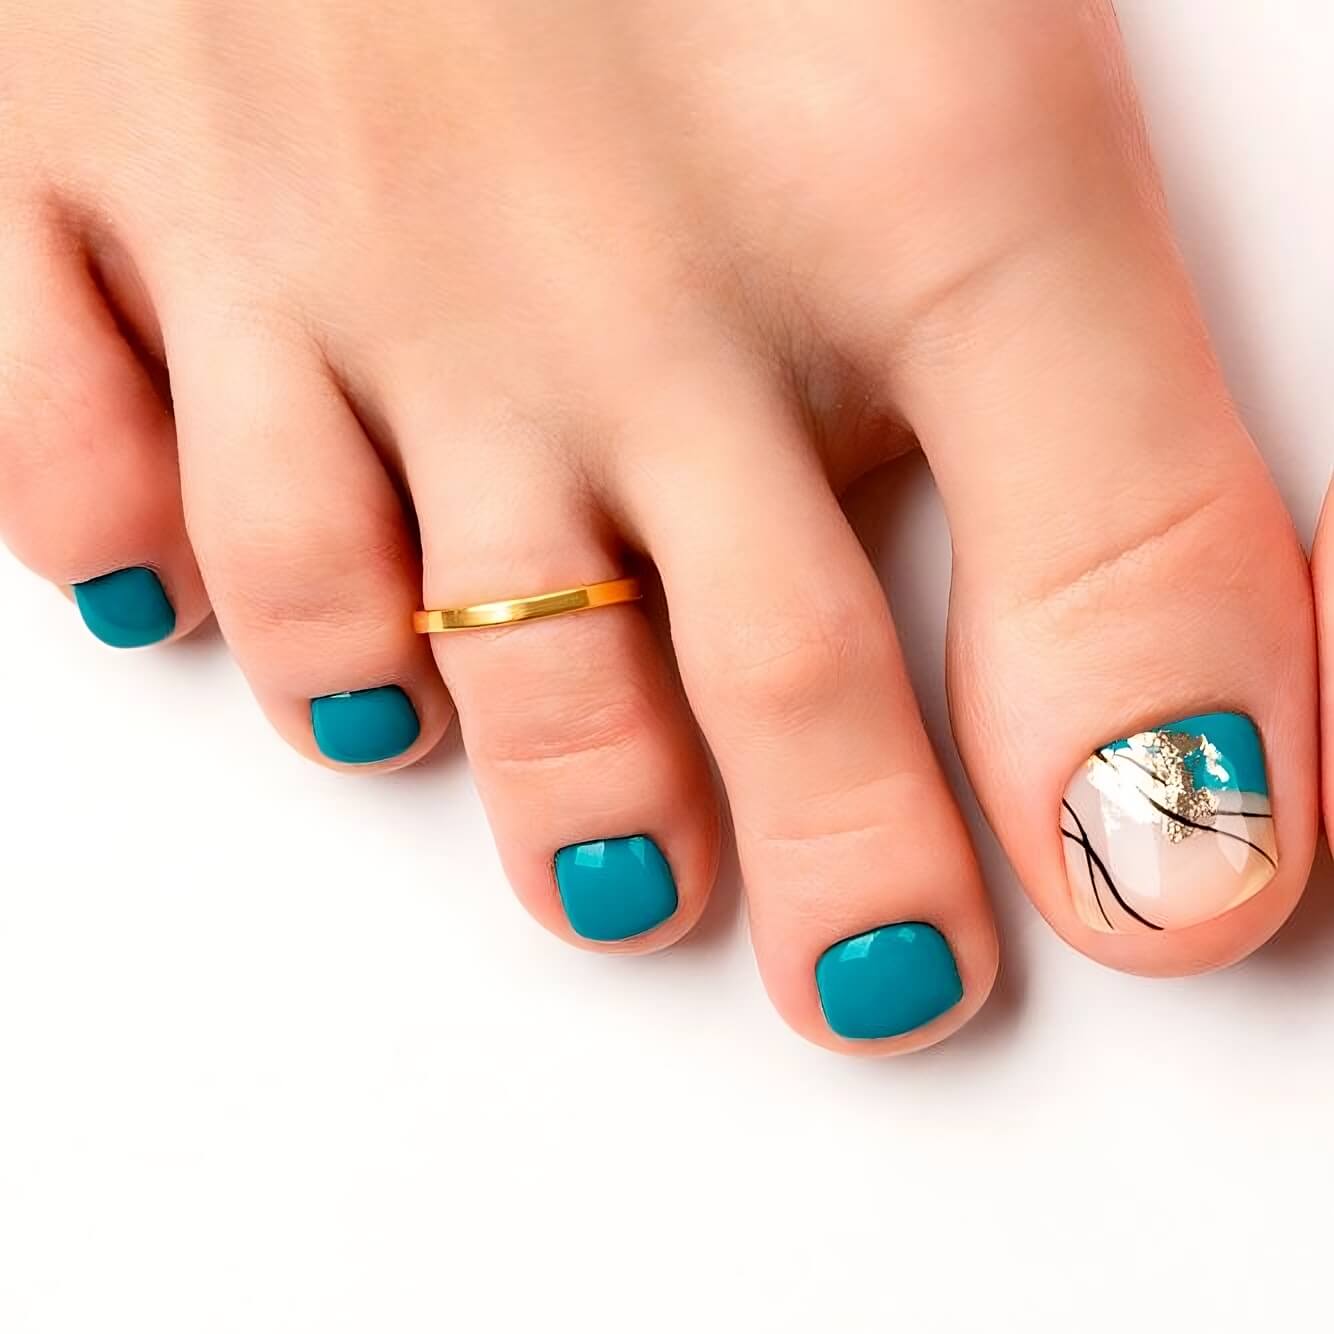
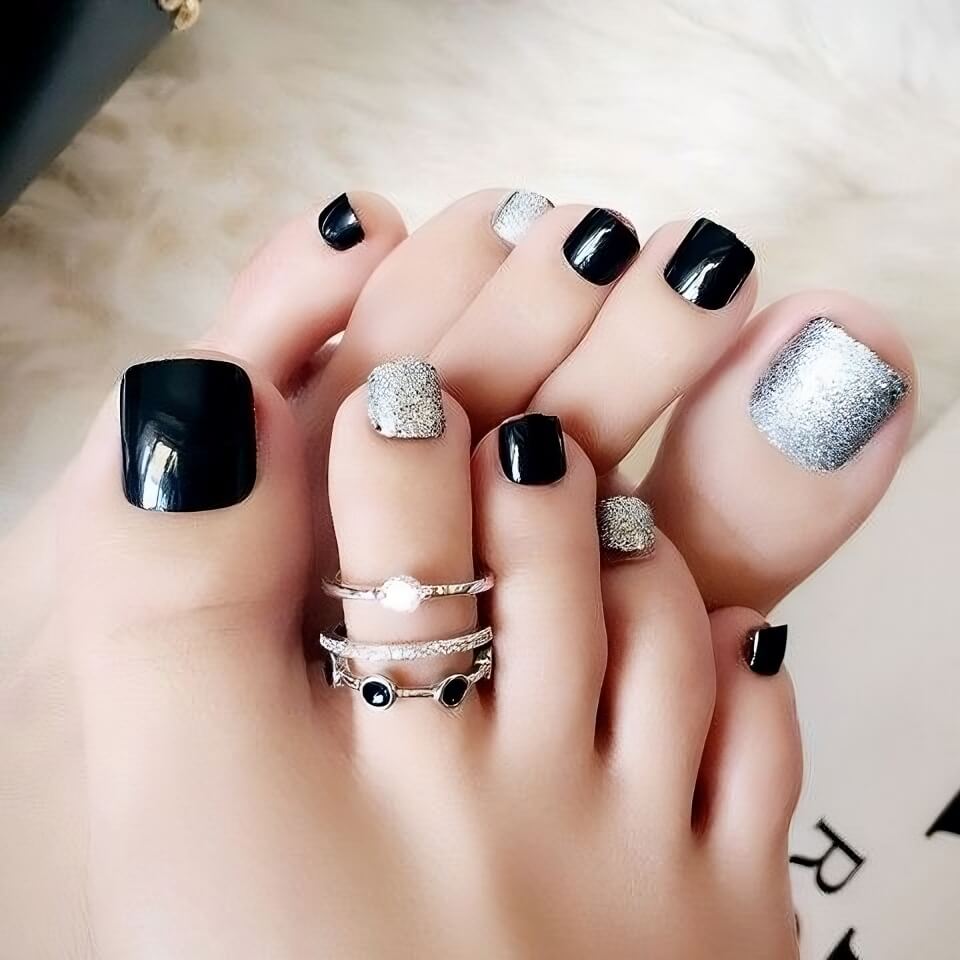
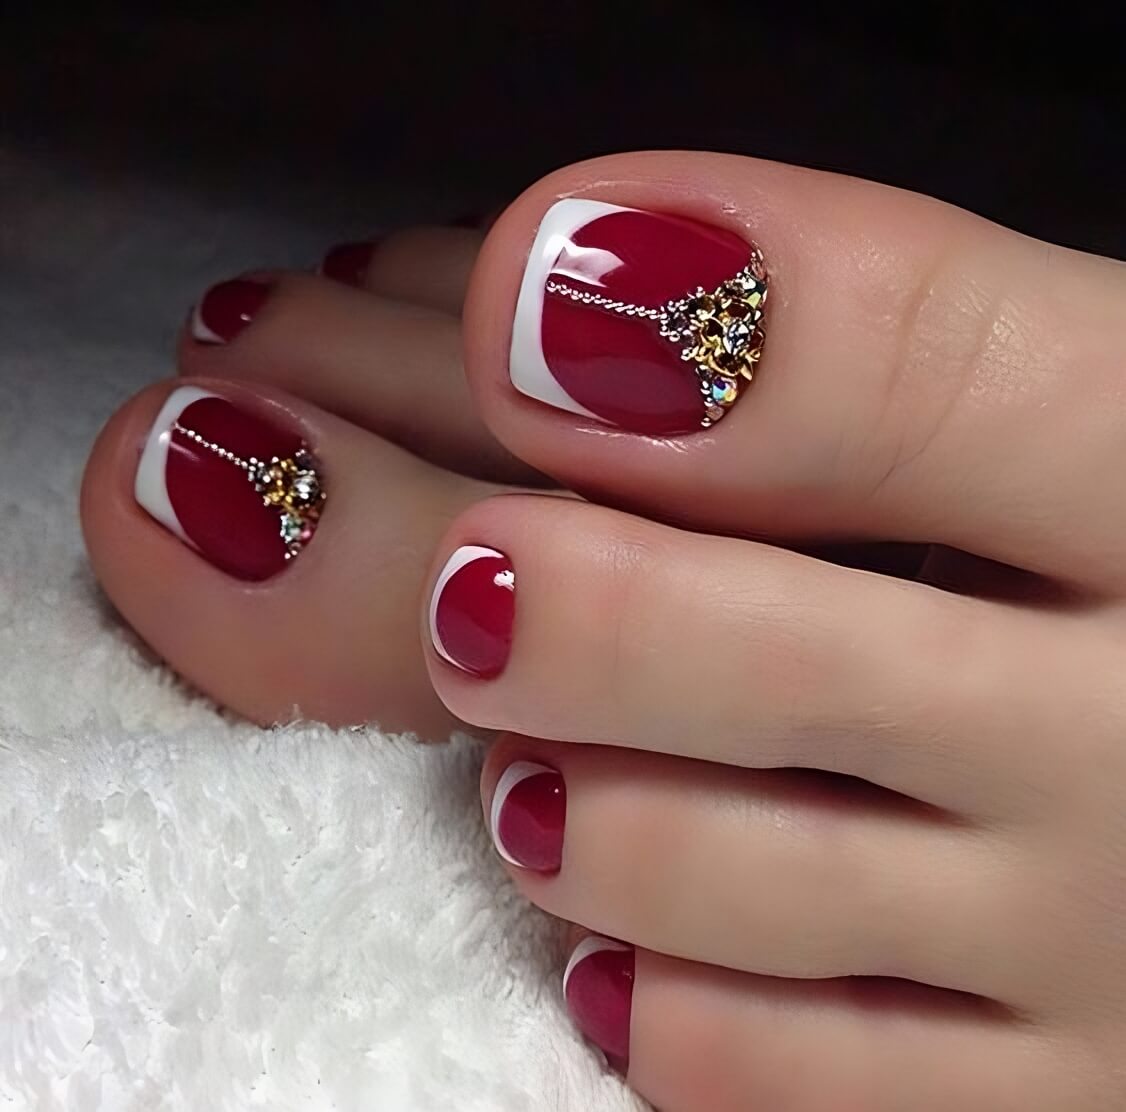
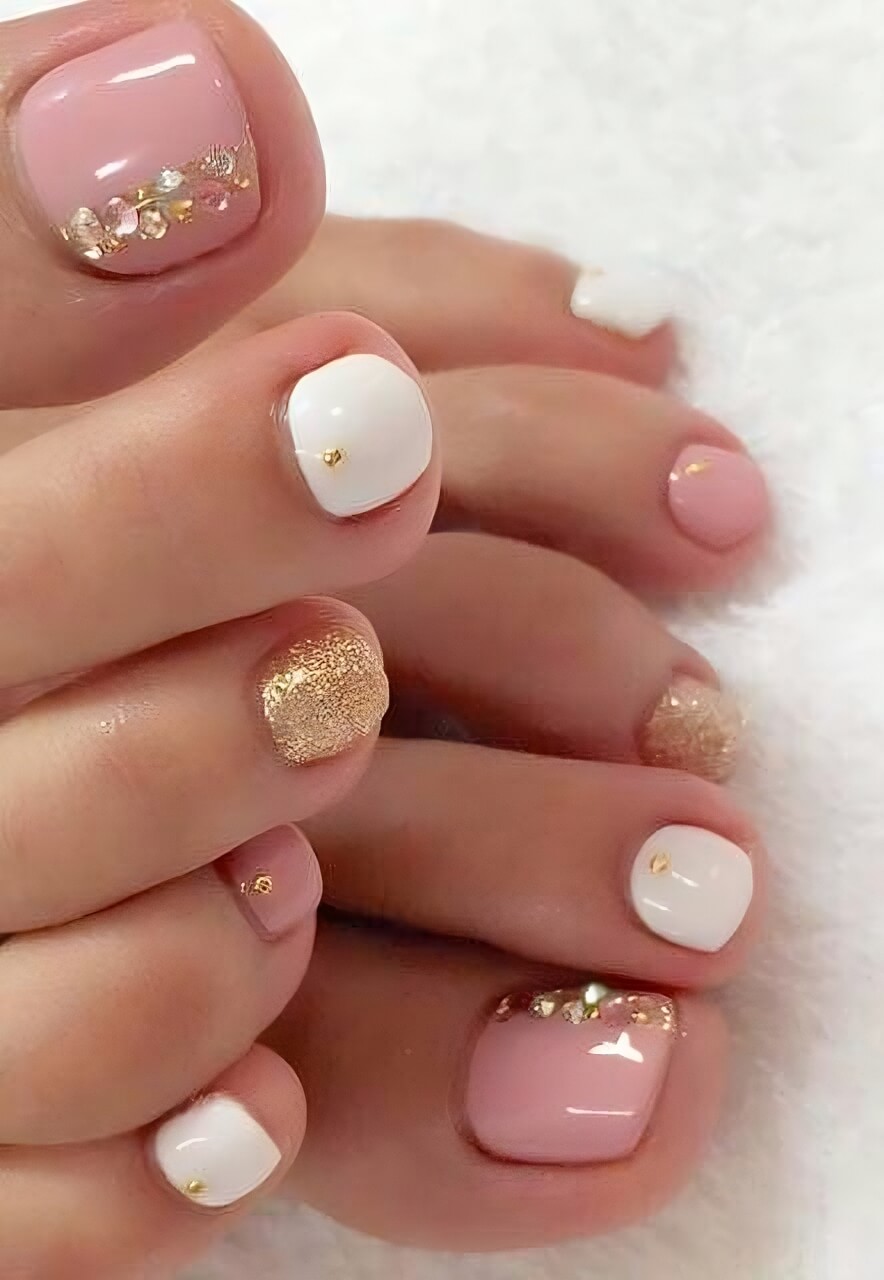
6.
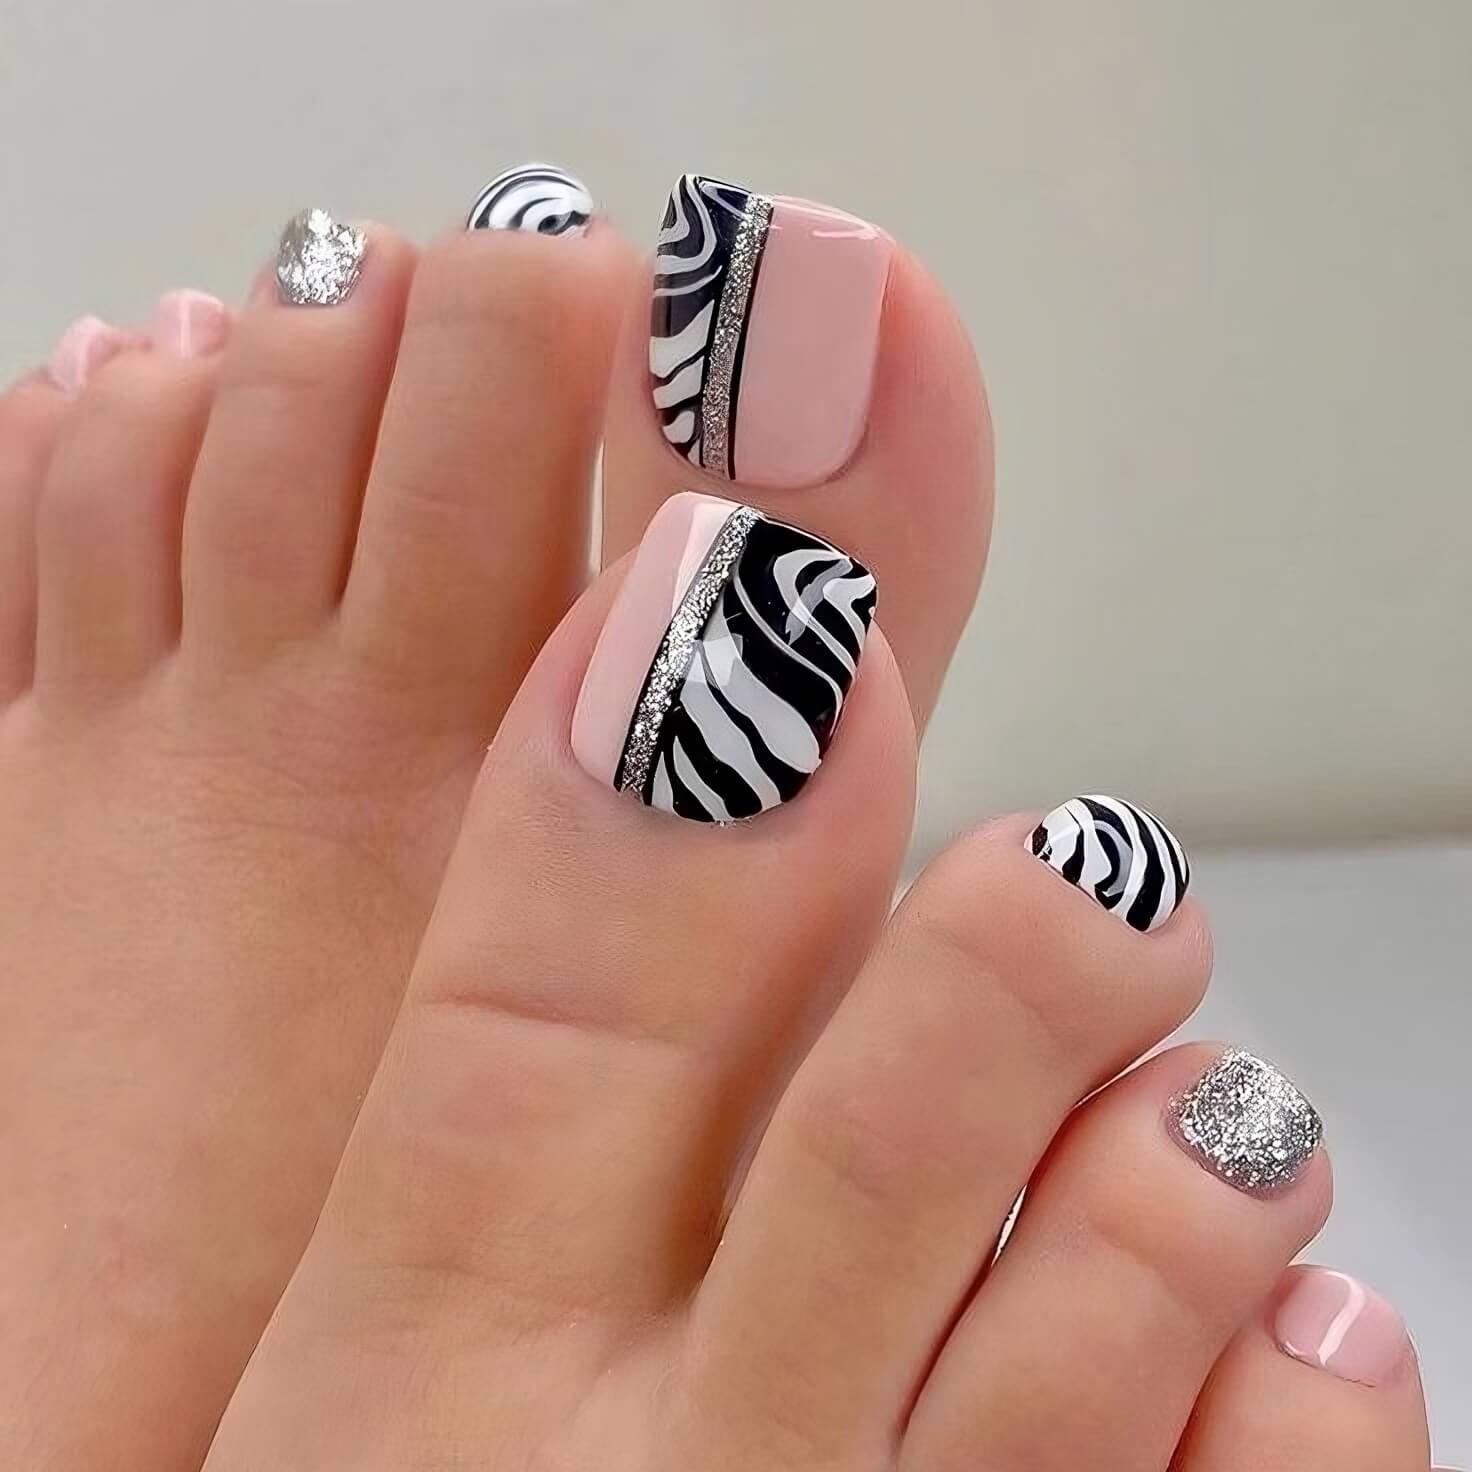
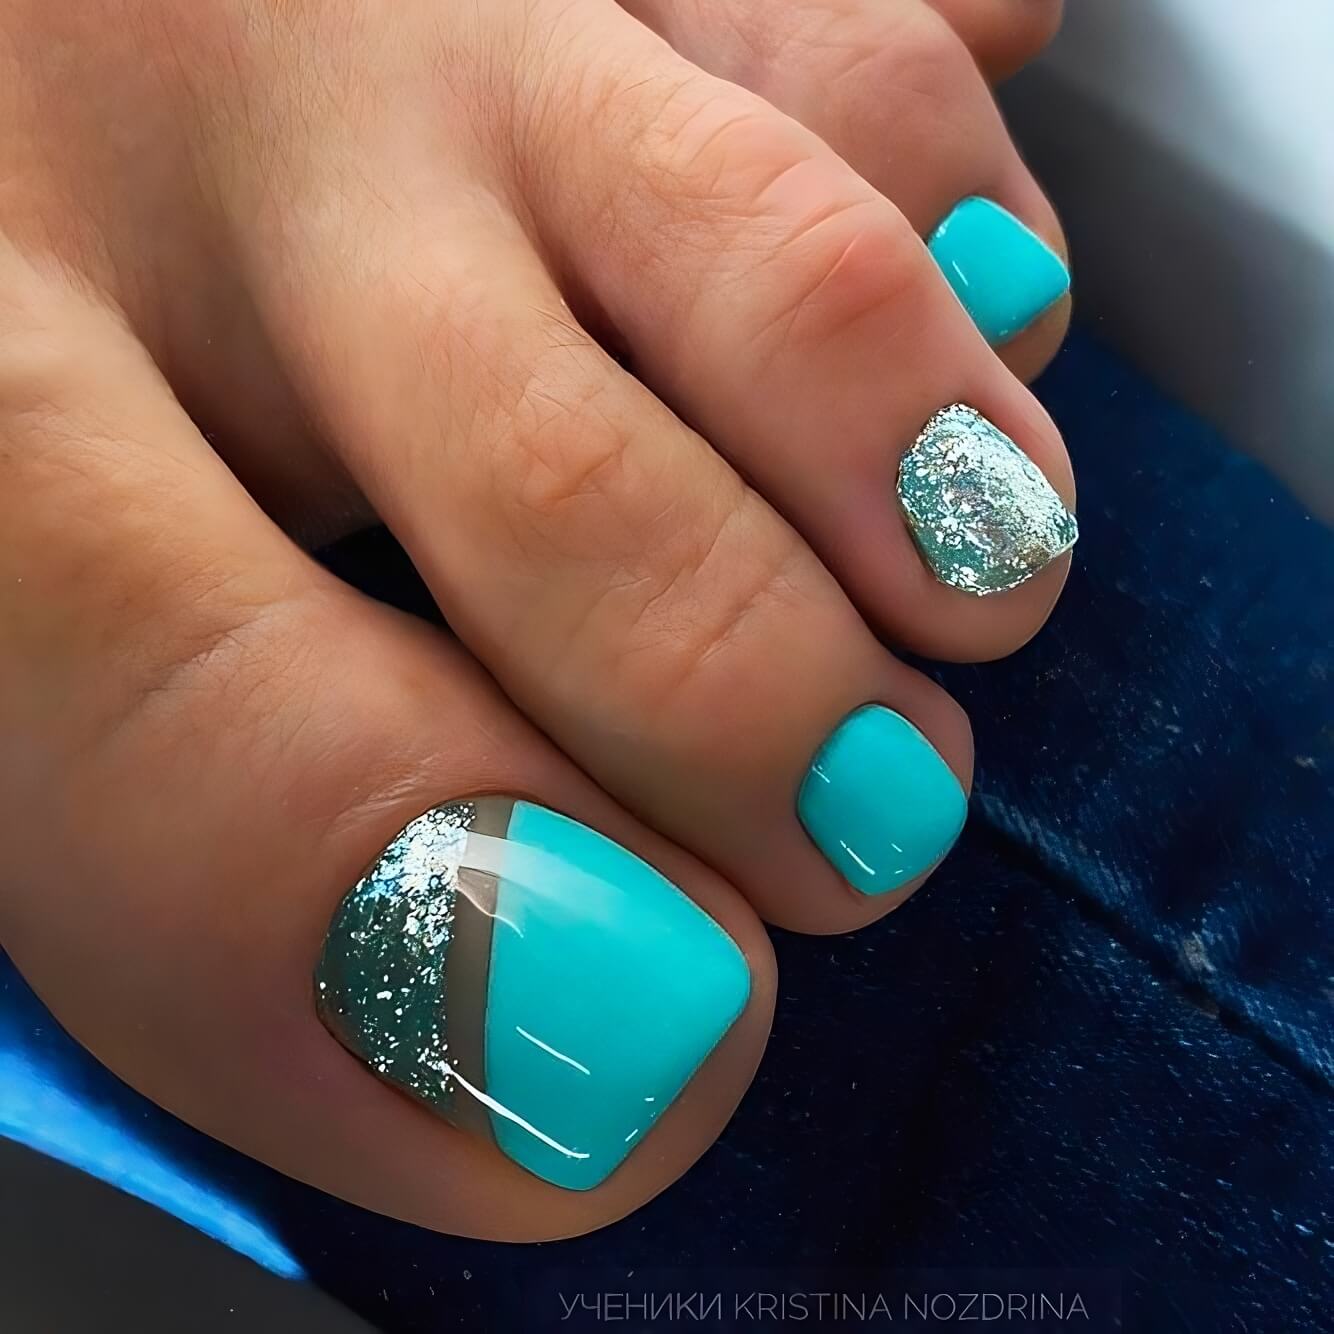
7.
8.
The Immediate Aftercare (The First 24 Hours)
The first day after a pedicure is the most critical for ensuring the polish sets properly and achieves maximum longevity.
Allow Ample Drying Time (The Non-Negotiable Rule)
Even if your technician used a quick-dry top coat or a UV lamp (for gel), the polish layers beneath are still curing. The biggest mistake is assuming you’re completely dry upon leaving the salon.
- Avoid Closed Shoes: For at least 2 to 3 hours, avoid wearing closed-toe shoes, socks, or anything that will press against the nail. Friction is the number one cause of smudging, bubbling, or creasing the still-soft polish. Wear open-toed sandals or flip-flops.
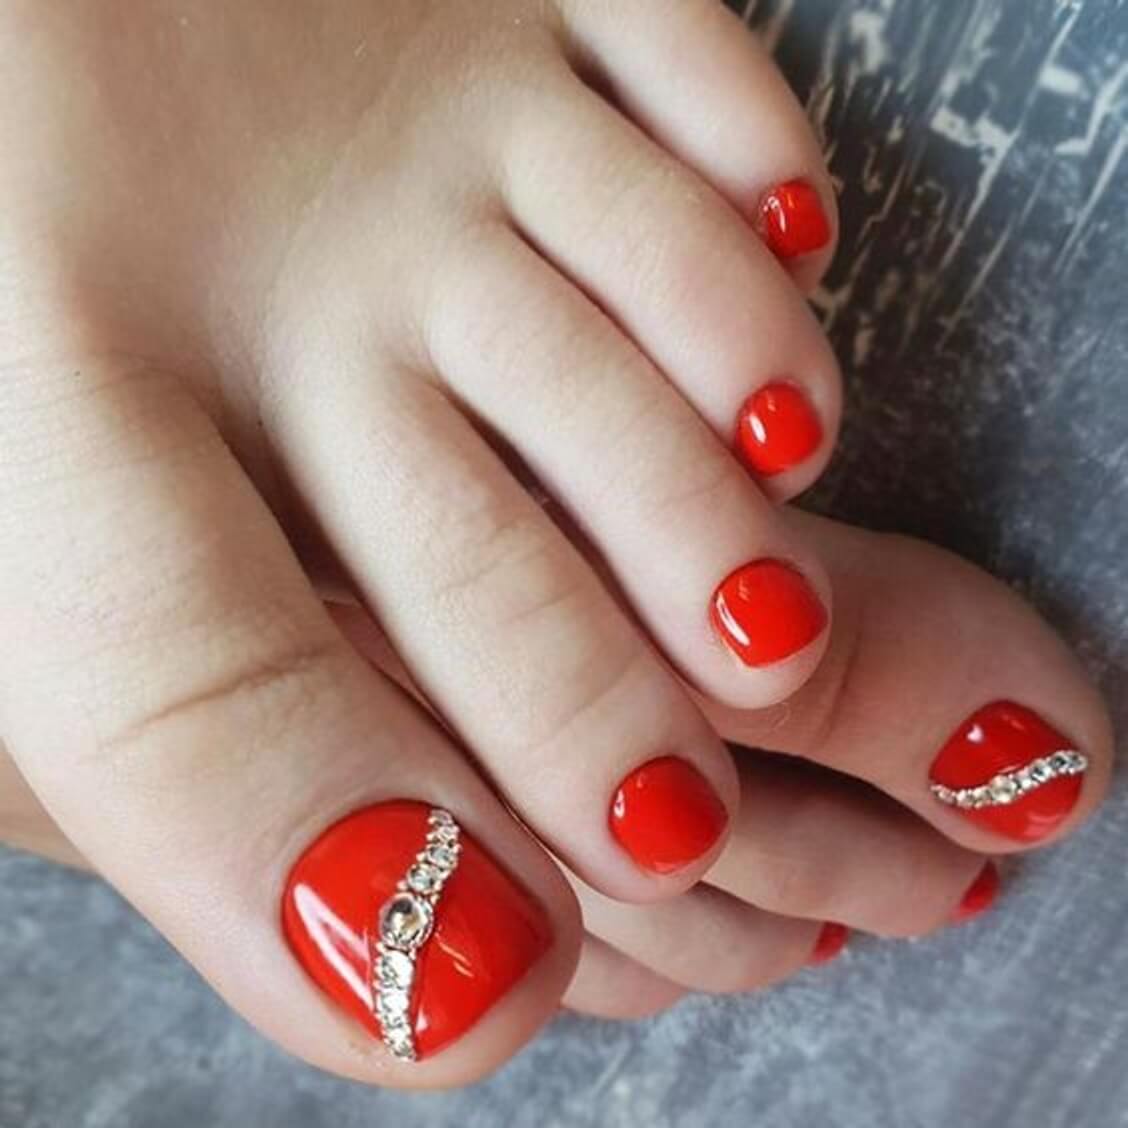
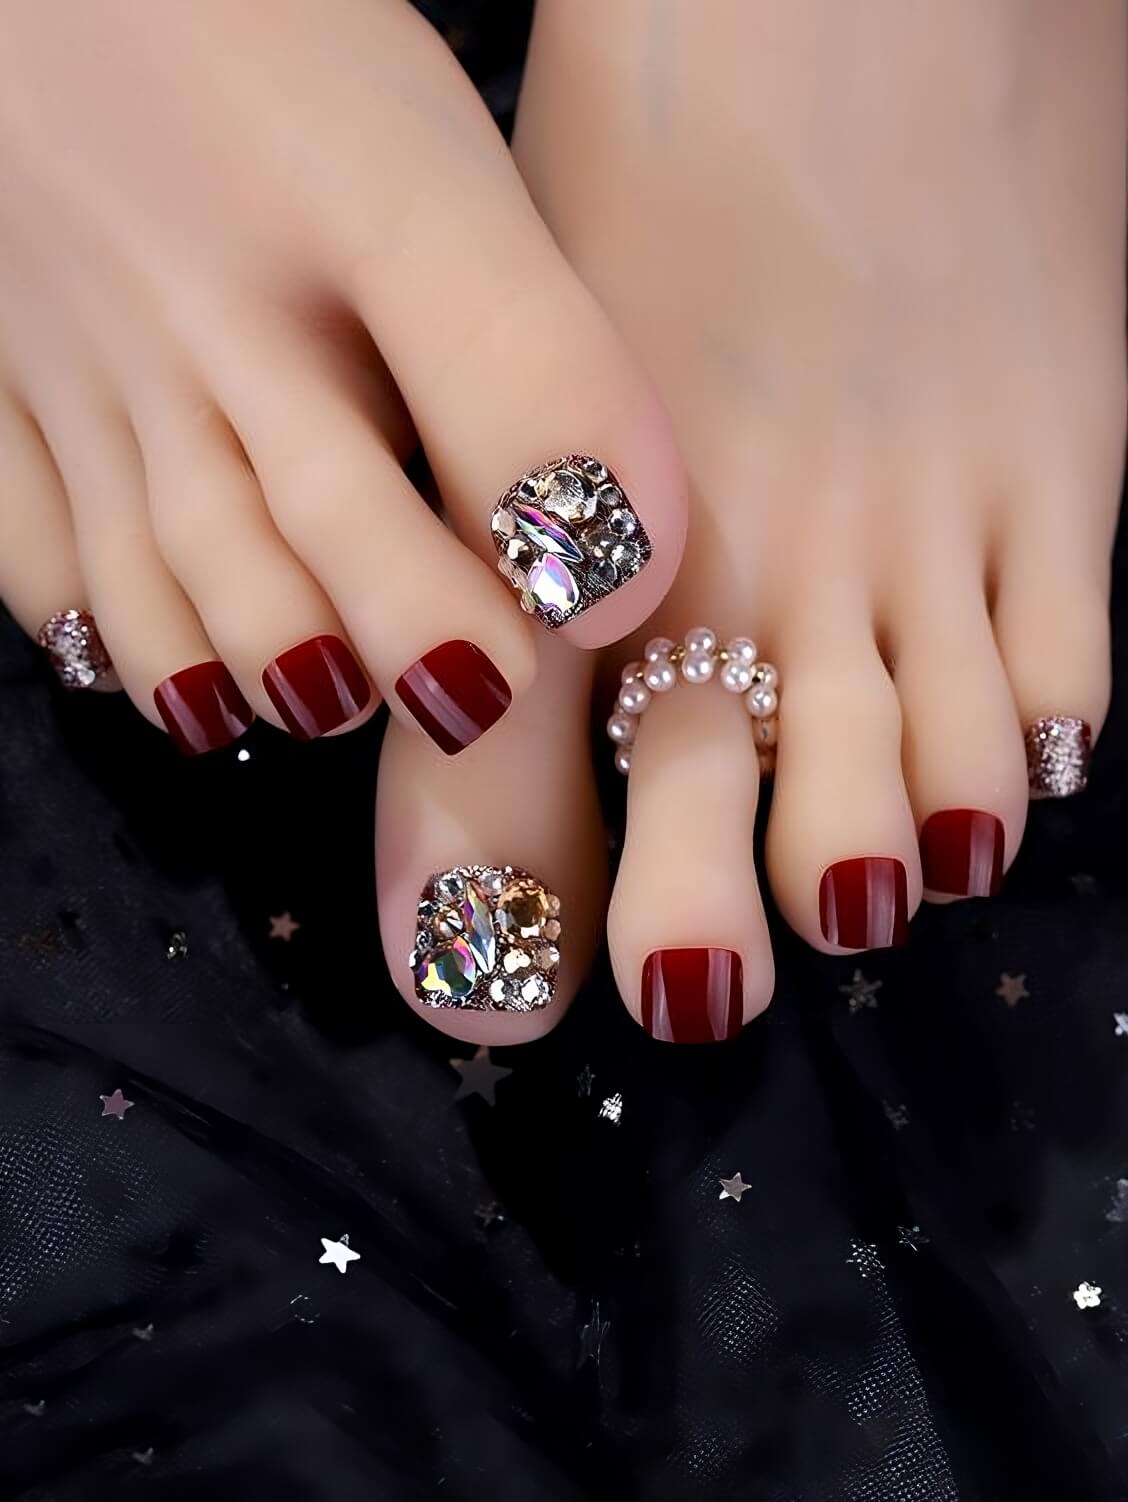
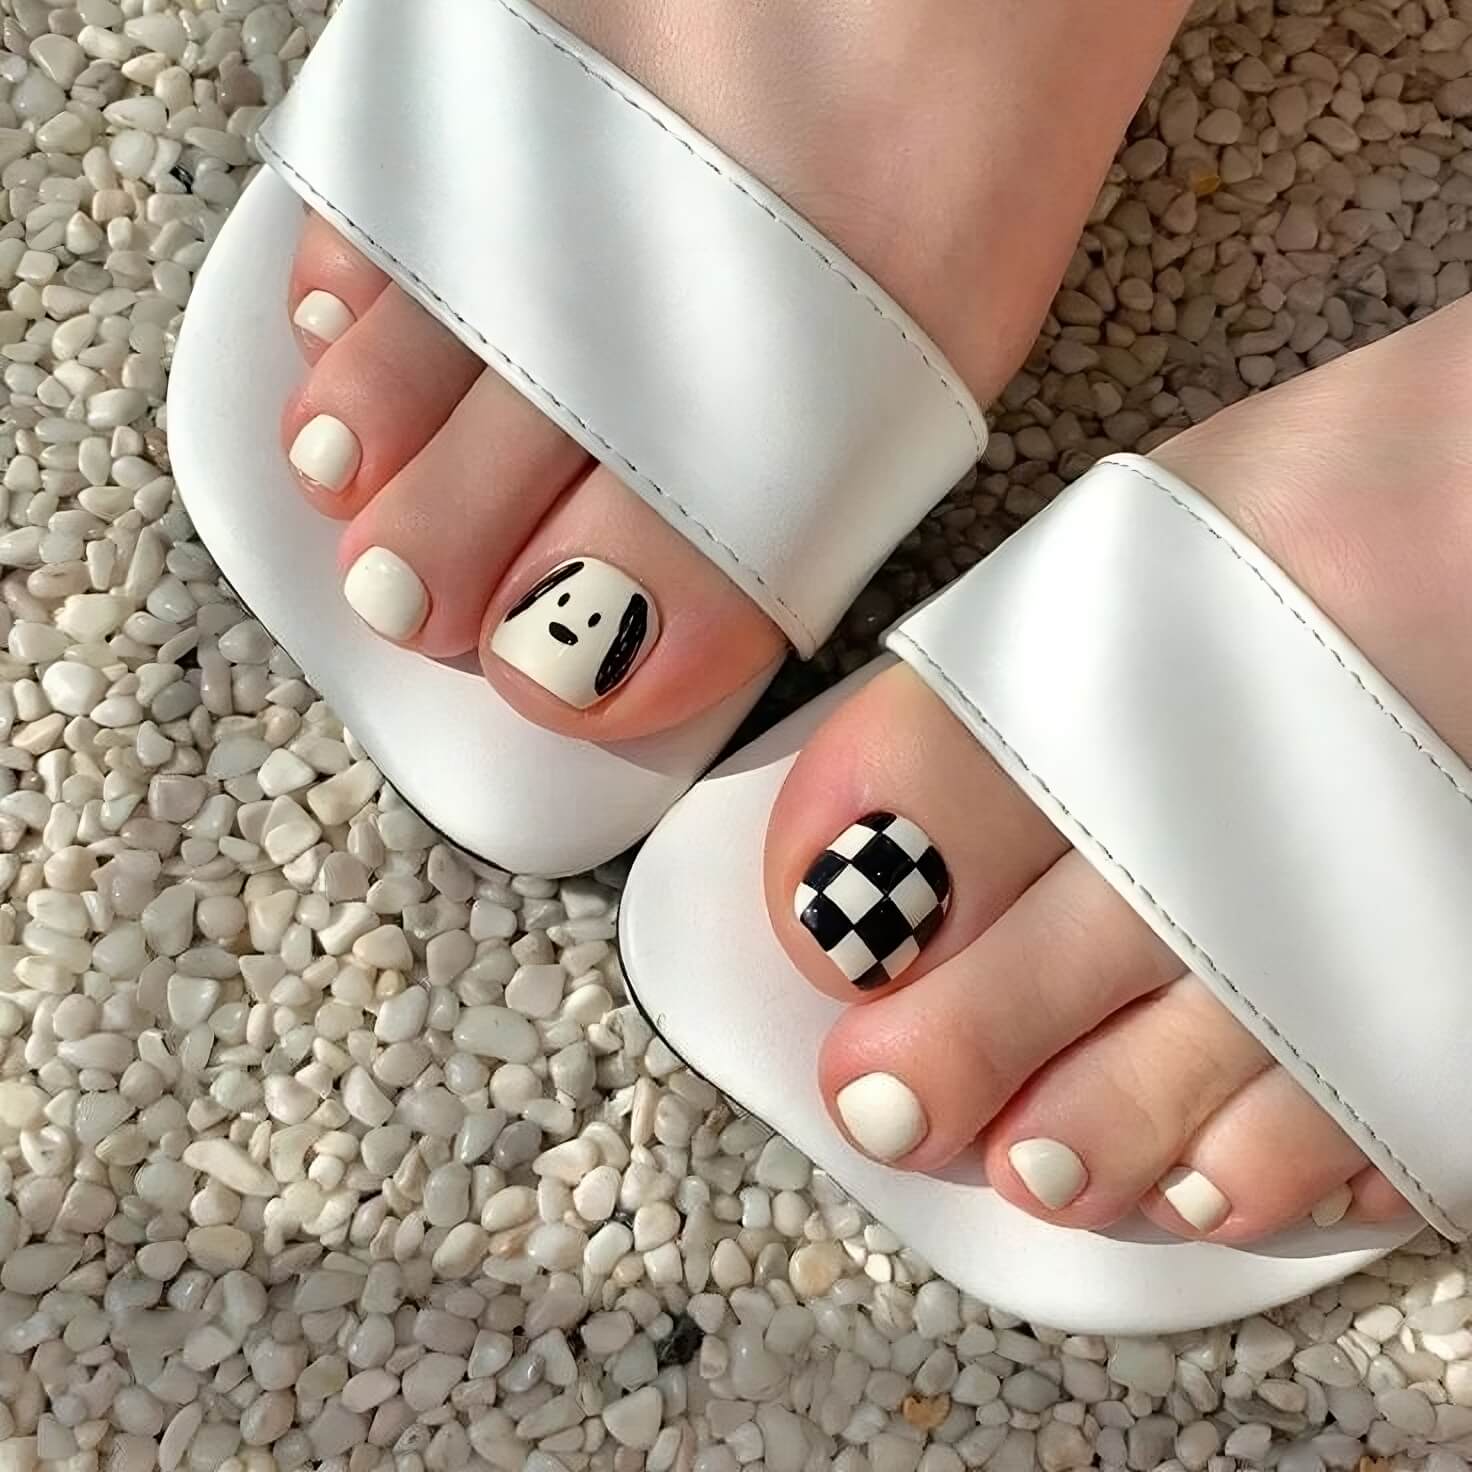
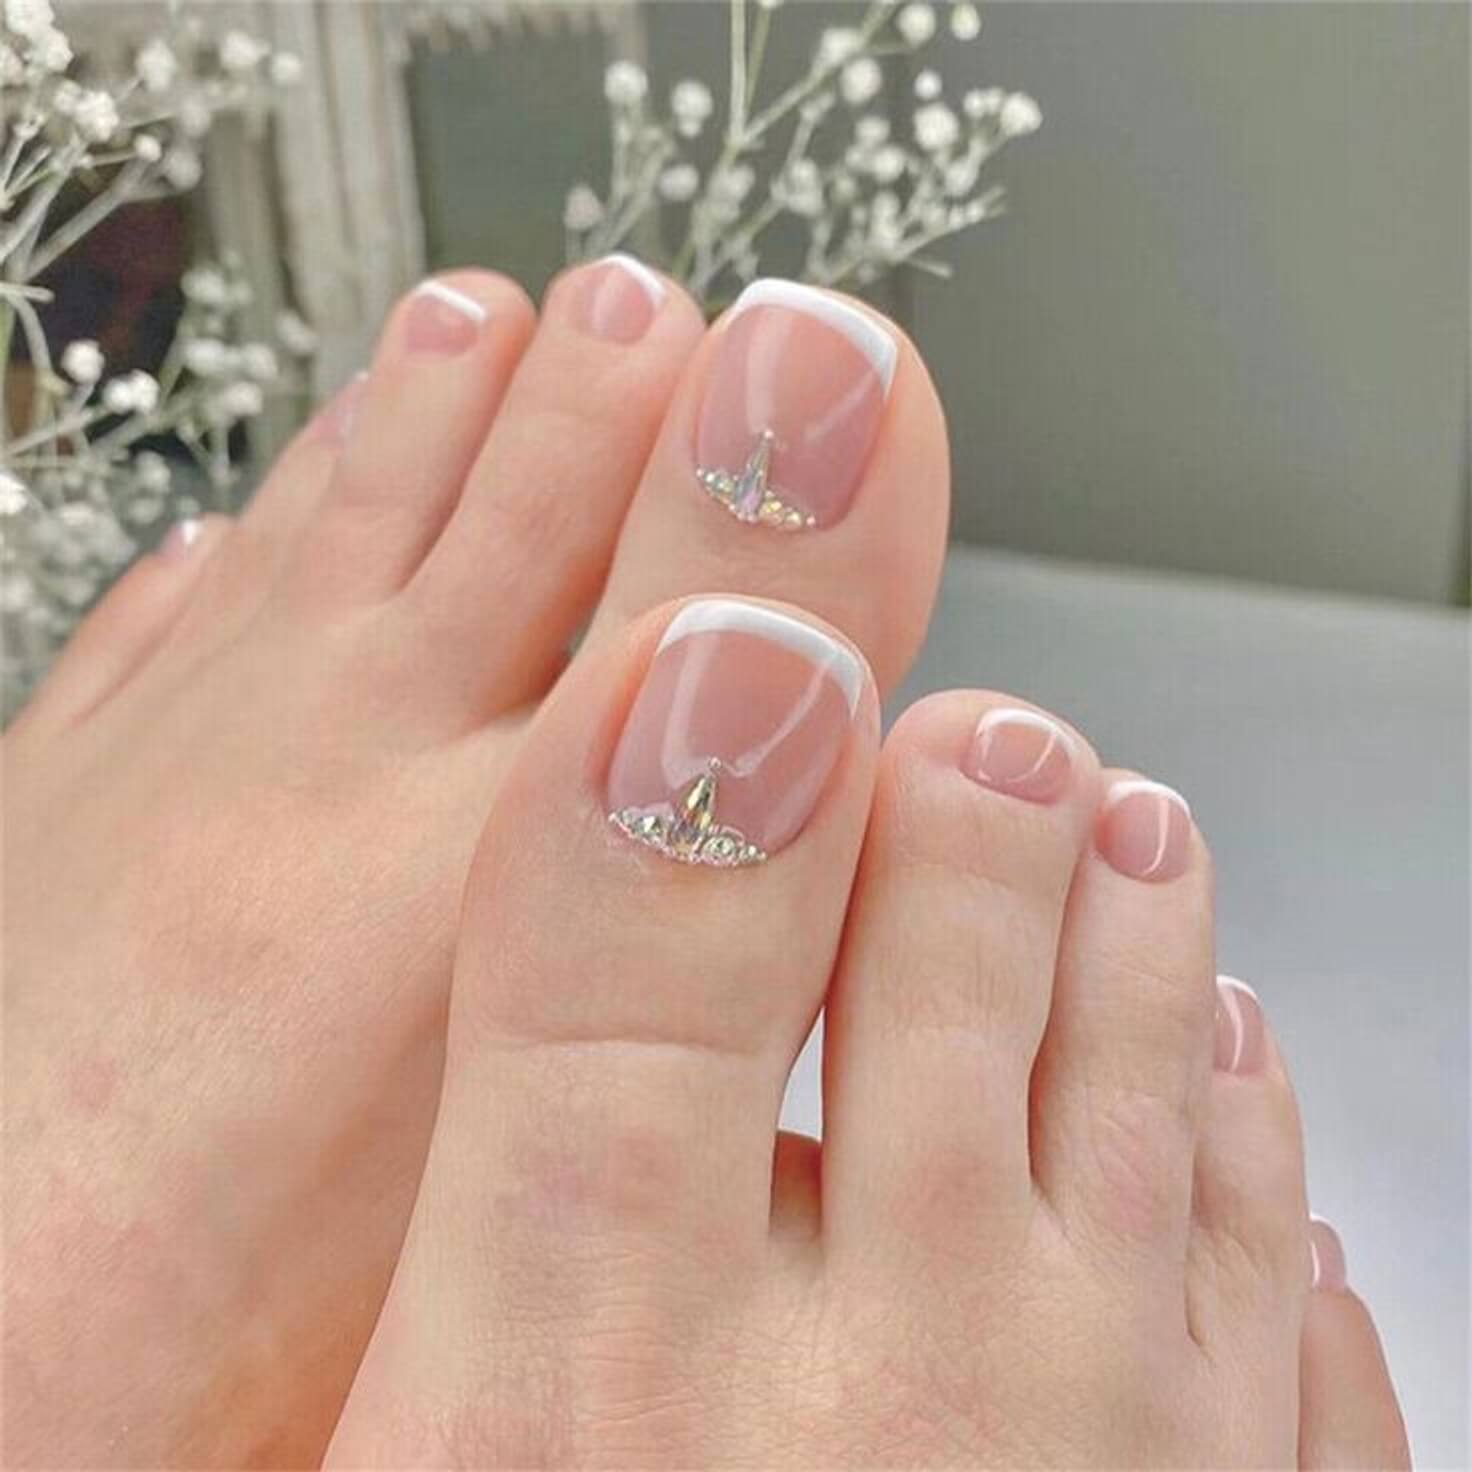
9.
10.
11.

- Avoid Soaking: Do not take a bath, swim, or spend extended time soaking your feet in water for at least 12 hours. Water exposure can prevent the polish from fully hardening and can cause the polish layers to swell and lift prematurely.
- Gentle Movement: Be mindful of kicking your feet, bumping your toes, or vigorous exercise for the remainder of the day.
12.
13.
Seal the Deal with Hydration
While you avoid soaking, the skin around your nails needs moisture to stay soft and prevent the polish from looking rigid.
Light Oil Only: Apply cuticle oil lightly to the skin surrounding the nail, not the polish itself. This keeps the cuticles supple and healthy, which is the frame for your beautiful color. Avoid heavy, thick creams or oils directly on the nail for the first 24 hours.
14.
15.
The Daily Defense Routine (Days 2 to 7)
This routine focuses on protecting the polish from daily wear and tear and maintaining the skin’s softness.
Daily Cuticle Oil (The Secret Weapon)
This is the single most important step for pedicure longevity and beauty.
- Why It Works: Healthy cuticles prevent the polish from lifting at the base. Dry, brittle cuticles shrink away from the polish, creating micro-gaps where water can sneak under and cause chipping. Oil keeps the polish seal intact.
- How to Apply: Use cuticle oil or a rich, moisturizing oil (like jojoba or almond) once every night before bed, massaging it gently into the skin around each toenail.
16.

17.
18.
The Top Coat Refresh (The Longevity Trick)
The top coat is the protective shield for your color. As it wears down, the color becomes vulnerable.
- Reapply: Every 2 to 3 days, apply a thin, fresh layer of high-quality clear top coat over your polish. This fills in any micro-scratches, restores the high-gloss shine, and hardens the polish further, significantly preventing chips.
- Wrap the Tip: When applying the top coat, drag the brush lightly along the very edge (the free tip) of the nail. This seals the edge, which is the most common place for polish to wear off.
19.
20.
21.
Strategic Moisturizing
You must moisturize your feet daily to keep them soft, but you must do so without compromising the polish.
Avoid Oil-Heavy Lotions: Use your daily foot cream or lotion but avoid applying it directly over the toenails. Focus on the heels, soles, and tops of the feet. Excess oil on the nail plate can break down the polish over time.
22.
23.
Troubleshooting and Health (Beyond Week 1)
This phase addresses deep maintenance and dealing with minor wear and tear.
Smart Shoe and Sock Choices
Friction is the enemy. Be mindful of how your footwear is impacting your toes.
- Avoid Tight Shoes: Ensure your shoes, especially sneakers or boots, are not too tight, as constant pressure can cause polish to lift at the edges or smudge the toe art.
- Breathable Fabrics: Opt for breathable cotton or moisture-wicking socks, particularly during workouts. Excessive moisture and heat create a damp environment where polish is more likely to lift, and foot health can be compromised.
24.
25.
26.
Gentle Buffing for Heels
As the salon-smoothness starts to fade, perform a gentle exfoliation to keep your heels soft.
- The Tool: Use a foot file or a pumice stone in the shower 1-2 times per week. Do not use harsh metal scrapers.
- The Technique: Focus only on the tough, dry areas of the heels and balls of your feet. Do this before you apply cuticle oil to avoid disrupting the nail area.
27.
28.
Dealing with Chips
A small chip doesn’t mean the end of your pedicure. Fix it quickly to prevent the chip from spreading.
The Touch-Up: Use a fine brush to carefully dab a tiny amount of the original color polish over the chipped area.
Let it dry completely. Once dry, seal the entire nail again with a top coat refresh (see Phase II, #4). This blends the repair seamlessly.
29.
30.
31.
By treating your pedicure not as a finished luxury but as an ongoing commitment, you can easily triple its lifespan.
Consistency with cuticle oil and the strategic use of a top coat are the ultimate keys to keeping that stunning, salon-fresh appearance on your toes for weeks.
32.
33.

34.
35.