French tips have always been, and always will be, one of the most popular nail designs. This style is classy, elegant, beautiful, and versatile.
It’s no longer limited to white nail polish across the tip of the nail. Nowadays, you can get creative with all kinds of colors and textures. Don’t believe us? Scroll down and check out!
This list has the best of everything, from fun and vibrant colors to deep and sultry shades.
And if you want to kick things up a notch, playing with different textures, such as rhinestones or glitter, is always a fun choice. A little bit of sparkle can go a long way, so why not add some to your nails and make them extra glamorous?
Scroll down to see some of the trendiest and most sophisticated French tip square nail designs on the Internet. Get your daily dose of beauty inspo and save these ideas for your next manicure appointment!
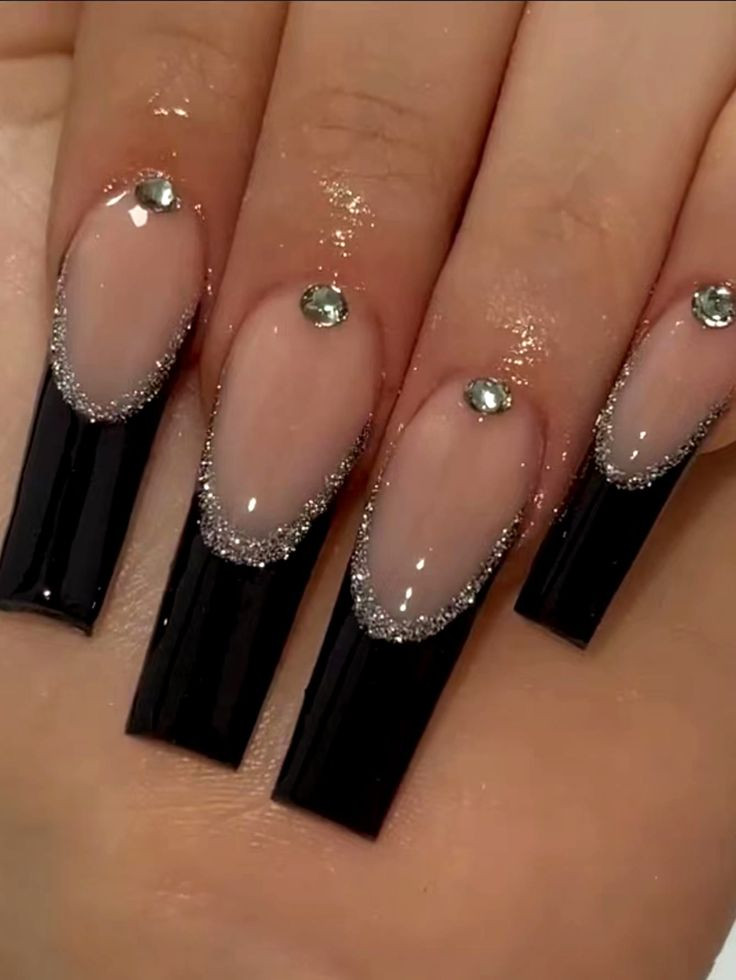
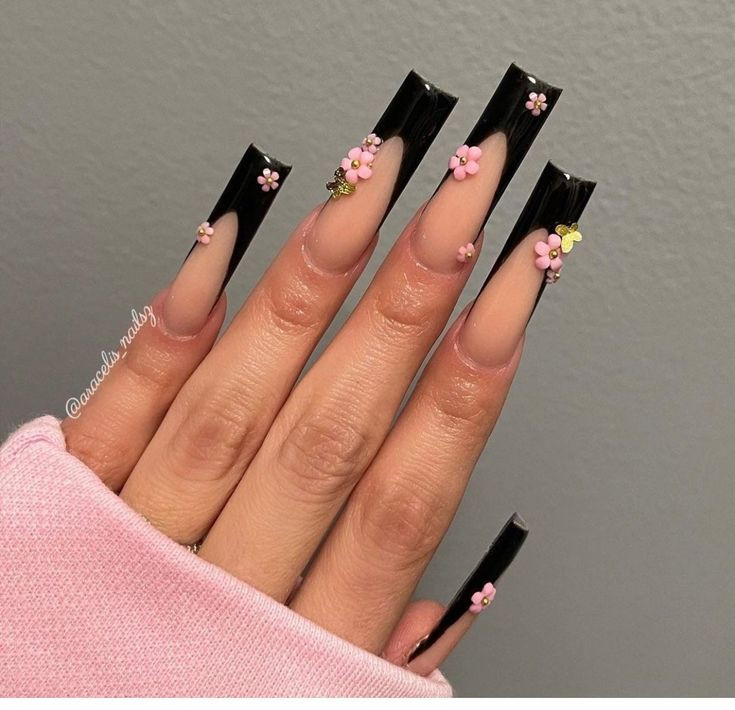
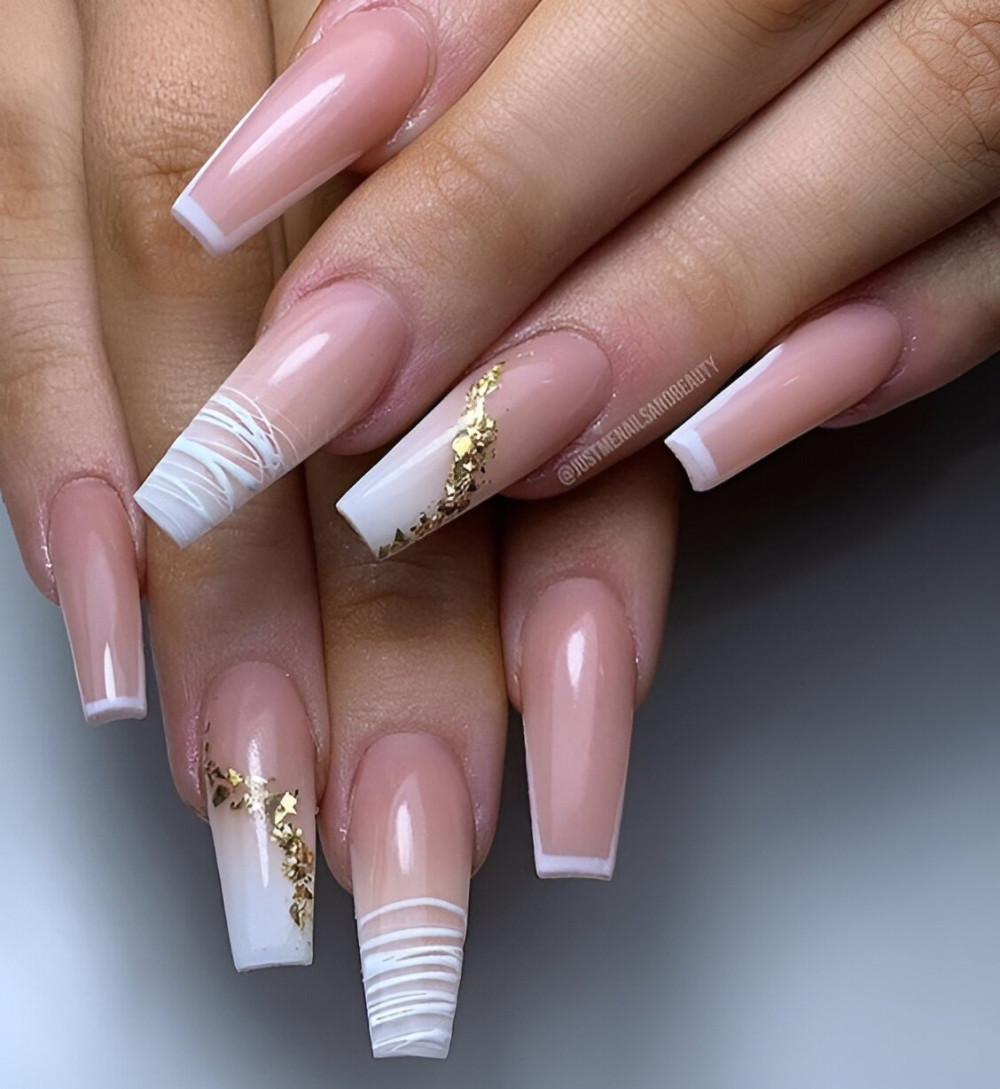
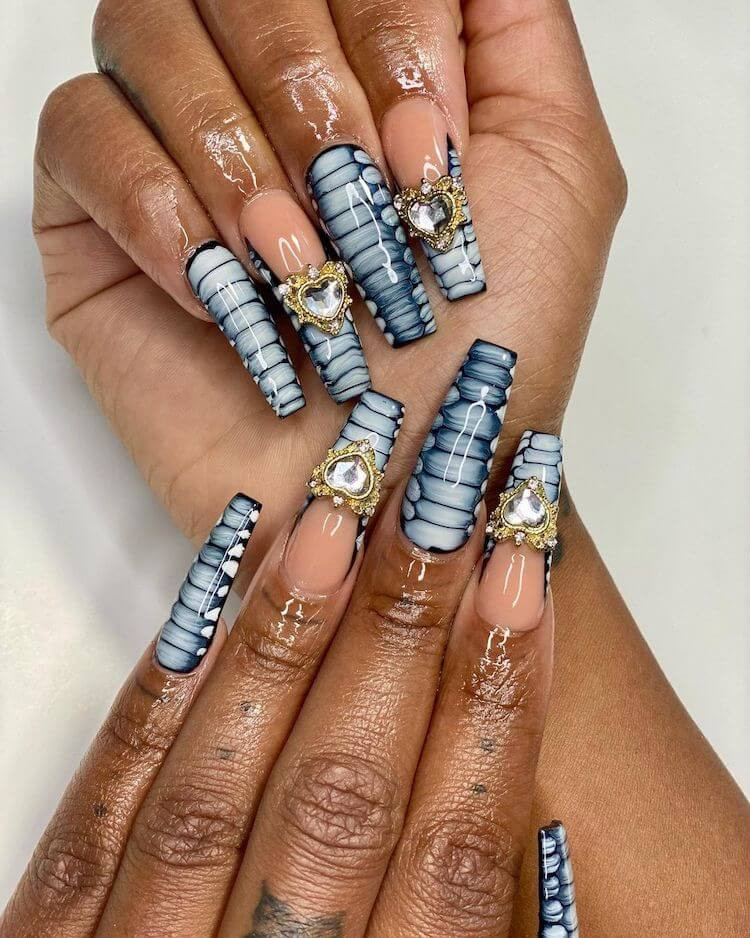
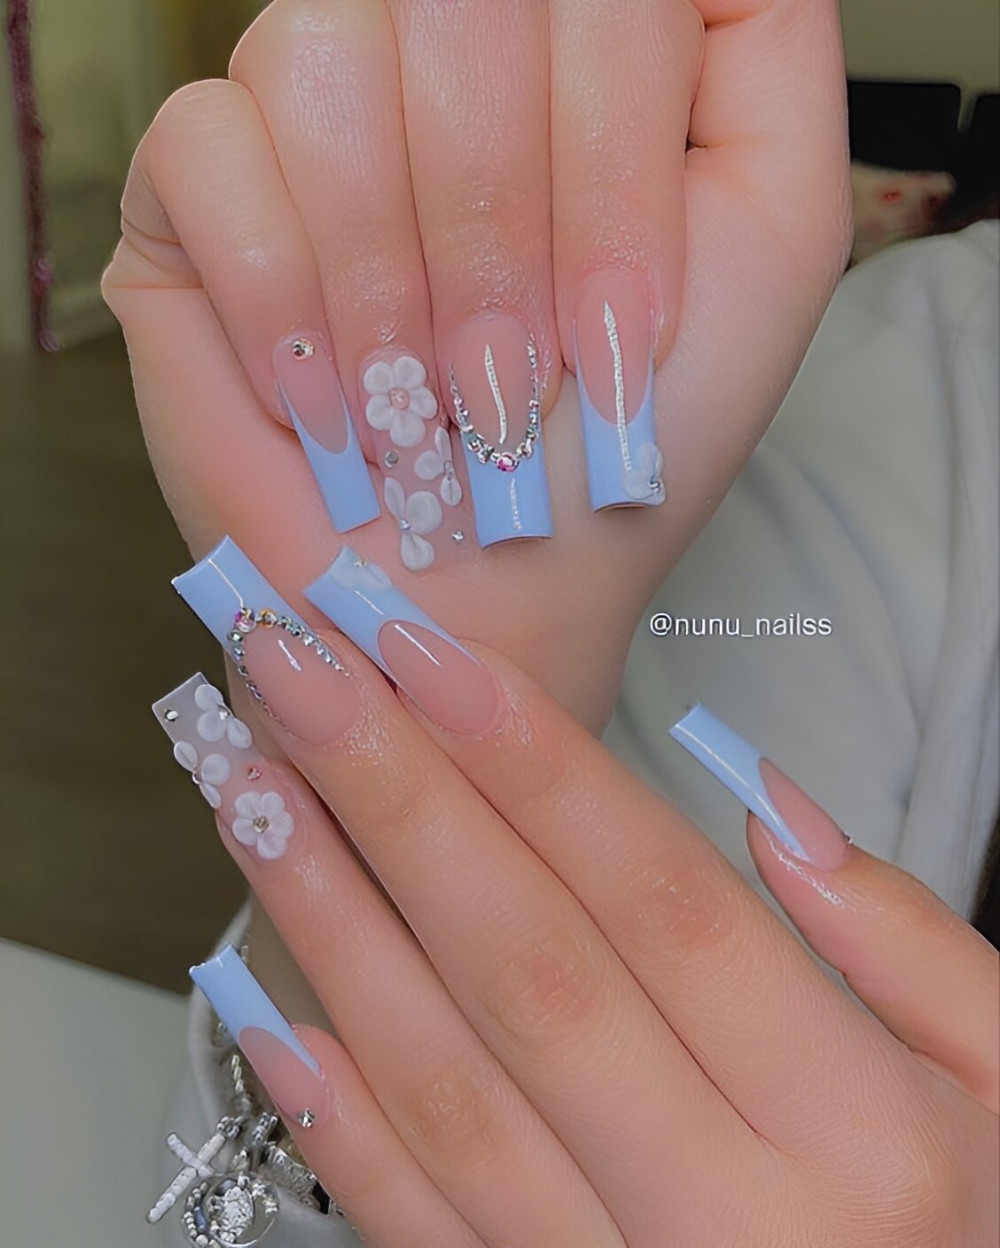
1.
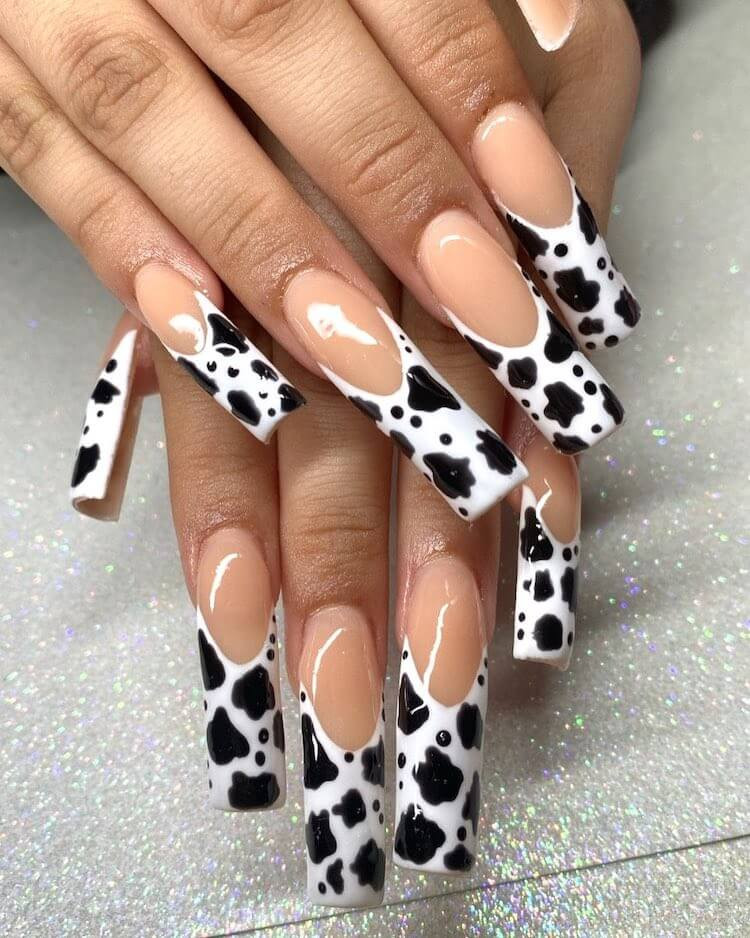
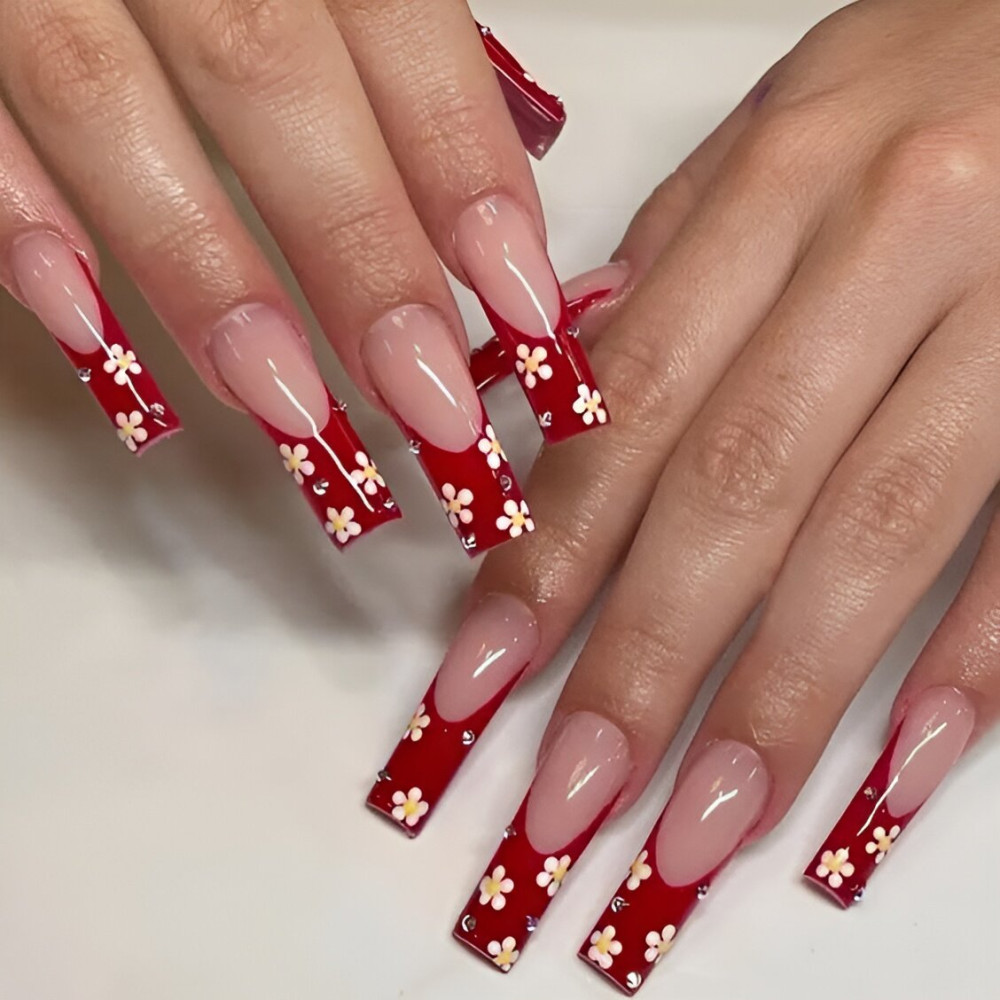
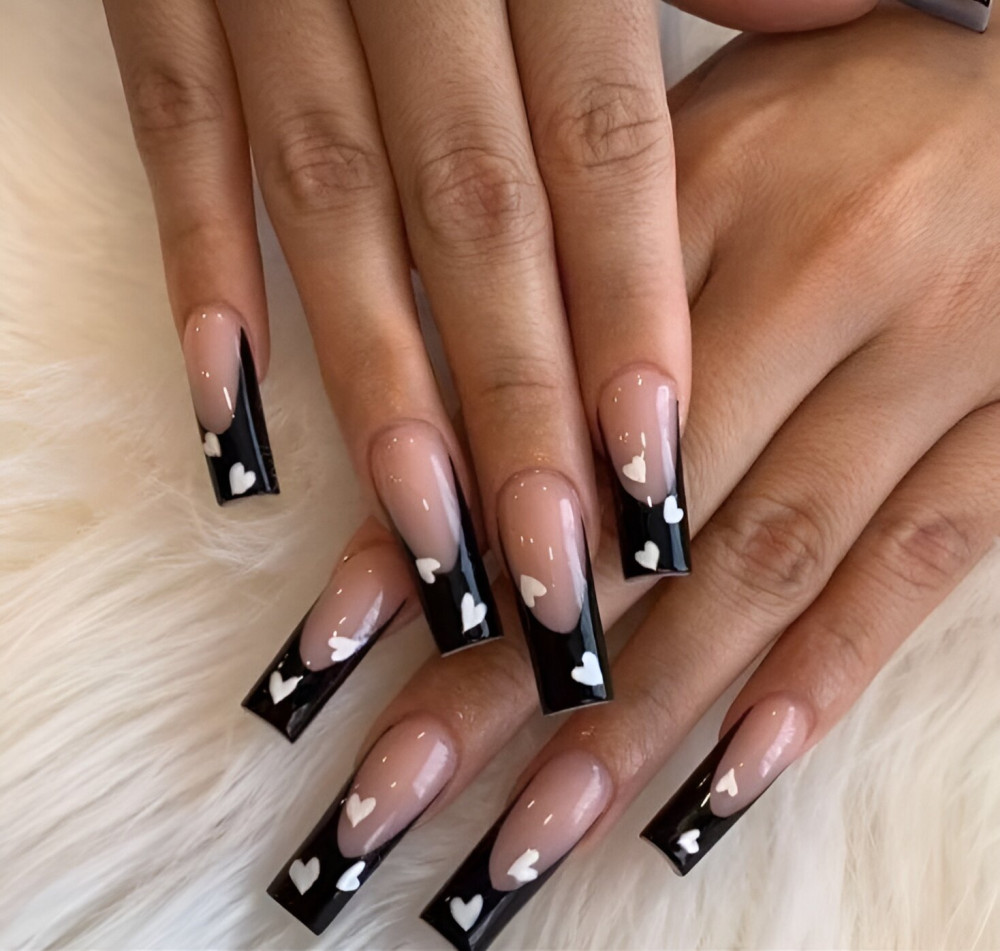
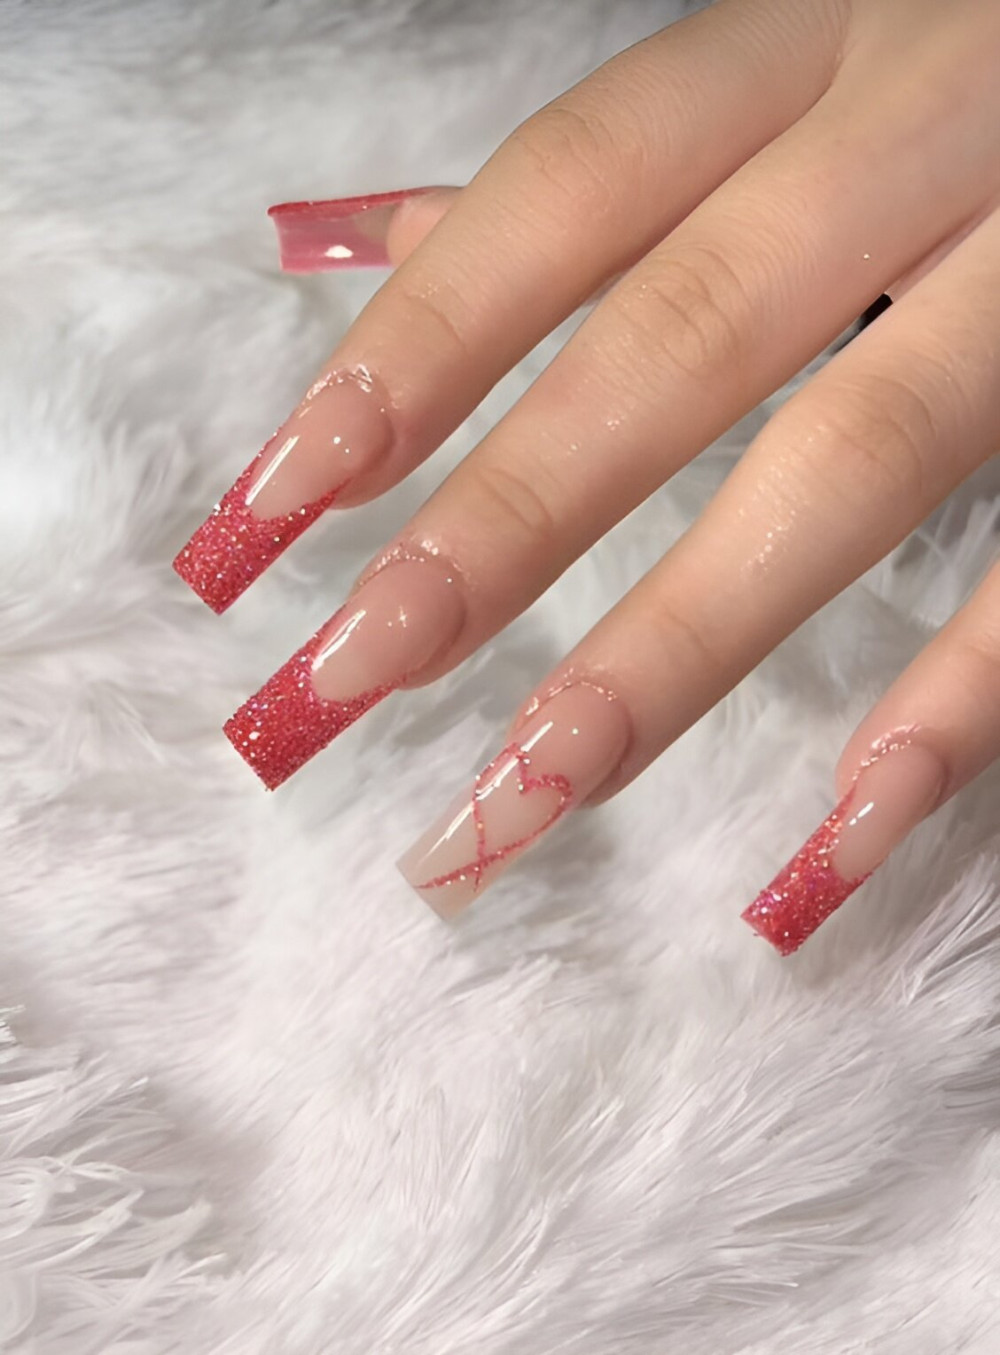
2.
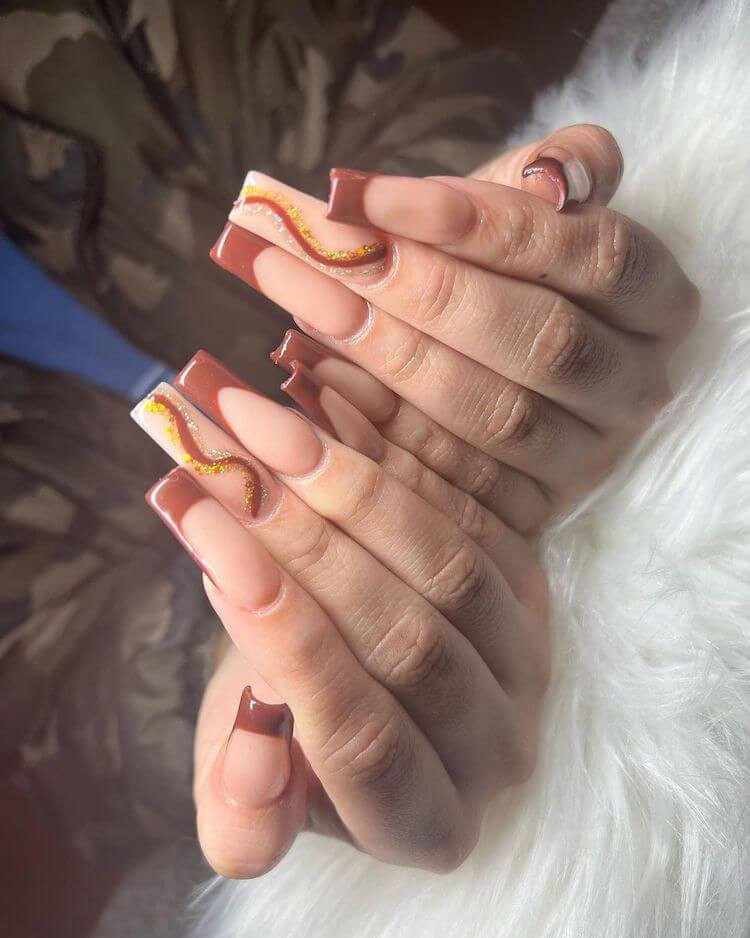
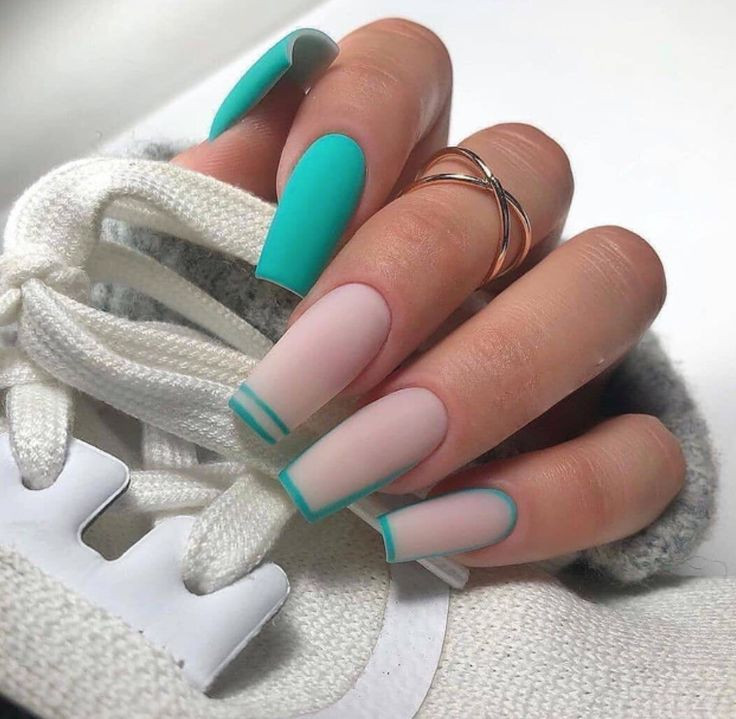
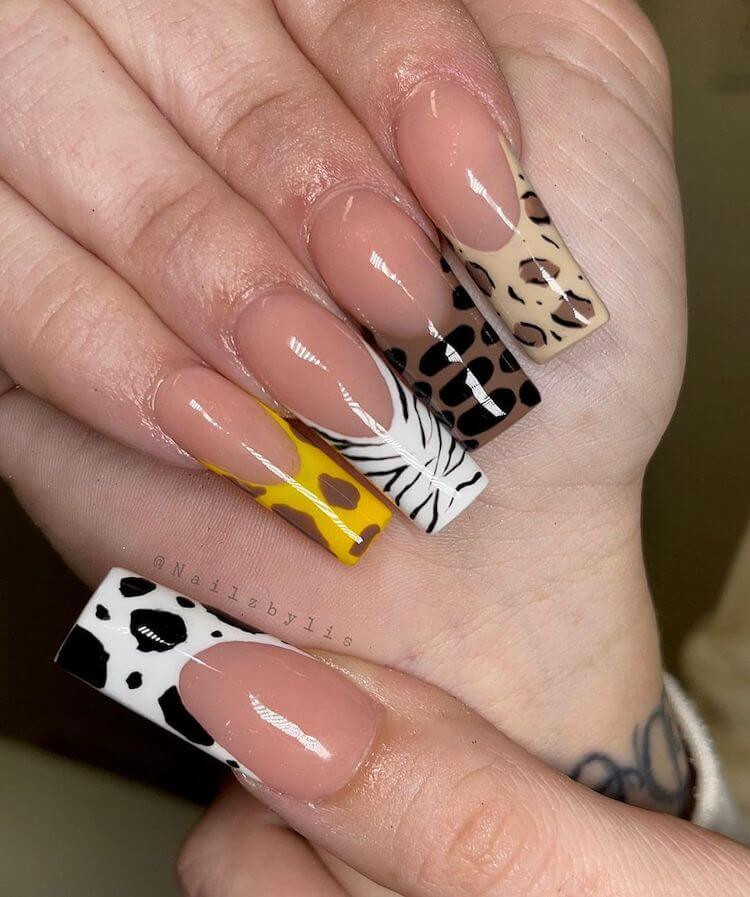
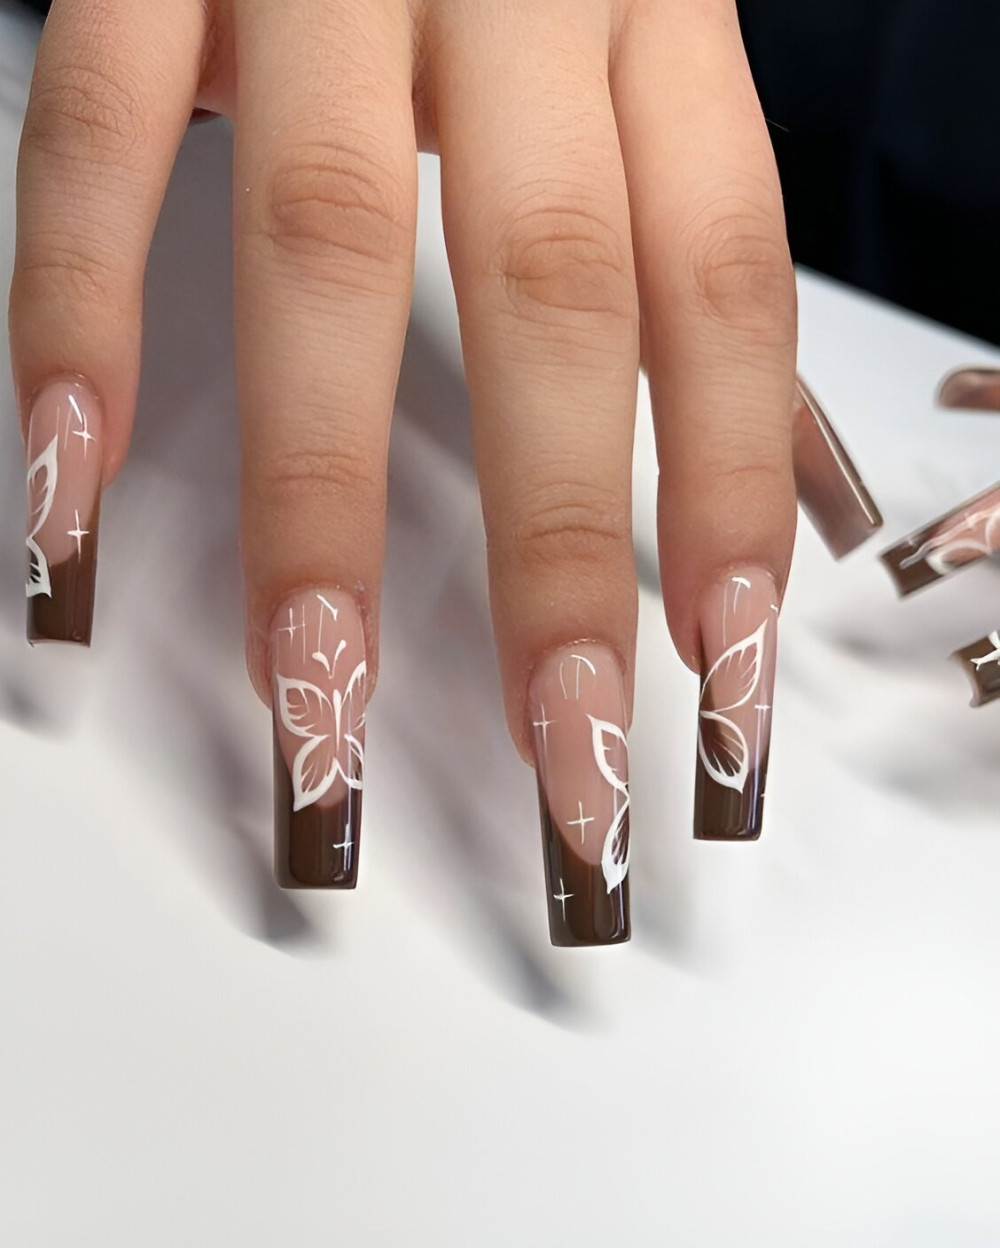
3.
DIY French Tip Square Nails at Home
The French manicure is the undisputed classic of nail design.
It is elegant, timeless, and effortlessly chic, relying on the contrast between a clean, nude base and a perfectly crisp, white tip.
When paired with a square or squoval (square-oval) nail shape, the French tip achieves a modern, sharp precision that is universally flattering.
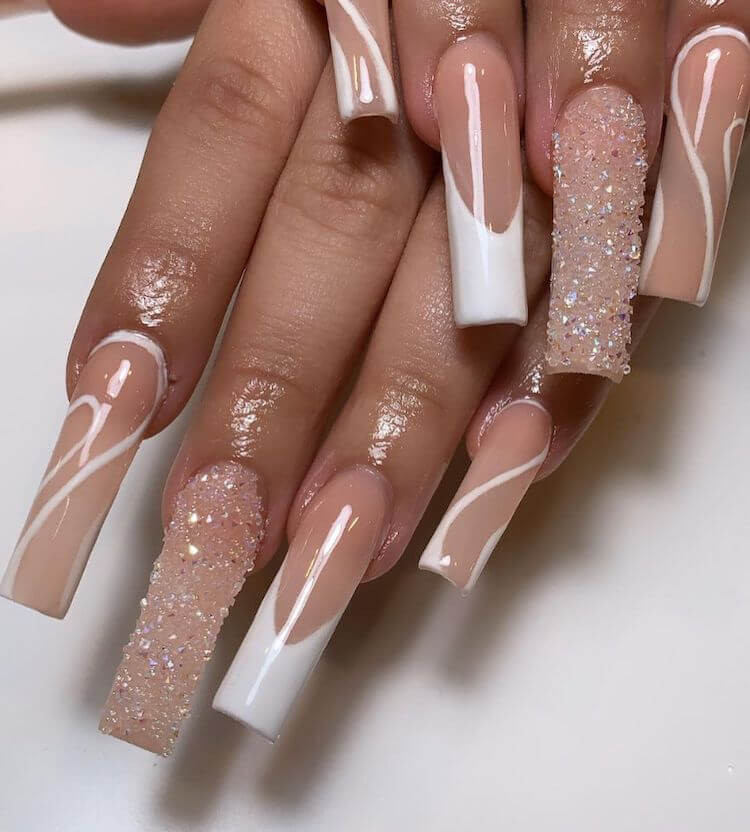
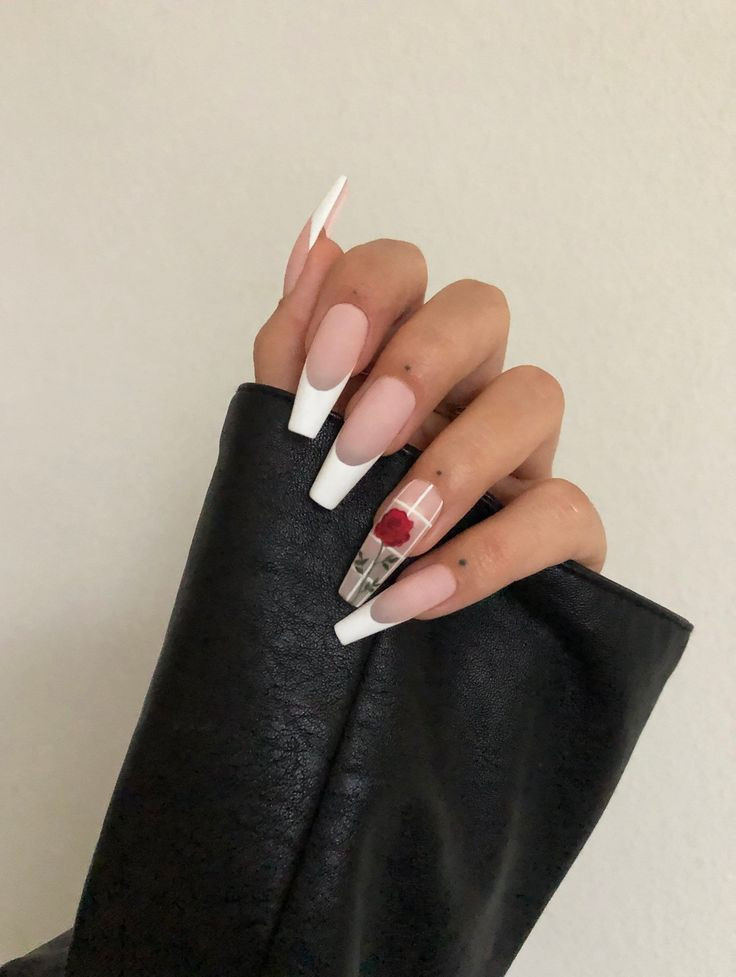
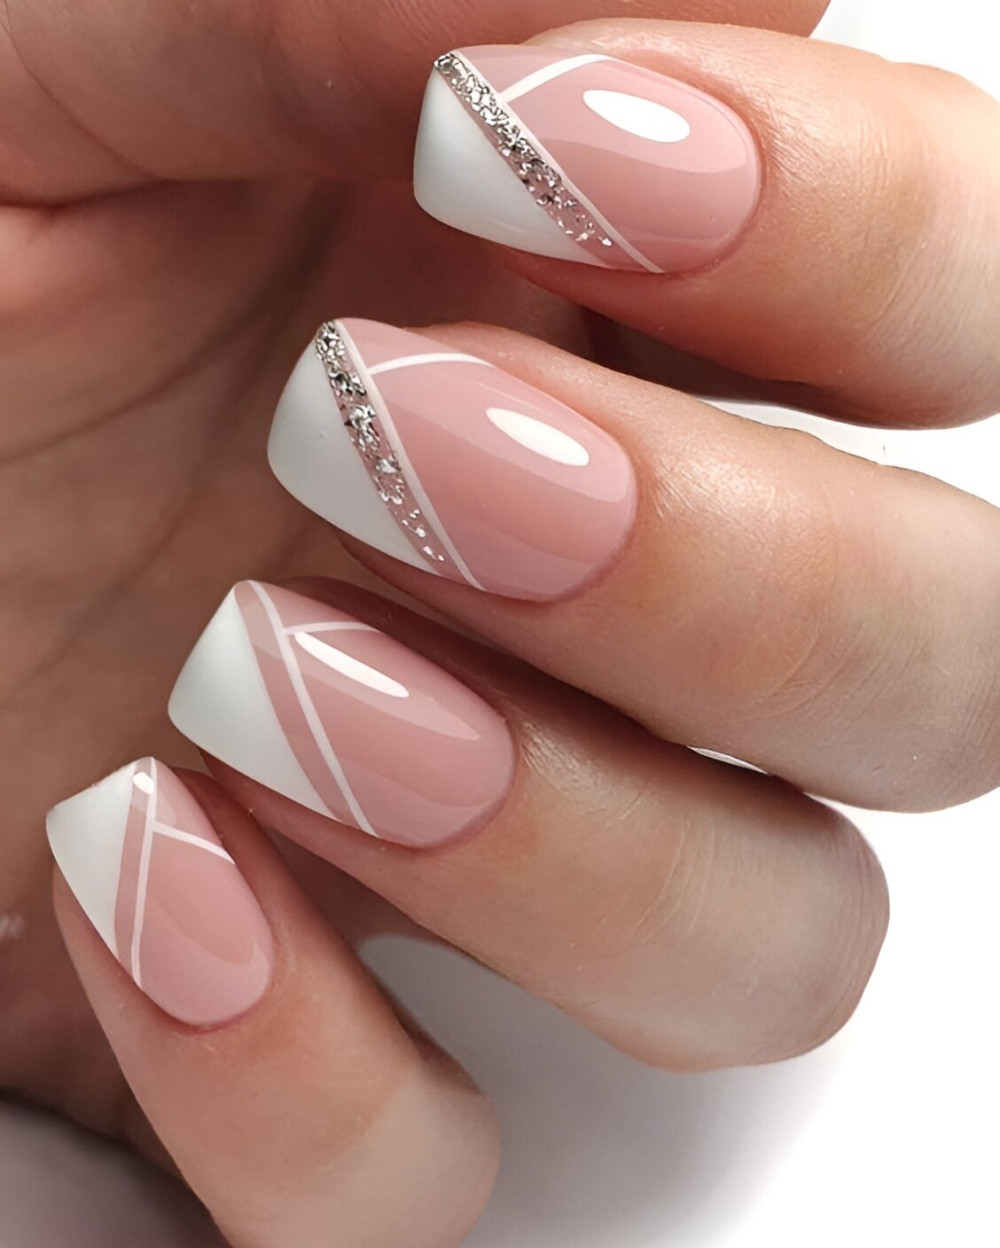
4.

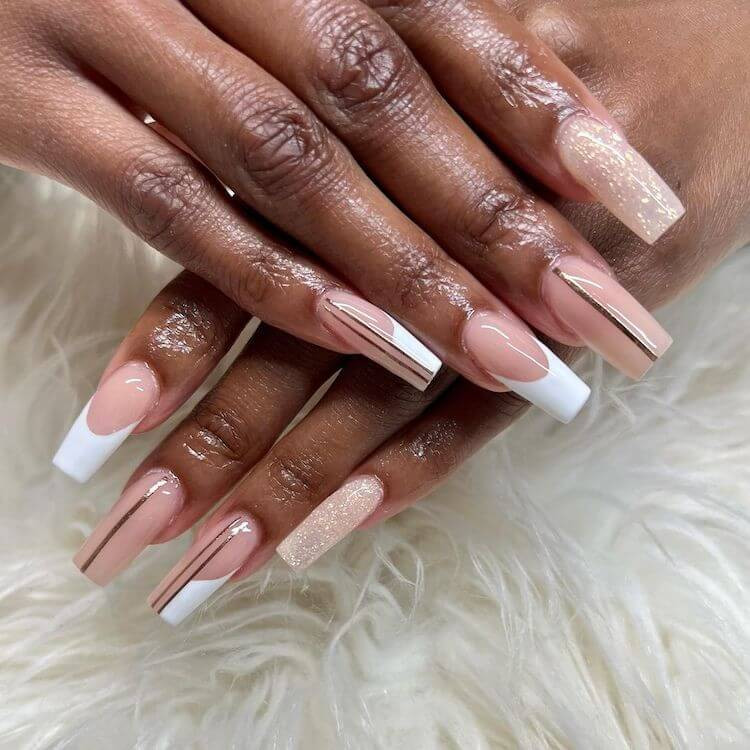
5.
6.

While the French tip looks simple, achieving that flawless, symmetrical white line at home can be daunting. It requires steady hands, the right tools, and, most importantly, a solid technique.
This guide breaks down the process into easy, actionable steps, transforming a complex salon service into an achievable DIY masterpiece.
Mastering this technique not only saves time and money but also equips you with the skill to maintain a polished, professional look anytime you want.
7.

8.
9.

The Foundation of a Flawless Finish
A perfect French manicure is built upon a perfect nail foundation. If the nail is improperly shaped or the cuticle is messy, the entire look will appear unprofessional.
Shaping the Square
The square shape is defined by straight sidewalls and a flat, blunt free edge.
10.

11.
Trim and File: Begin by trimming your nails to the desired short-to-medium length. Use a straight-edged file to hold the tool perpendicular to the nail and file straight across the tip.
Avoid rounding the corners completely; instead, soften the sharpest point just slightly (this creates the popular squoval shape, which is less prone to chipping than a true hard square).
Sidewalls: Ensure the sides of the nail are filed perfectly straight. This is crucial for maintaining the integrity of the square tip.
12.
13.

14.

Cuticle and Surface Prep
The base coat needs a clean, oil-free surface to adhere properly.
- Cuticle Care: Gently push back the cuticles using an orange wood stick or a metal pusher. Trim only any visible hangnails or dry skin—never cut the cuticle itself.
- Surface Buffing: Lightly buff the entire nail plate using a fine-grit buffer. This removes surface oils and shine, which can cause lifting.
- Dehydration: Wipe down each nail with a cotton pad soaked in nail cleanser or rubbing alcohol. This final step removes any residual dust and oil, ensuring maximum adhesion.
15.

16.
17.
Step-by-Step for a Crisp Finish
We will focus on two key methods for creating the white tip: the Sticker Guide Method (best for a rounded smile line) and the Silicone Stamper Method (best for a straighter, square tip).
Step 1: Base Coats
Apply one thin layer of your chosen clear or nude base polish. Let it dry completely.
18.

19.
20.

Step 2: The Tip Technique (Choose A or B)
A. Sticker Guide Method (Classic Curved Tip)
- Placement: Once the base coat is fully dry, place a French tip guide sticker just below where you want your white tip to begin. Ensure the sticker is pressed down firmly on the sides and center to prevent the white polish from bleeding underneath.
21.
22.
- Polish: Apply one coat of the opaque white polish over the entire free edge, covering the nail above the sticker. Be generous enough to ensure full opacity.
- The Reveal: Crucially, remove the sticker immediately after applying the white polish—do not wait for it to dry. Removing it while wet ensures a perfectly crisp line and prevents the polish from peeling or dragging.
23.
24.
B. Silicone Stamper Method (Modern Square Tip)
- Prep the Stamper: Apply a thick line of your white opaque polish directly onto the head of the silicone stamper.
- Dip and Roll: Holding your finger horizontally, gently dip the square tip of your nail straight down into the polish on the stamper. Do not press hard.
- Adjust: Slowly pull your finger back, checking the result. The natural curve of the nail creates the smile line. If the line is too thick, wipe off the polish and repeat the dip with a lighter touch. This method is the fastest way to get a uniform, straight tip across all nails.
25.
26.

27.

Step 3: The Refinement
If you used the stamper method and the line is too thick, or if there are any tiny smudges:
- The Clean-Up Brush: Dip a thin detail brush into nail polish remover and gently trace along the underside of the white line (the smile line). This step allows you to manually perfect the curve and remove any excess polish that bled.
28.

29.
Step 4: The Top Coat
This step is non-negotiable for shine and longevity.
- Apply and Seal: Apply a generous layer of a high-shine top coat over the entire nail, from the cuticle to the tip.
- Cap the Edge: As you apply the top coat, remember to “cap the free edge”—run the brush horizontally across the very tip of the nail. This seals the layers of polish together, preventing water and friction from causing chips.
30.