Do you know that those little pinecones you find scattered around can be the inspiration for endless creative projects? Instead of tossing them out, why not turn them into beautiful, nature-inspired crafts?
Pinecones are a perfect starting point for DIY lovers – they’re versatile, easy to find, and add a rustic charm to any project. From wreaths and ornaments to table centerpieces, the possibilities are endless. Let’s explore 30 creative DIY pinecone craft ideas that will inspire your next crafty adventure!
This article contains affiliate links. If you purchase through them, I may earn a small commission at no extra cost to you. Thank you for your support!
#1. Rustic Pinecone Candle Holder
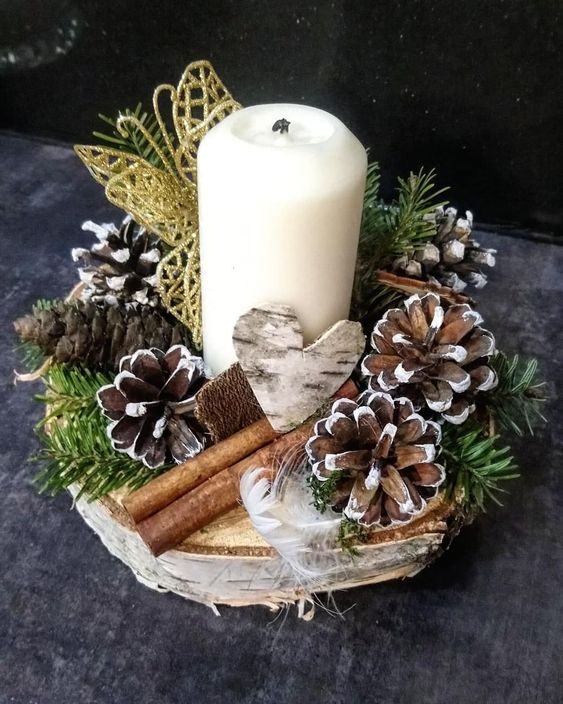
This warm and nature-inspired pinecone candle display brings instant coziness to your holiday or winter decor.
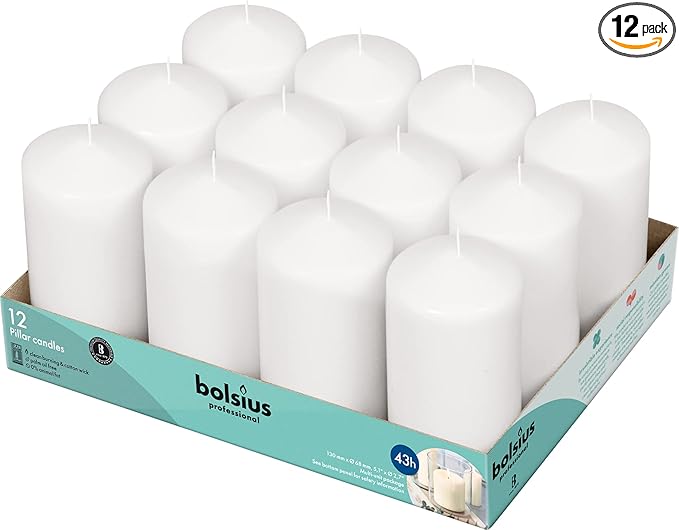 SHOP PILLAR CANDLE
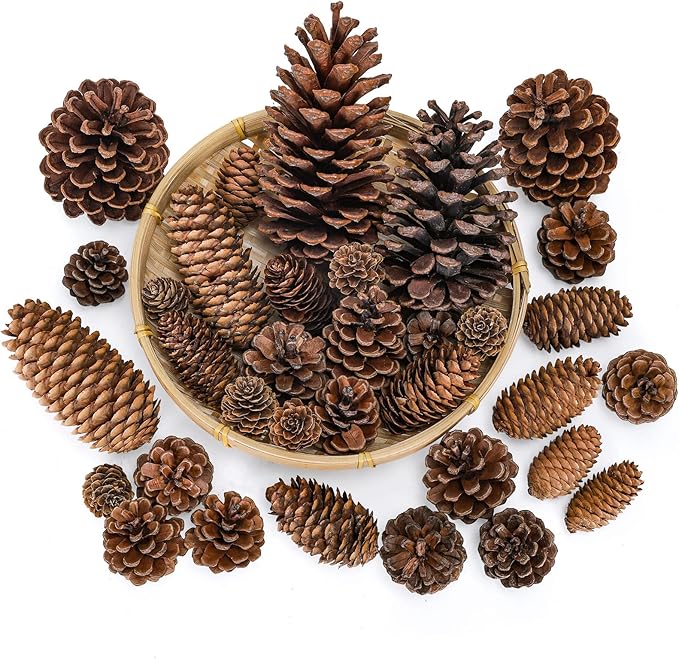
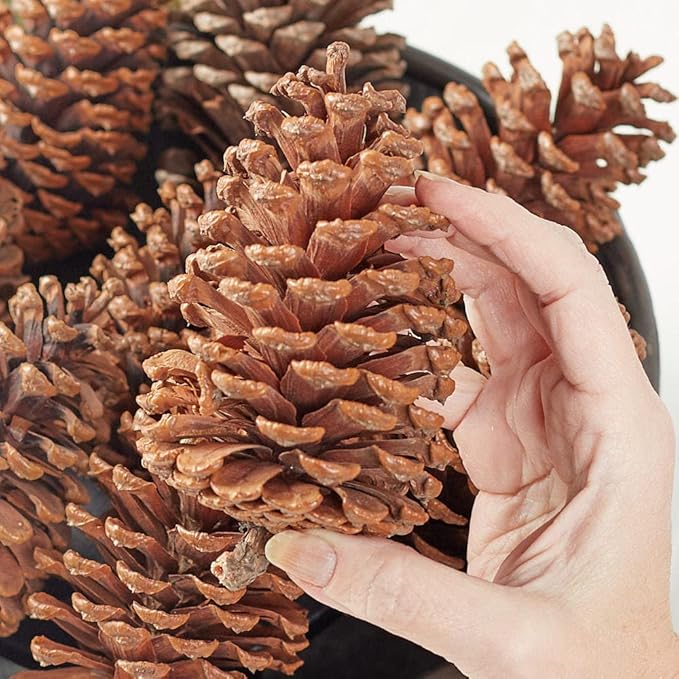 SHOP MEDIUM-SIZED PINECONES
 SHOP CINNAMON STICKS
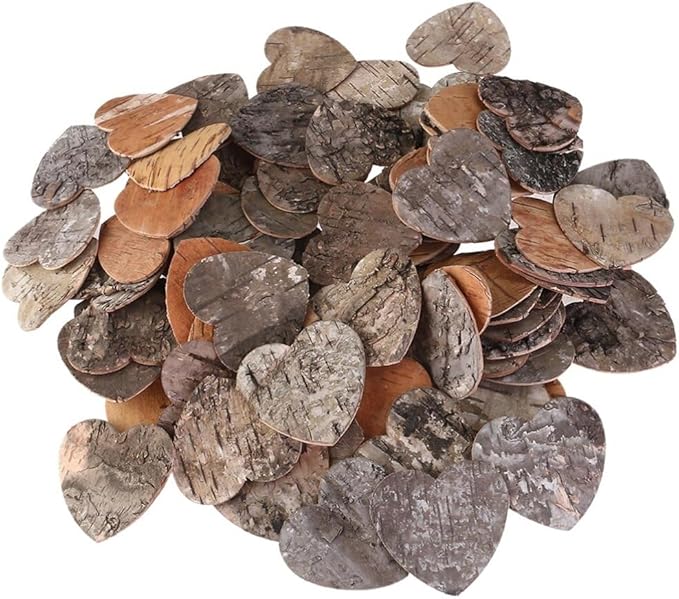 SHOP BIRCH BARK HEART
 SHOP GOLD MESH BUTTERFLY
 SHOP EVERGREEN SPRIGS
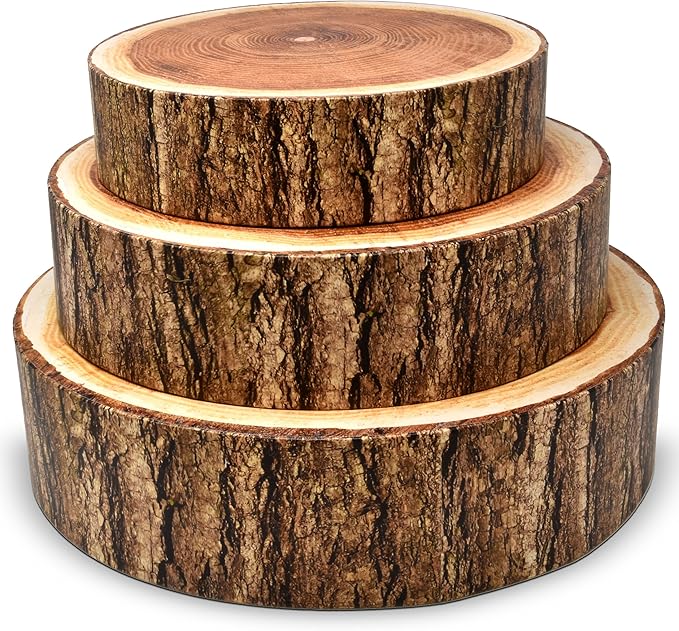 SHOP WOOD SLICE BASE
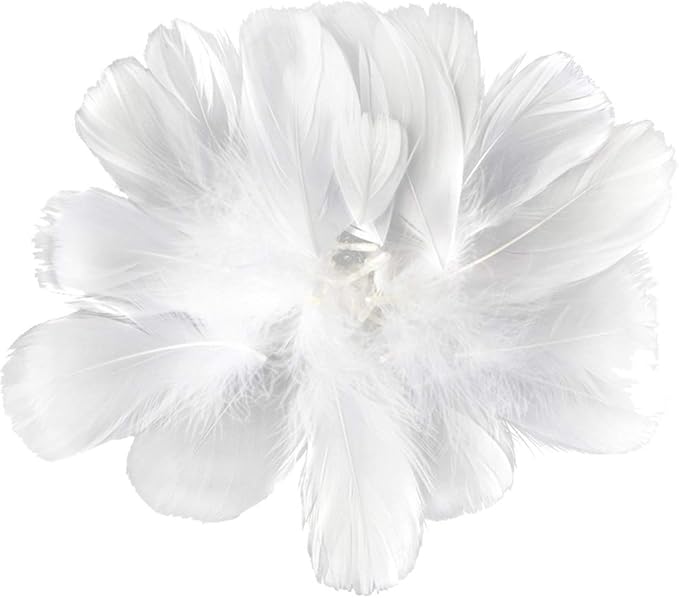 SHOP FEATHER
Materials Needed
- 1 pillar candle, 4–6 inches tall
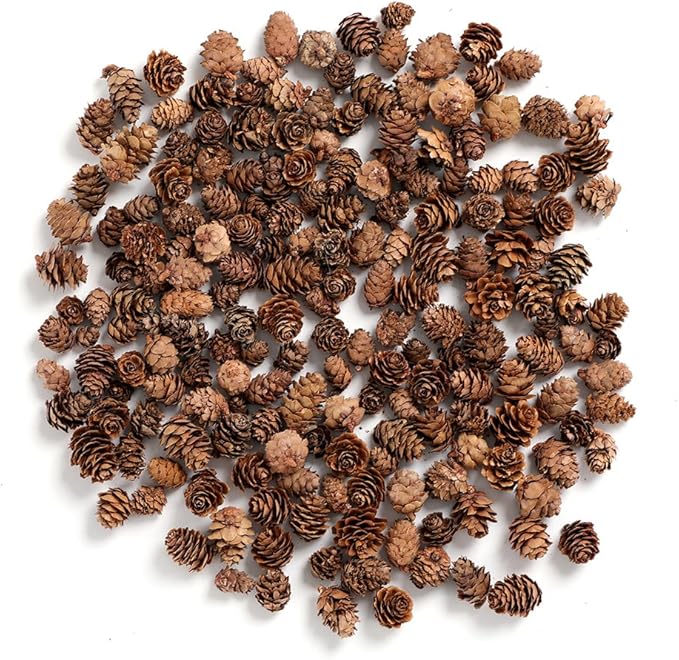
- 6 pinecones, medium-sized
- 2 cinnamon sticks
- 1 birch bark heart
- A gold mesh butterfly
- 5 evergreen sprigs
- 1 wood slice base, approx. 6–8″ wide
- Hot glue gun and glue sticks
- Optional: white acrylic paint, small brush, feather
Step-by-step Guide
Step 1: Place the wood slice on your workspace and glue the pillar candle securely in the center. Let it set for a few minutes.
Step 2: Arrange the pinecones around the candle. Dab a bit of white acrylic paint on the edges to mimic snow, then glue them in place.
Step 3: Add the greenery between the pinecones for a fresh contrast. Insert the cinnamon sticks diagonally for a rustic scent and visual variety.
Step 4: Tuck in the birch heart, gold ribbon loop, and a soft feather to add warmth and elegance. Secure all pieces with hot glue.
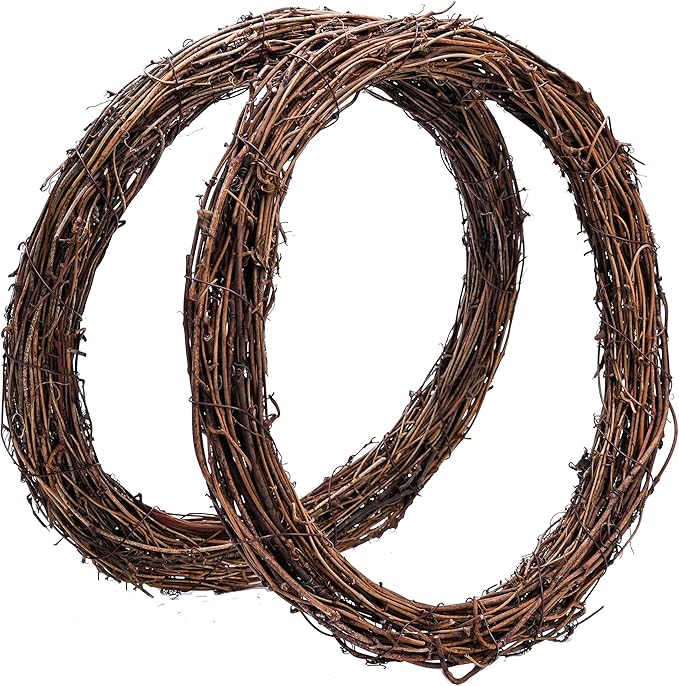
#2. Vibrant Pinecone Flower Wreath
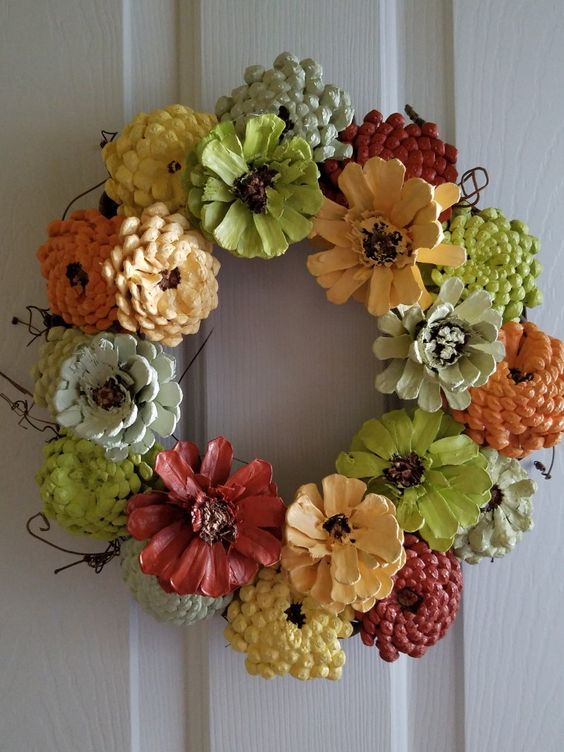
This vibrant wreath turns simple foraged cones into cheerful zinnias with just a bit of paint.

Materials Needed
- 20 pinecones, assorted sizes
- 1 grapevine wreath base, 12″ to 14″
- Acrylic paints in assorted colors
- Small paintbrushes and foam brush
- Hot glue gun and glue sticks
- Protective gloves and old newspaper
Step-by-step Guide
Step 1: Cut the pinecones in half horizontally using garden shears to expose the flower-like shapes. Keep the flatter sides for painting.
Step 2: Paint each cone in your selected colors. Use a base color first, then lightly dab a contrasting shade toward the center for depth. Let them dry thoroughly.
Step 3: Arrange the pinecone flowers around the wreath base, alternating sizes and colors. Once you’re happy with the layout, glue each in place.
#3. Adorable Pinecone Gnome Ornaments
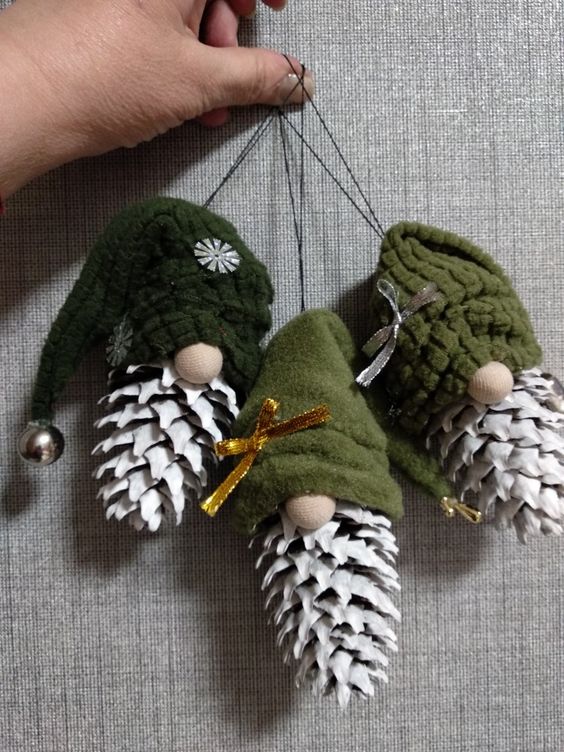
Each gnome feels like a tiny woodland friend with its fluffy beard, cozy hat, and playful charm.


Materials Needed
- 3 large pinecones
- 3 small wooden beads (approx. 0.5–0.75″)
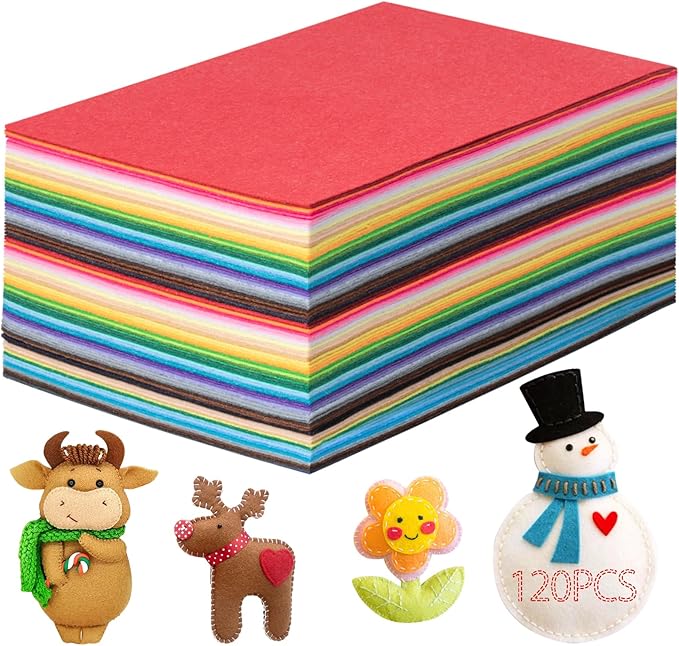
- 3 pieces of green felt (4×4″ each)
- Mini ribbon (optional)
- Hot glue gun and glue sticks
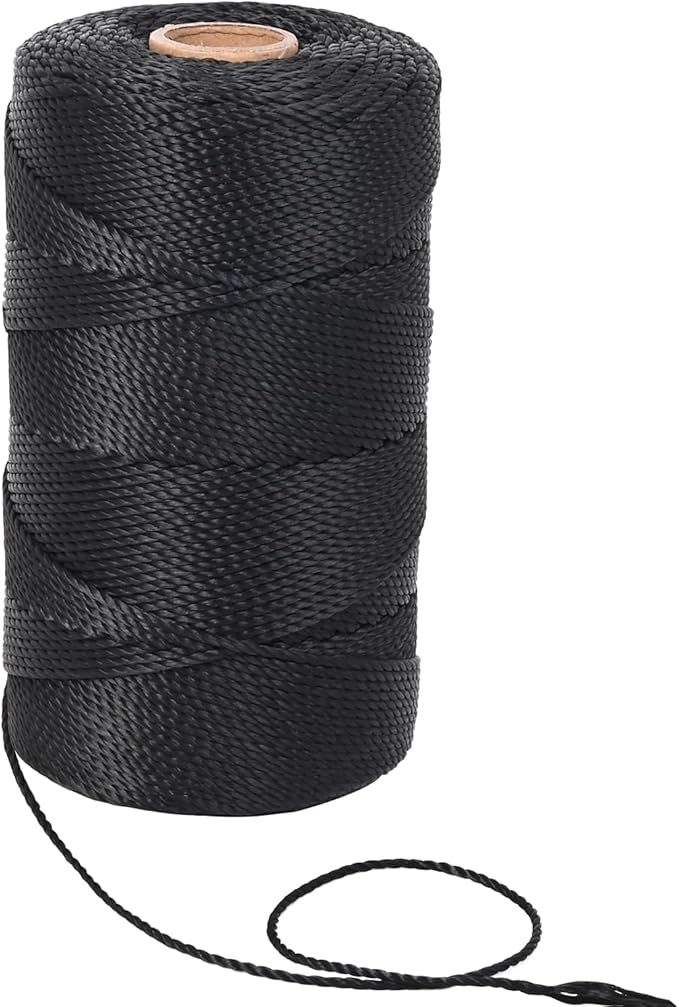
- Black string
Step-by-step Guide
Step 1: Lightly dry brush the pinecones with white paint if needed to mimic snowy beards. Let them dry fully.
Step 2: Glue a wooden bead near the top of the pinecone.
Step 3: Wrap felt into a cone shape to form a floppy hat. Glue the back seam, then attach the hat so it covers the top of the pinecone and overlaps the bead slightly.
Step 4: Decorate with a bow, tiny snowflake sticker, or jingle bell. Tie a loop of string on top for hanging.
#4. Colorful Pinecone Flower Bouquet

Whether it’s for a nature-inspired gift or a low-maintenance decor piece, these faux florals brighten any room without ever wilting.

Materials Needed
- 22 medium pinecones (2–3” size)
- Assorted acrylic paint colors
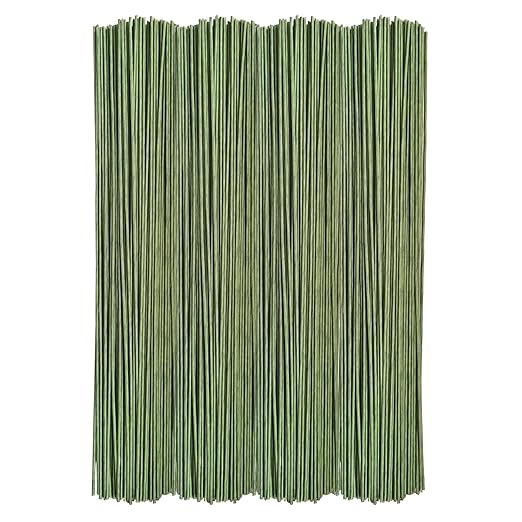
- Floral stems (8–10″ long)
- Hot glue gun + sticks, glass vase, clear beads
Step-by-step Guide
Step 1: Trim any pinecones that won’t sit flat. Paint each one with acrylics, use 2–3 shades to add petal depth. Let dry fully.
Step 2: Paint a few pinecones green to act as foliage. Add yellow or white dots in the center if you want floral detail.
Step 3: Hot glue a floral stem to the base of each pinecone. Let cool and reinforce if needed for heavier cones.
Step 4: Arrange them in a vase with decorative beads at the base to secure. Adjust heights by trimming skewers.
#5. Charming Pinecone Owl Wreath
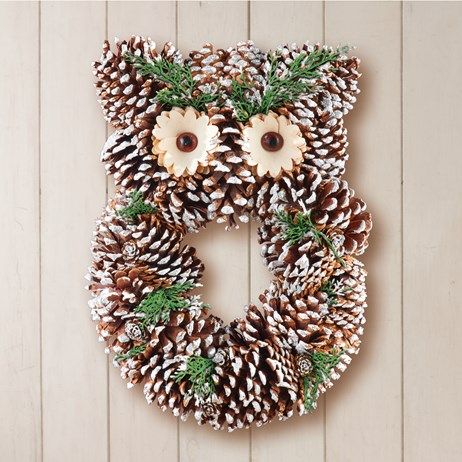
I had so much fun watching this playful little character take shape as his frosty pinecone feathers, big curious eyes, and snowy details bring a smile every time.
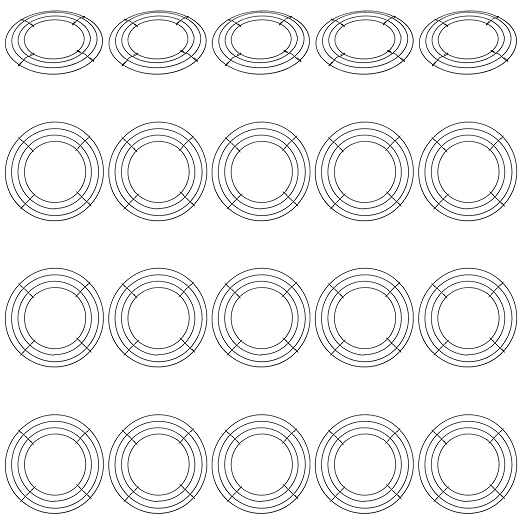
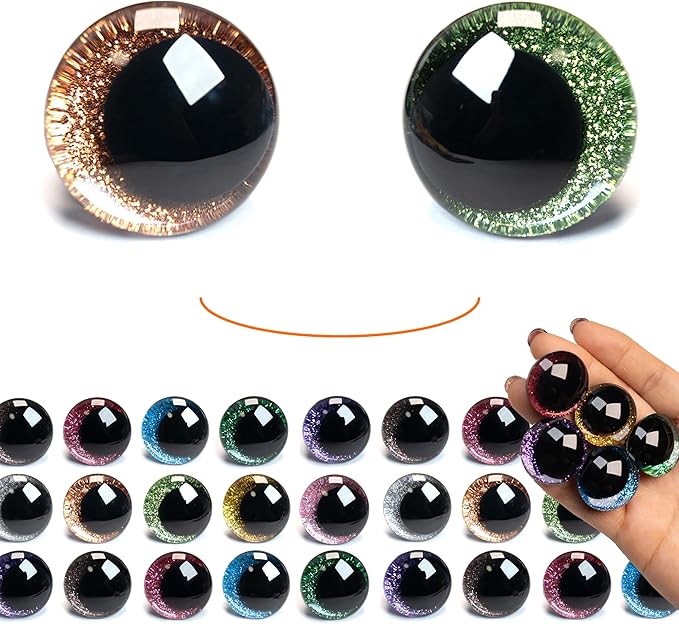
Materials Needed
- 25 pinecones (varied sizes)
- 2 small round wire wreath forms
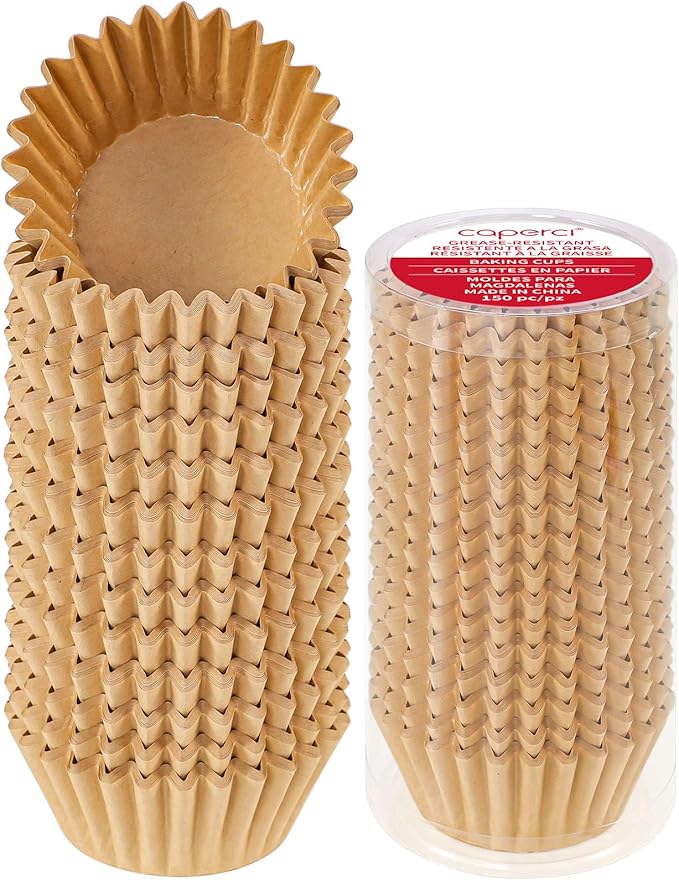
- 2 cupcake liners + 2 large buttons
- Faux greenery sprigs, white acrylic paint, hot glue gun
Step-by-step Guide
Step 1: Glue pinecones in tight layers around the wreath frame. Start with the outer edge and build inward. Use smaller cones at the top to form “ears.”
Step 2: Lightly brush or spray white paint onto the tips for a snowy effect. Let dry completely.
Step 3: Create owl eyes by gluing wooden discs and buttons together, then attach to the top center of the wreath. Add greenery tufts for feathers above and around the face.
#6. Lovely Pinecone Snowman Craft
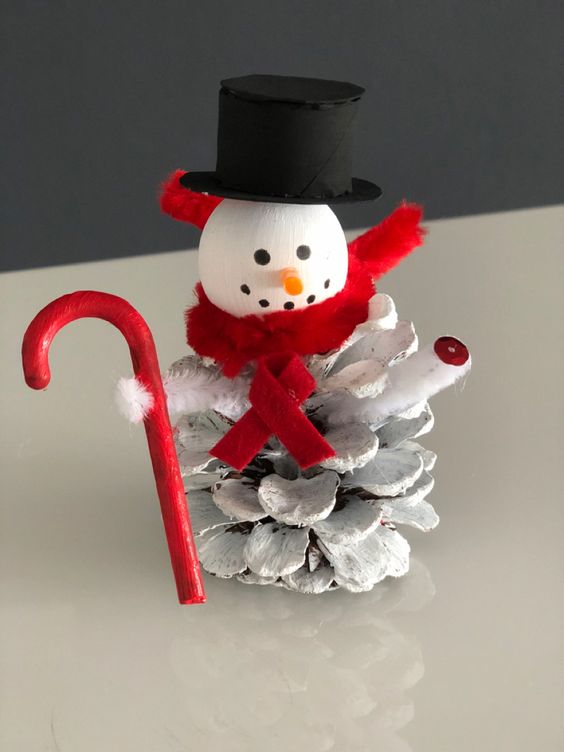
The snow-covered pinecone base, cheery scarf, and painted candy cane make it such a fun and budget-friendly project.


Materials Needed
- 1 pinecone (medium-sized)
- 1 small wooden ball (1 inch)
- Acrylic paint set, mini top hat, felt strips, mini pipe cleaner
Step-by-step Guide
Step 1: Paint the pinecone white and let dry. Paint the wooden ball white as well. Once dry, dot eyes, a smile, and buttons with black paint, and add an orange dot for the nose.
Step 2: Glue the head onto the top of the pinecone. Wrap a red felt strip around the neck to form a scarf.
Step 3: Twist a mini pipe cleaner to make the cane and paint it red with a white stripe. Glue it to one of the arms made of white pipe cleaner.
Step 4: Add the mini top hat and embellish with a ribbon, sequins, or mini pom-poms if you’d like.
#7. Charming Pinecone Family Craft
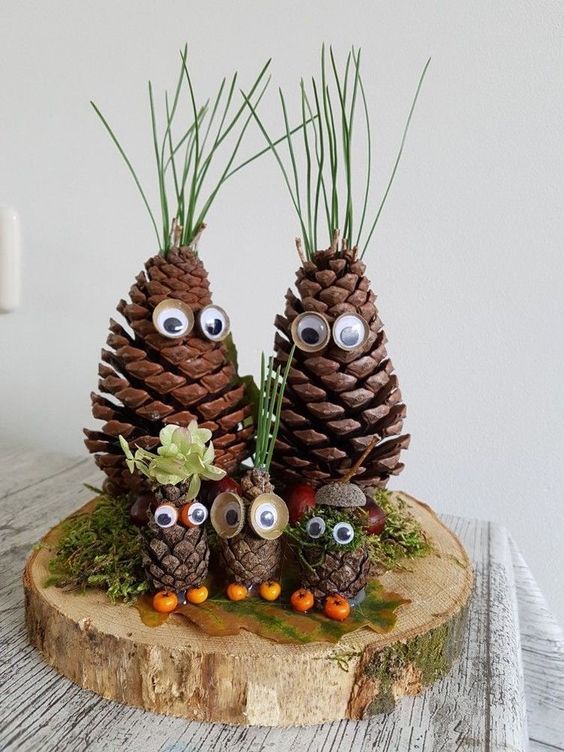
It’s a sweet project for a rainy day or a forest-themed centerpiece, and costs next to nothing if you forage and reuse craft leftovers.

Materials Needed
- 2 large pinecones (about 5–6″ tall)
- 3-4 mini pinecones
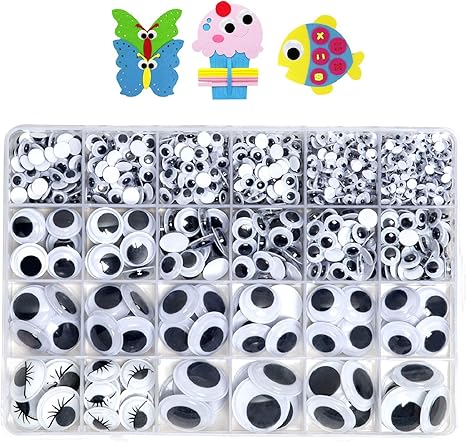
- Googly eyes set
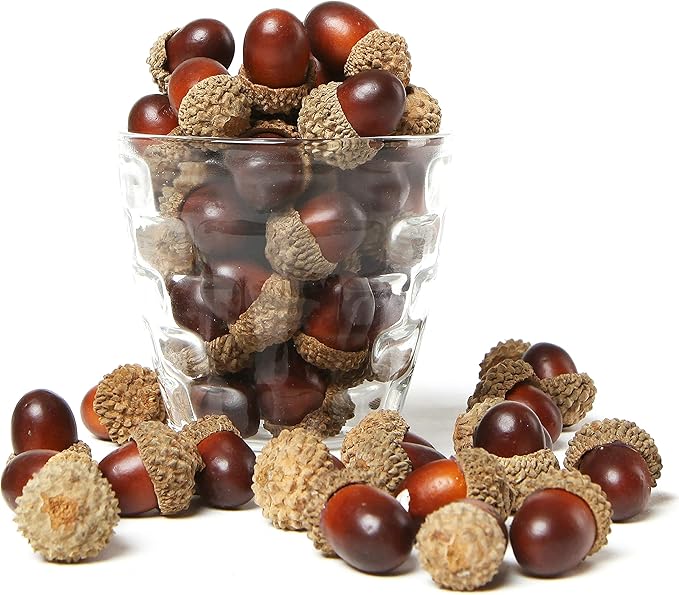
- Natural extras: acorn tops, moss, twigs, mini berries, leaves, etc.
- Hot glue gun, wood slice base
Step-by-step Guide
Step 1: Use the largest for the parents and smaller ones for the kids. Attach eyes to each using a hot glue gun, varying size for added personality.
Step 2: Add natural accessories like hats (acorn caps), hair (grass or moss), or scarves (twine). Stick twigs or leaves behind for arms or fun flair.
Step 3: Position the family on a wooden base. Glue moss and berries around their feet to anchor the scene.
#8. Rustic Pinecone Christmas Tree
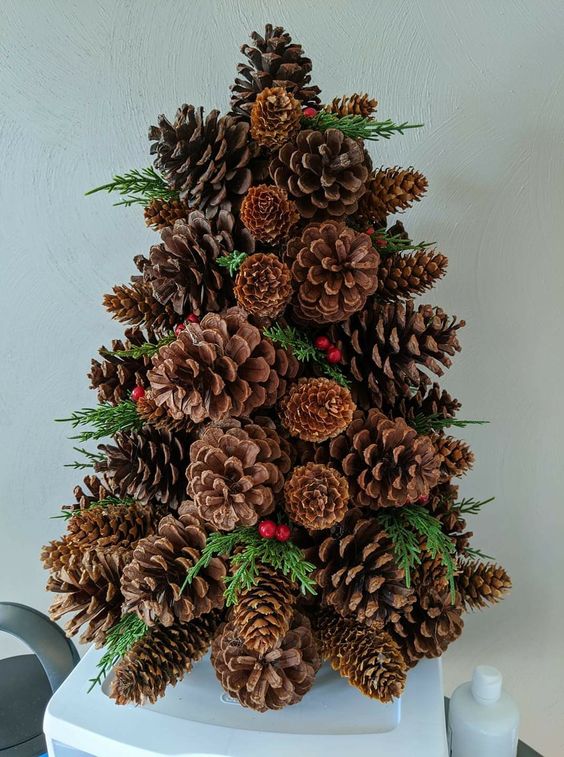
The mix of cone sizes gives it dimension, and the pops of greenery and berries add just enough cheer.

Materials Needed
- 60 assorted pinecones (2″-6″)
- 1 Styrofoam cone base, 12″–16″ tall
- Faux evergreen sprigs and red berry picks
- Hot glue gun
- Optional: floral wire and wire cutters
Step-by-step Guide
Step 1: Starting at the base of the foam cone, hot glue the largest pinecones around the bottom. Work upward in staggered rows, gradually using smaller cones as you go to maintain the tree shape.
Step 2: Once the tree is fully covered, tuck in greenery and berries between cones for a festive look. Use floral wire for extra hold if needed.
#9. Elegant Pinecone and Citrus Lanterns

The glow from the fairy lights against the warm tones of pinecones and citrus makes any corner feel cozier.


Materials Needed
- 2–4 large pinecones (3″–4″ each)
- 4 dried orange slices
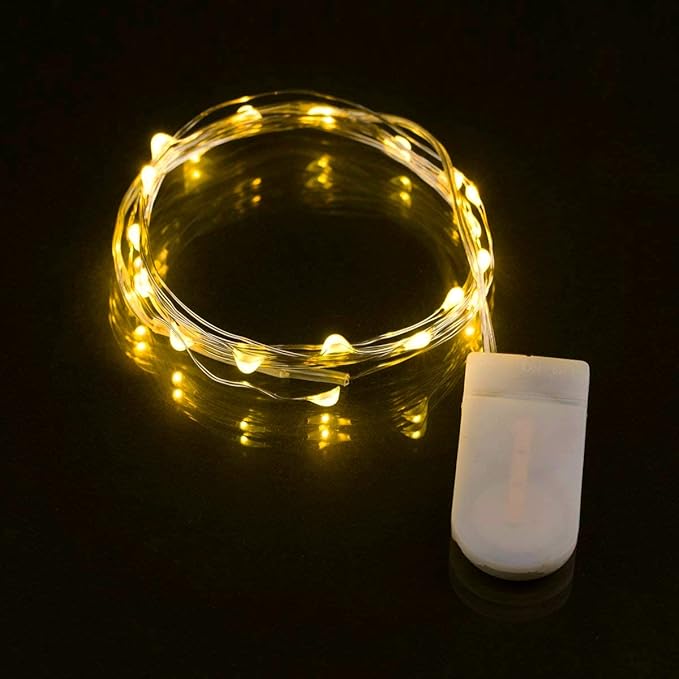
- 1 strand of battery-operated fairy lights, 6–10 ft
- 1 large glass vase (10″–12″ tall)
- Twine (optional)
Step-by-step Guide
Step 1: Insert a few pinecones at the bottom of your vase to anchor the design.
Step 2: Begin weaving the fairy lights in and around the pinecones as you layer them. Add orange slices between layers for bursts of color.
Step 3: Wrap the twine around some of the pinecones or loosely swirl it into the vase. Add dried twigs for more rustic charm.
#10. Charming Pinecone Floral Wall Art
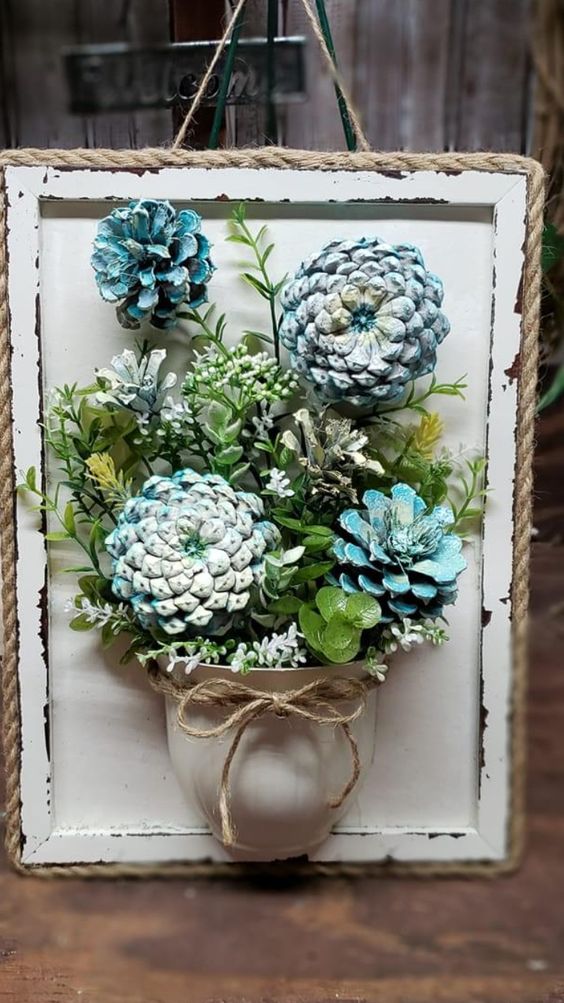
There’s something timeless and soul-soothing about this rustic wall decor.


Materials Needed
- 5 medium pinecones (approx. 2–3″ each)
- White and turquoise acrylic paint
- 1 old photo frame with backing (approx. 10″x14″)
- 1 small wall-mounted teacup
- Faux greenery stems
- Twine rope
- Hot glue gun + glue sticks
Step-by-step Guide
Step 1: Paint your pinecones white and turquoise, focusing color on the tips. Let dry completely.
Step 2: Attach the clay pot or teacup to the bottom center of the frame backing with strong hot glue. Add a twine bow for extra charm.
Step 3: Arrange and glue faux greenery inside the pot, then hot glue your pinecone flowers on top of the greenery, forming a bouquet-like cluster.
#11. Rustic Pinecone Garland Display

The simplicity of natural pine paired with thick twine makes it feel earthy and timeless.
Materials Needed
- 25 medium pinecones (2–4″ length)
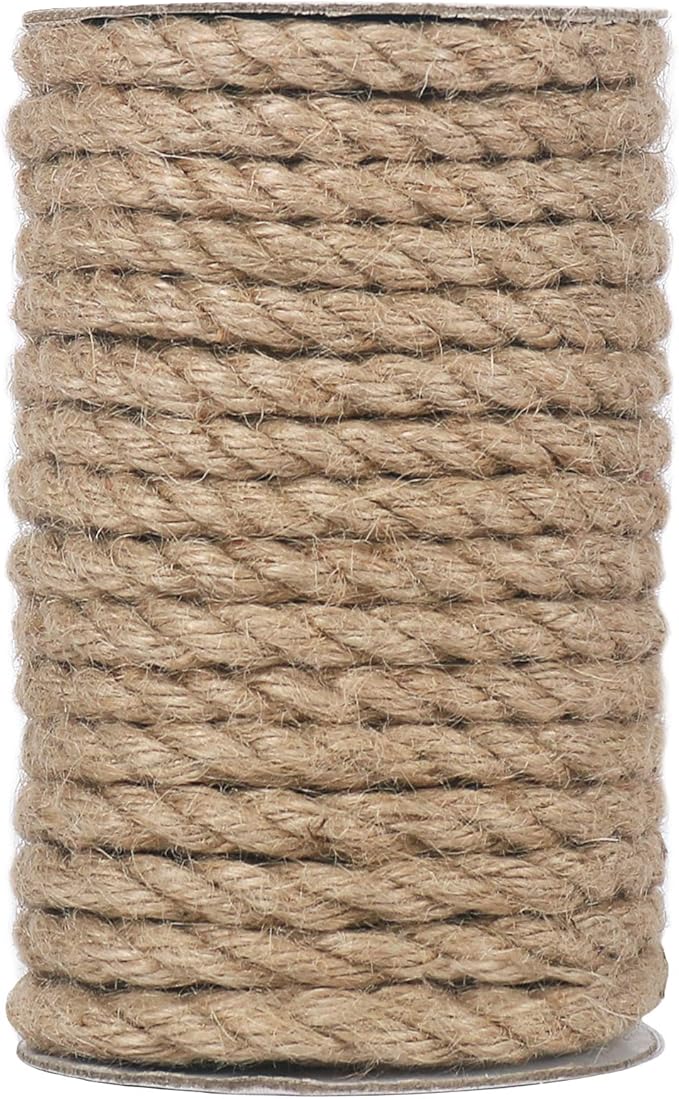
- 9 ft of sturdy jute twine
- Optional: mini LED fairy lights, hot glue gun
Step-by-step Guide
Step 1: Cut your jute twine to desired length, leaving extra on both ends for tying or hanging.
Step 2: Tie individual pinecones to the twine using tight double knots spaced 3–4 inches apart. Wrap the twine around the base of each cone or hot glue for more stability.
Step 3: Drape the garland across your mantel, doorway, or railing.
#12. Vibrant Pinecone Flower Art
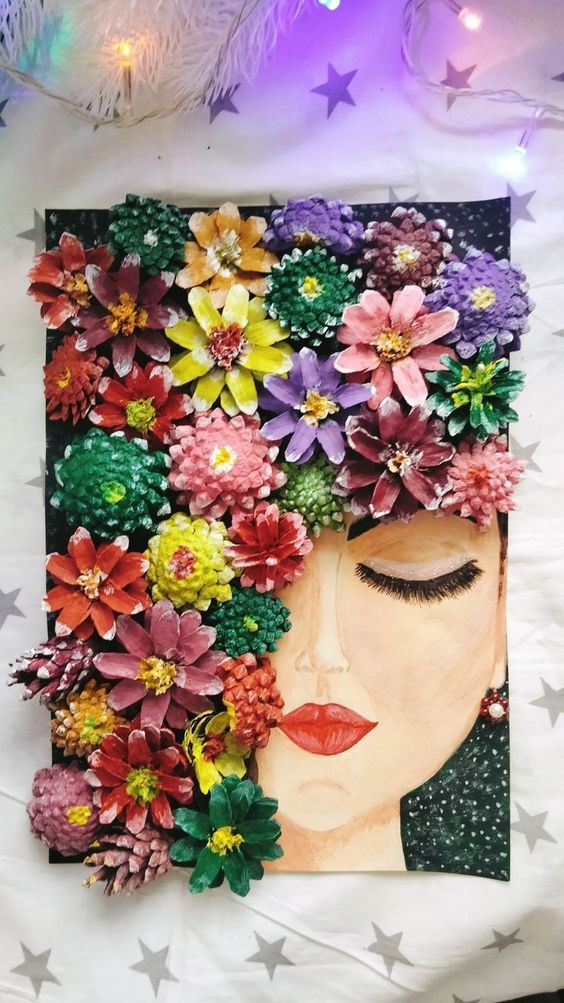
This piece feels like a dream turned into art, where nature and creativity meet in a cascade of vibrant pinecone flowers.

Materials Needed
- 15–20 medium pinecones
- 1 sheet of thick paper (at least 11″x14″)
- Assorted acrylic paints, paintbrush set
- Hot glue gun and glue sticks
- Optional: white gel pen
Step-by-step Guide
Step 1: Sketch the female face lightly onto the foam board. Fill in with acrylic paints like soft skin tones, bold lips, closed eyelids, and defined lashes. Let dry completely.
Step 2: Cut pinecones in half using pruning shears. These will become your flower petals.
Step 3: Paint each pinecone in bright, varied colors like yellows, pinks, purples, greens, and more. Use lighter accents to add dimension. Let them dry thoroughly.
Step 4: Arrange the painted pinecones around the hairline of the portrait to mimic flowing hair made of blossoms. Glue each cone securely in place. Fill in any gaps with smaller petals or moss if desired.
#13. Cozy Pinecone Winter Gnomes
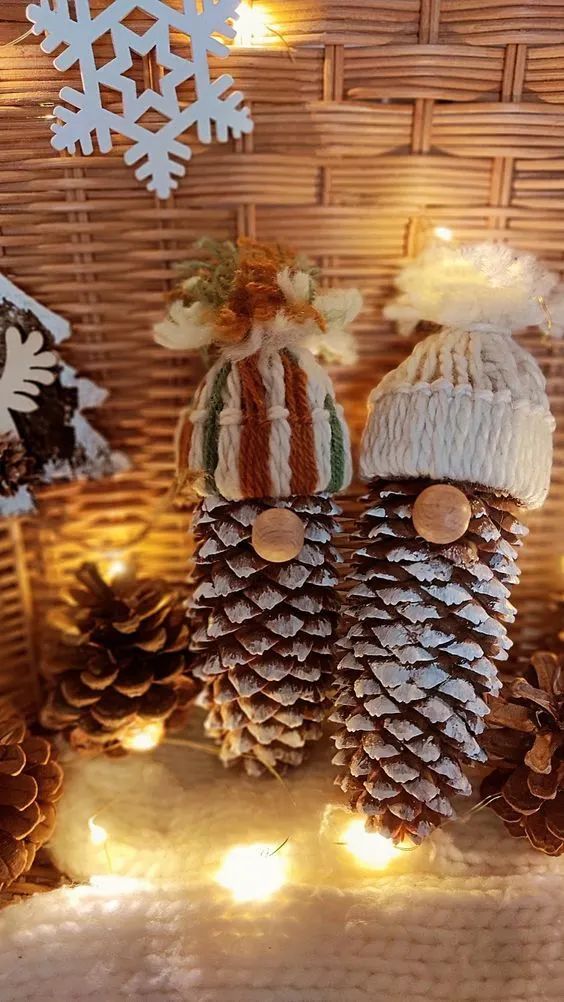
I made a few for my mantel, and they turned into a family of forest friends.

Materials Needed
- 2 pinecones (3–5 inches long)
- Acrylic white paint + small paintbrush
- 2 small wooden beads
- Scraps of yarn in various colors
- Scissors and hot glue gun
Step-by-step Guide
Step 1: Dab the pinecones with white acrylic paint, focusing on the tips to mimic snow. Let them dry completely.
Step 2: To make each hat, cut 15–20 pieces of yarn about 6 inches long. Loop them around a cardboard ring (you can cut from a paper towel roll) to form the hat brim. Gather the strands at the top and tie with another piece of yarn to create a pom-pom shape.
Step 3: Glue each hat onto the top of the pinecone, then attach a wooden bead under the hat’s brim for the nose using hot glue.
#14. Frosted Pinecone Holiday Planters
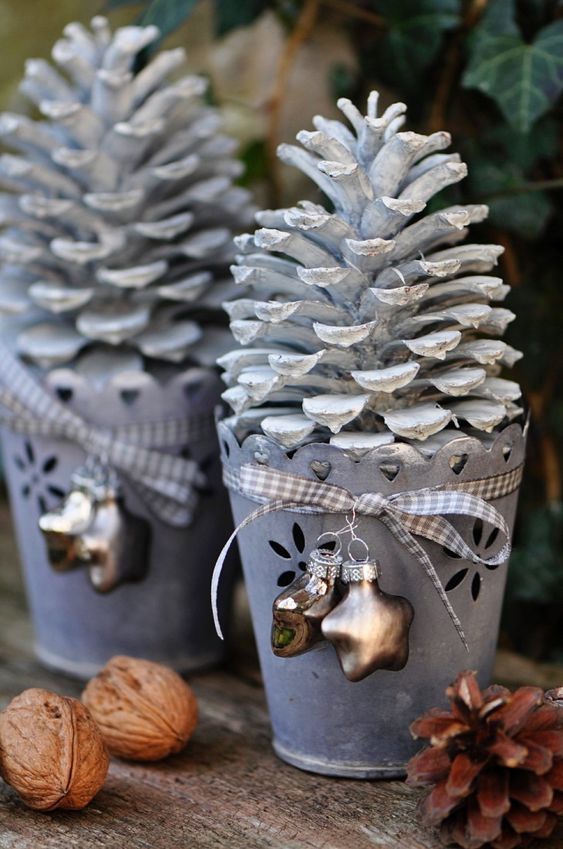
These painted pinecones nestled in charming metal pots bring that Scandinavian winter calm indoors.

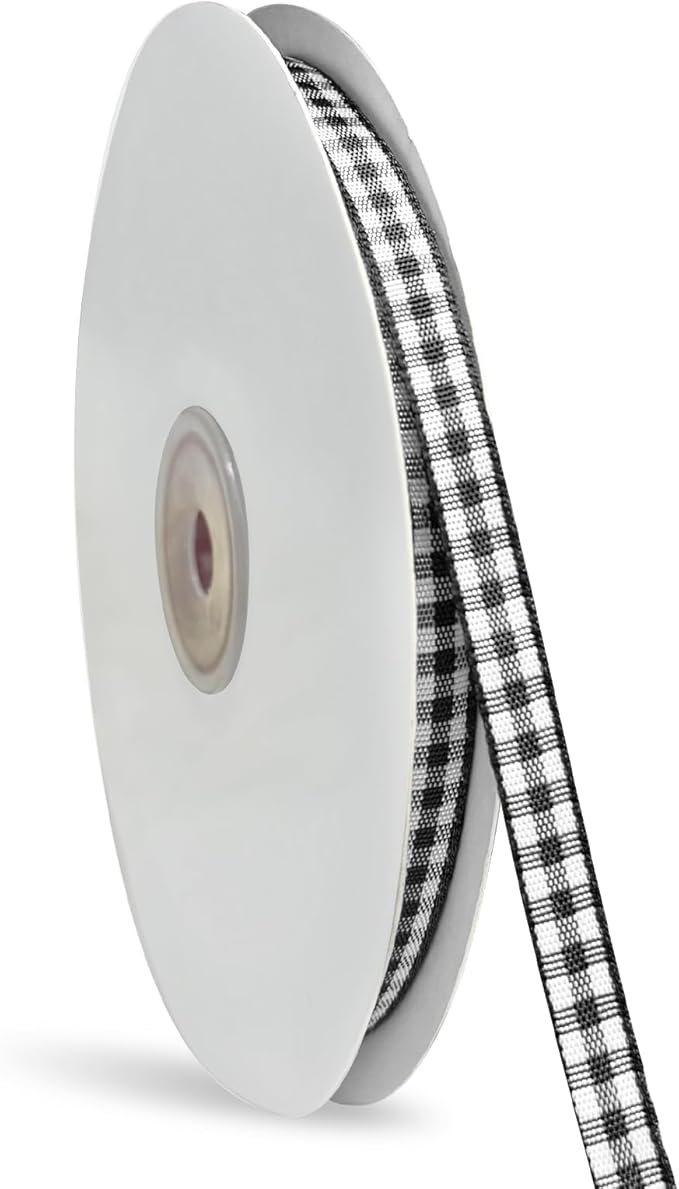

Materials Needed
- 2 large pinecones (4–6 inches tall)
- 2 decorative metal pots with lace cut-out edges (about 4″–5″ high)
- White acrylic paint and sponge brush
- Hot glue gun + glue sticks
- Gingham ribbon (approx. 12 inches per pot)
- Mini ornaments
Step-by-step Guide
Step 1: Use a sponge to paint the pinecones white, focusing on the tips to mimic snow. Let them dry thoroughly.
Step 2: Tie a bow around each pot using gingham ribbon, gluing it in place if needed. Add a mini ornament or charm dangling from the center for extra flair.
Step 3: Secure the pinecones inside each pot with hot glue or foam filler if you want them firmly fixed. Leave them loose if you want to swap them seasonally.
#15. Charming Pinecone Flower Frame
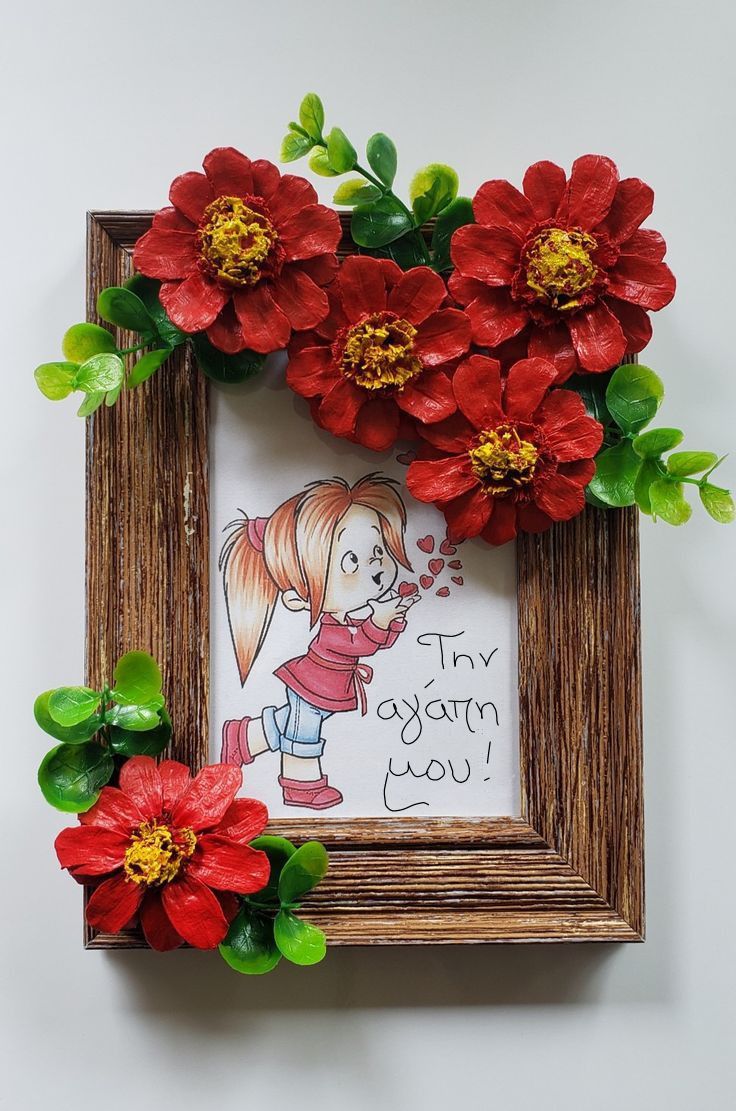
I made a version of this for my niece’s birthday, and honestly, watching her light up when she saw it melted my heart.

Materials Needed
- 1 rustic-style wooden photo frame (6″×8″)
- 5 pinecones (medium-sized)
- Red and yellow acrylic paint, and paintbrushes
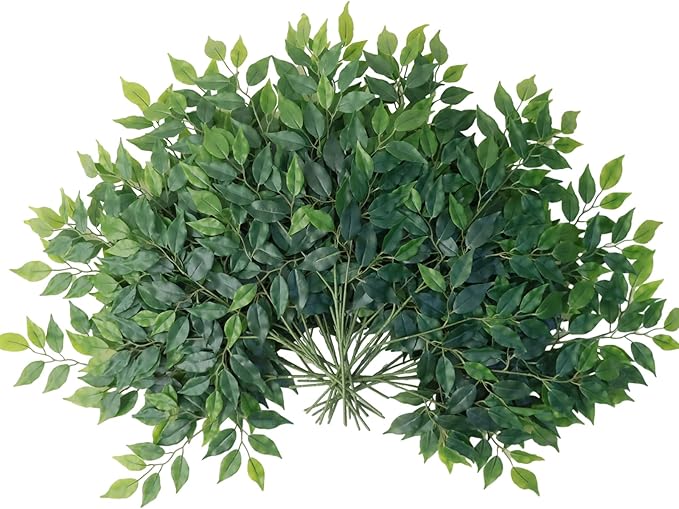
- Artificial leaves
- Hot glue gun and glue sticks
- Hand-drawn note
Step-by-step Guide
Step 1: Slice the pinecones into cross-sections or trim the edges to resemble flower petals. Paint each piece red, adding a pop of yellow in the center. Let dry fully.
Step 2: Arrange and glue the pinecone flowers around the corners of the frame. Fill in gaps with sprigs of faux greenery.
Step 3: Insert your hand-drawn picture, love note, or printed quote into the frame.
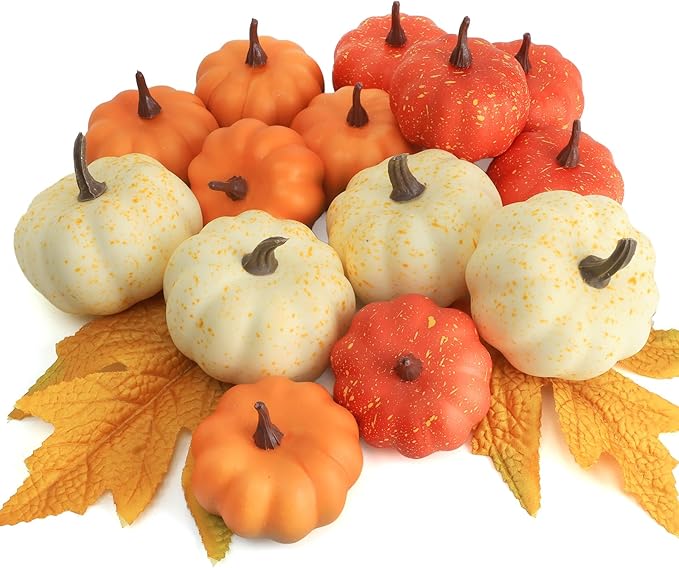
#16. Autumn Harvest Pinecone Centerpiece

I made one like this last November, and it instantly became the heart of our family dinners, warm candlelight, piney freshness, and little pumpkins that just scream autumn.
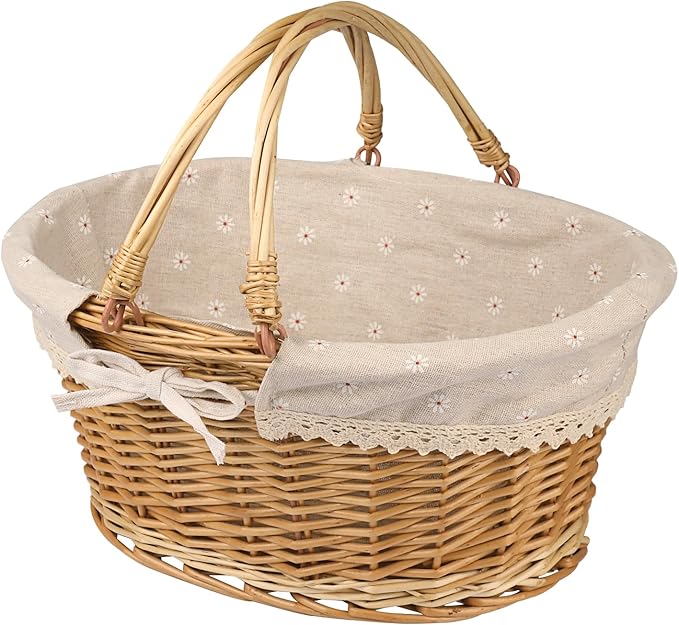

Materials Needed
- 1 medium wicker basket (10–12″ wide)
- 2 pillar candles ( 6″, 8″)
- 10 pinecones
- 8 mini faux pumpkins
- Silk fall leaves
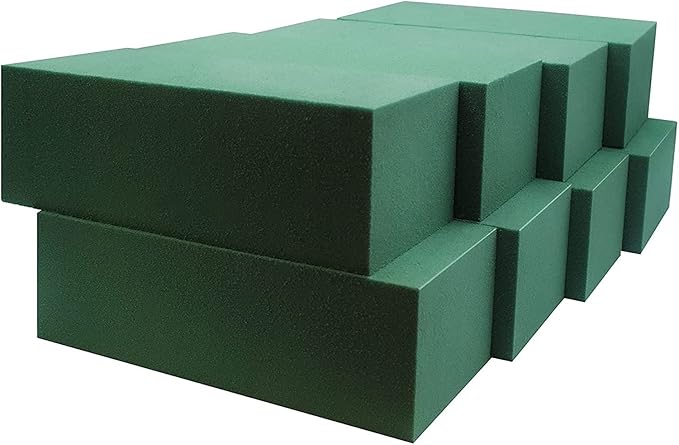
- Floral foam
Step-by-step Guide
Step 1: Fill the basket with floral foam to give the arrangement height. Nestle the candles firmly into the center, space them for stability.
Step 2: Arrange pinecones and pumpkins around the candles, starting with larger pieces and filling in with smaller ones. Let some sit upright, others tilt naturally.
Step 3: Tuck in silk or dried fall leaves throughout the arrangement, letting some spill slightly over the edge for a natural look.
#17. Rustic Pinecone Cross Decor
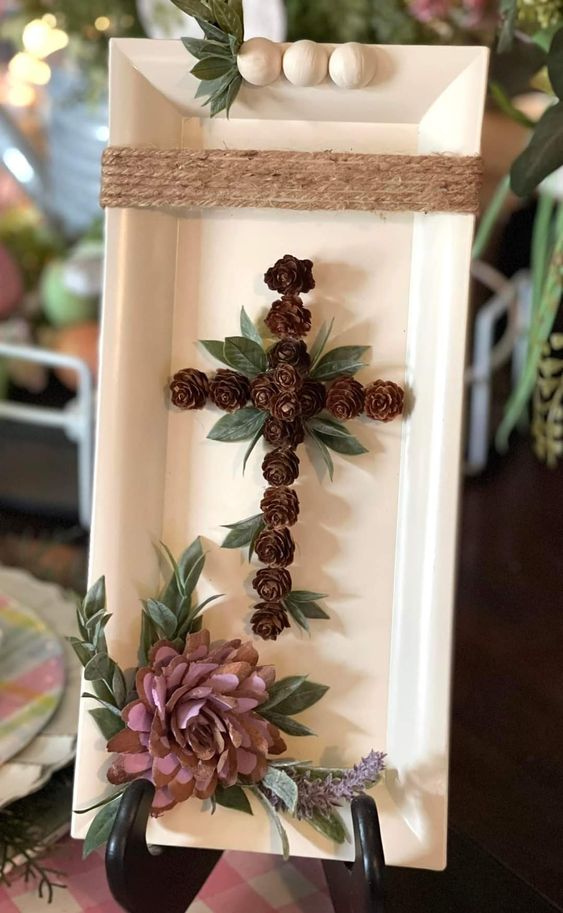
I love how the soft tray and delicate greenery enhance the textured mini pinecones shaped into a meaningful cross.

Materials Needed
- 18-20 small pinecones (1–2” wide)
- 1 rectangular wooden tray (approx. 12×6″)
- 1 larger pinecone
- Faux greenery sprigs (4–6 small pieces)
- Twine (about 20″)
- Hot glue gun and sticks
- Optional: 3 small wood beads, purple faux lavender stem
Step-by-step Guide
Step 1: Arrange the small pinecones on the tray to form a symmetrical cross shape. Trim base edges if needed so they sit flat.
Step 2: Glue greenery under each branch of the cross for a natural touch. Use the larger pinecone to craft a flower, attaching it in the lower corner.
Step 3: Wrap jute around the top section of the tray and glue three wood beads above it. You can add more foliage or lavender to one side to soften the layout.
#18. Vibrant Pinecone Flower Pot
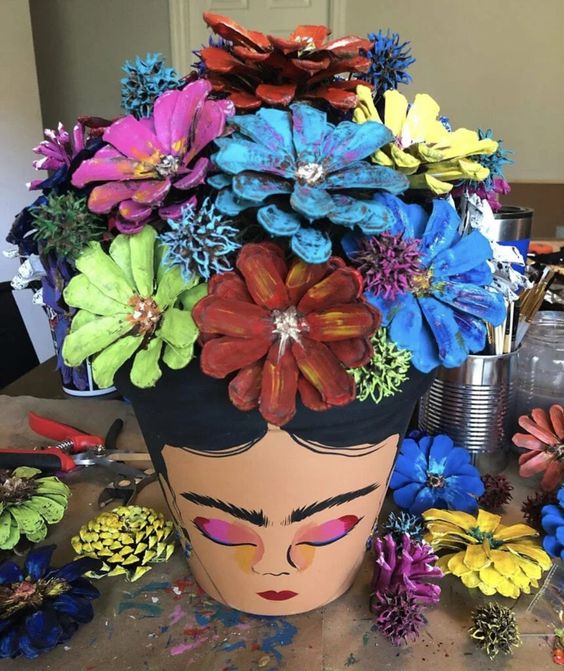
Bold, expressive, and full of personality, it turns pinecones into vibrant floral crowns, channeling the energy of art, culture, and colorful imagination.
Materials Needed
- 15 pinecones (medium size)
- 1 terracotta pot (8–10″)
- Acrylic paints in assorted bright colors
- Paintbrush set
- Hot glue gun + glue sticks
- Black paint pen
- Optional: glitter glue
Step-by-step Guide
Step 1: Paint the pinecones in different vibrant colors. Use contrasting hues for petal edges or add splatter-style accents. Let dry completely.
Step 2: Flip the terracotta pot upside down. Paint Frida’s iconic face using the black paint pen for eyebrows and outline, and brushes for skin tones, lips, and eyeshadow.
Step 3: Once dry, begin hot-gluing the pinecones around the rim to mimic a flower crown. Stagger colors and sizes for a full, blooming effect.
Step 4: Add glitter glue or decorative touches to the flower centers.
#19. Rustic Sunflower Pocket Pinecone Art
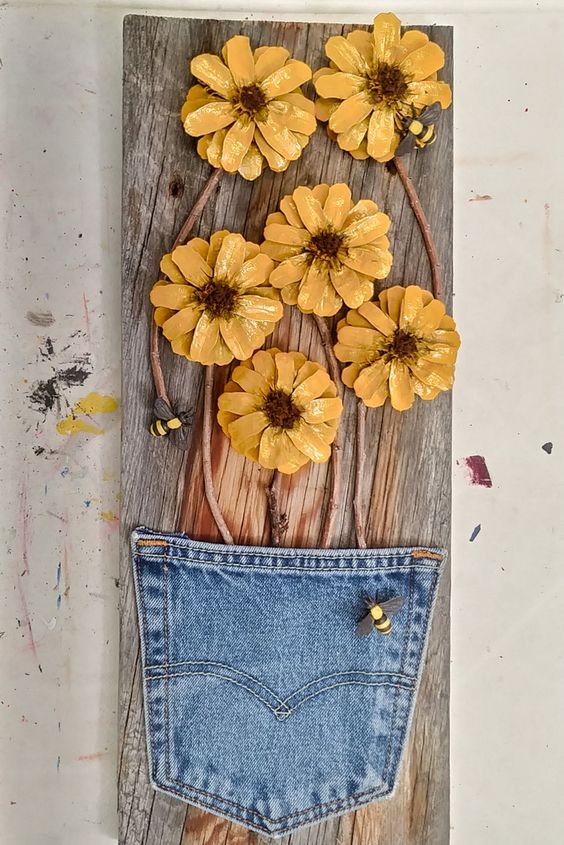
The mix of rustic wood, pinecone blooms, and that upcycled jeans pocket feels like the perfect combination of creative, homey, and heartfelt.

Materials Needed
- 6 medium pinecones
- 1 piece of reclaimed wood board (approx. 6″x18″)
- 1 back jean pocket
- Yellow and brown acrylic paint
- Small paintbrush + hot glue gun
- Twigs
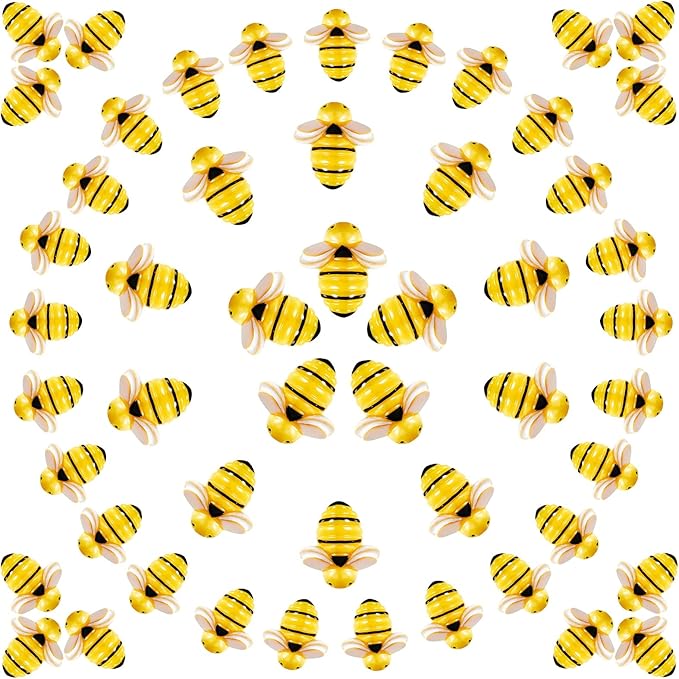
- Mini bee embellishments
- Optional: matte clear sealant spray
Step-by-step Guide
Step 1: Cut pinecones horizontally and paint the “petal” side bright yellow. Let them dry, then dab a bit of brown in the center to resemble sunflower seeds.
Step 2: Glue the twigs vertically onto the board to create flower stems. Vary the lengths so the arrangement looks natural.
Step 3: Glue the pinecone flower heads at the top of each stem. Tuck in your little bees around the flowers for a playful detail.
Step 4: Glue the jean pocket onto the bottom of the board, covering the twig ends. You can also stitch or add faux stitching for effect.
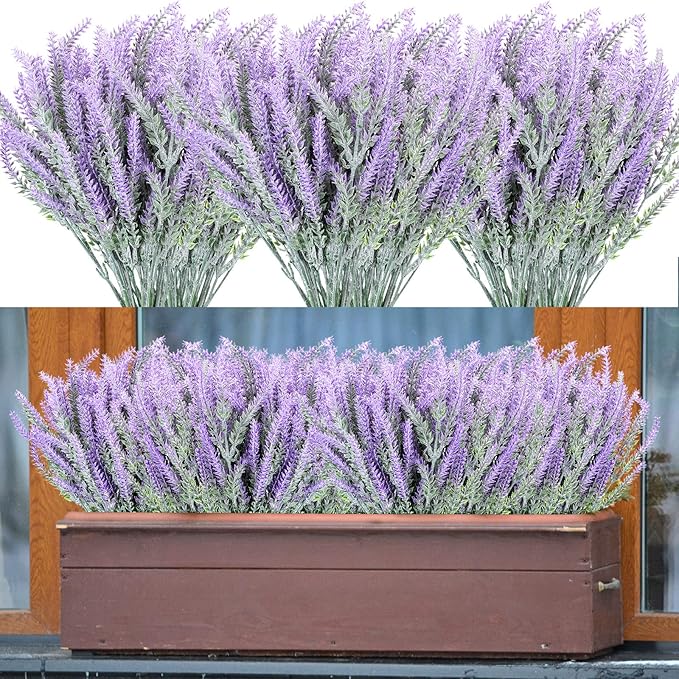
#20. Vibrant Pinecone Floral Bouquet
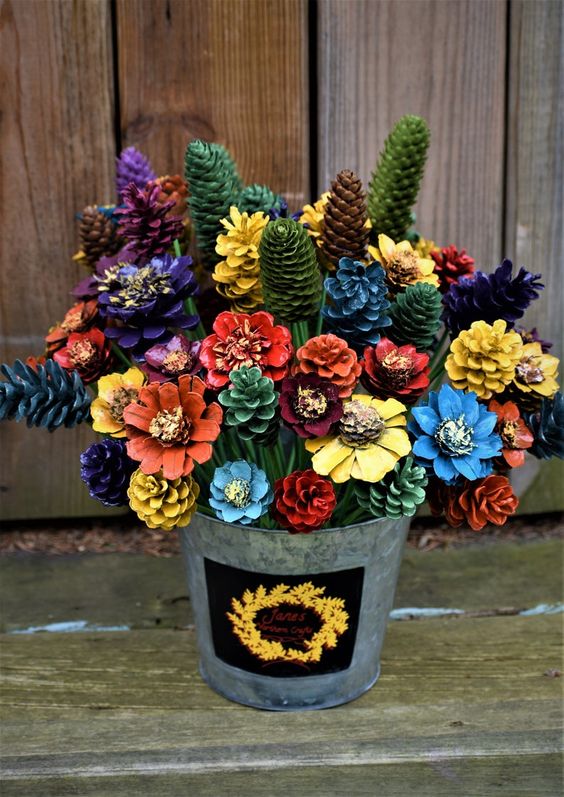
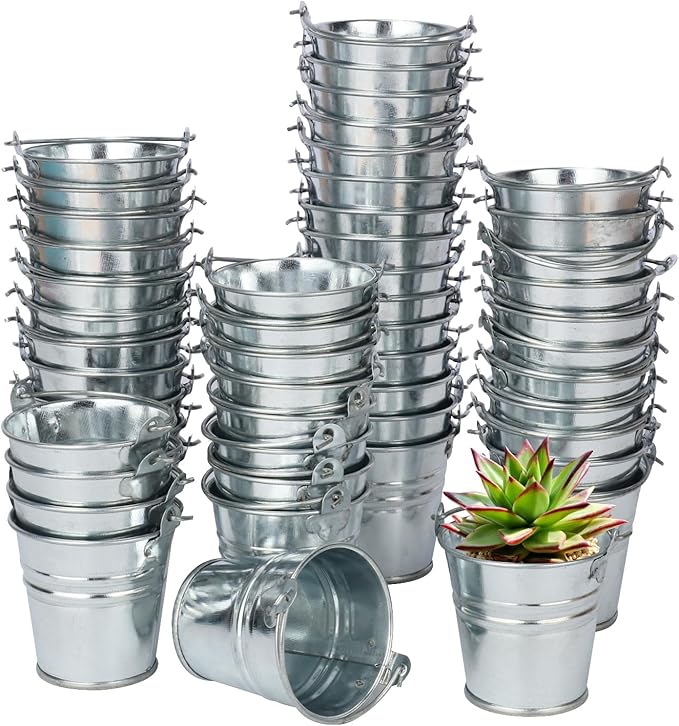
This radiant pinecone flower bucket practically bursts with joy. It’s the kind of project that brightens porches, entryways, or garden corners.
Materials Needed
- 30-35 pinecones in mixed sizes
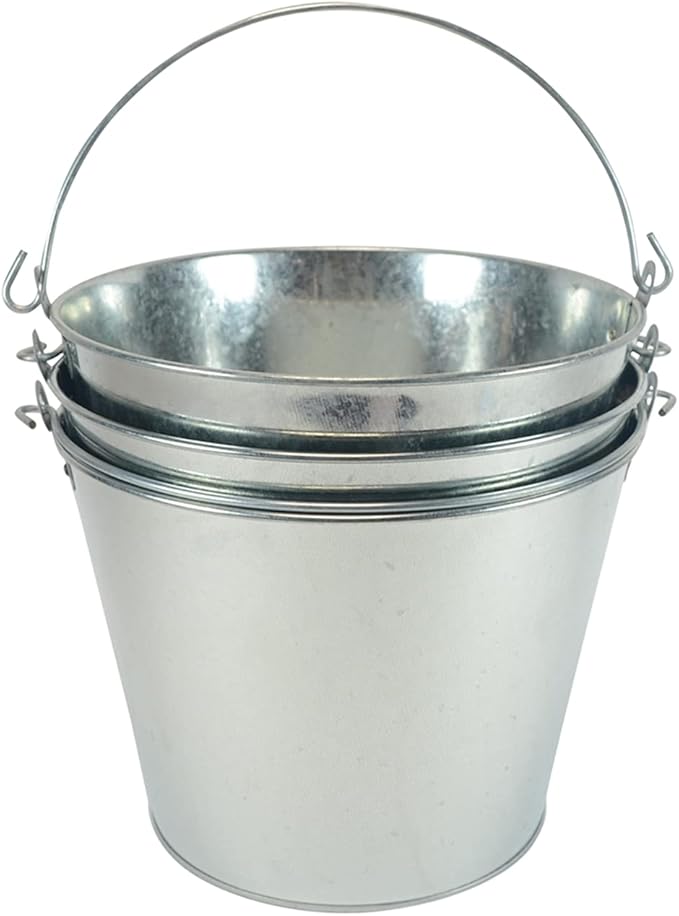
- 1 galvanized tin bucket (8″–10″)
- Multi-color acrylic paints and paintbrushes
- Hot glue gun + glue sticks
- 30-35 floral sticks
- Floral foam block
- Optional: dried moss
Step-by-step Guide
Step 1: Paint each pinecone in different bright colors. Use a small brush to get in between the scales, and let them dry completely.
Step 2: Hot glue a skewer or floral stick to the base of each pinecone. You can cut them to different lengths to create height variation.
Step 3: Place a floral foam block securely inside the bucket. Begin inserting your pinecone flowers, arranging them like a bouquet.
Step 4: Fill in any gaps with mini pinecones, dried moss, or even faux greenery for a fuller effect.
#21. Colorful Pom-Pom Pinecone Ornaments
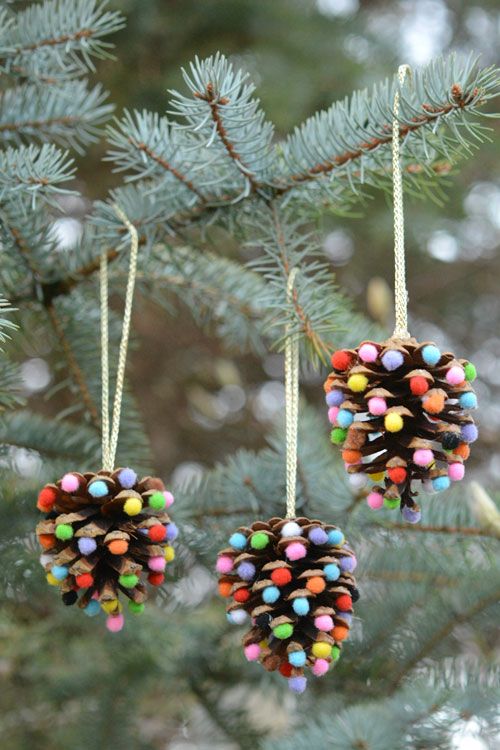
They look like mini trees covered in candy lights, and hanging them on a winter branch adds such a charming, whimsical touch to your holiday decor.


Materials Needed
- 3 large pinecones
- 50 mini pom-poms in assorted colors
- Gold string
- Hot glue gun
- Optional: glitter or snow spray
Step-by-step Guide
Step 1: Cut your string into 12-inch lengths and glue or tie each to the top of a pinecone to create a hanging loop.
Step 2: Dab glue inside the scales of the pinecone and press in mini pom-poms one by one. Mix colors randomly or follow a theme.
Step 3: Let them dry fully, then hang on your Christmas tree, a branch, or even around the windows for a cheerful winter vibe.
#22. Rustic Pinecone Window Hanger
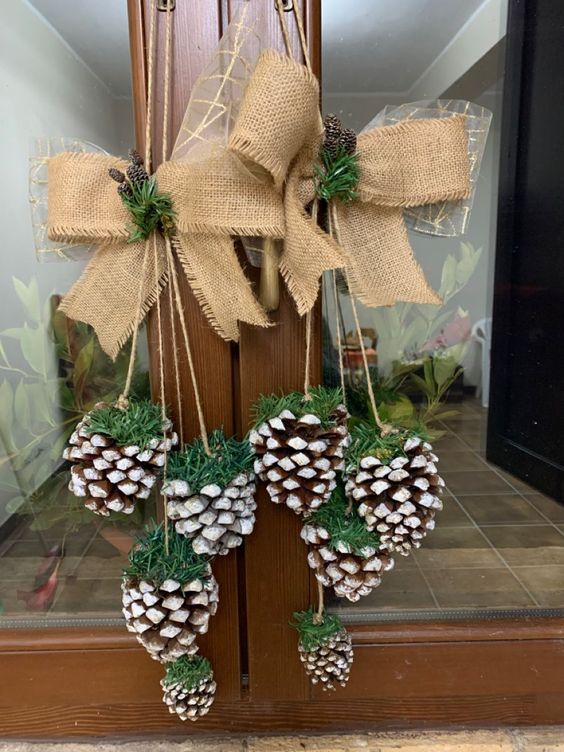
The frosted pinecones paired with the burlap bow create a natural, cozy look that feels like a warm welcome home every time you see it.

Materials Needed
- 9 medium pinecones
- Twine (3–5 ft)
- White acrylic paint
- Artificial pine sprigs
- Hot glue gun
- Burlap ribbon (2.5″ wide, 3 ft)
Step-by-step Guide
Step 1: Paint the tips of the pinecones with white acrylic for a snowy look. Let dry.
Step 2: Hot glue bits of artificial pine greenery around the tops of each pinecone.
Step 3: Cut varying lengths of twine (between 10–16 inches) and glue one end to the top of each pinecone.
Step 4: Tie all the twine ends together and secure with hot glue behind a wide burlap bow. Use more twine to create a hanging loop behind the bow.
#23. Charming Pinecone Harvest Basket
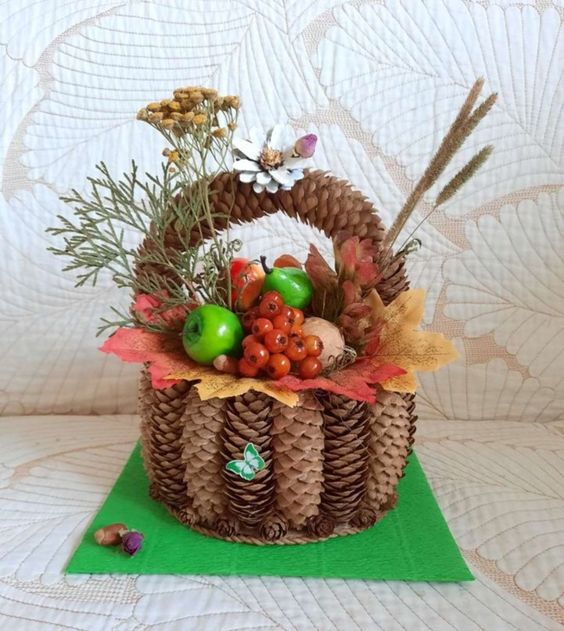
Perfect for autumn tables or cozy gift ideas, this DIY piece feels like it came from a fairytale forest gathering.

Materials Needed
- 25 full pinecones
- Strong cardboard (6″ diameter)
- Hot glue gun + sticks
- Dried moss, twigs, or faux greenery
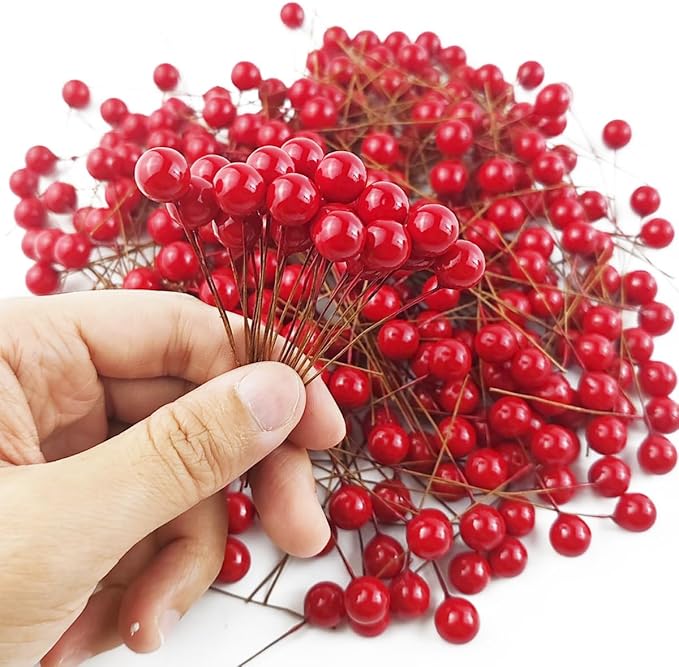
- Mini artificial fruits/berries
- Decorative butterflies
Step-by-step Guide
Step 1: Cut a circular base from sturdy cardboard or repurpose a plastic bowl.
Step 2: Begin hot-gluing pinecones vertically around the base, tightly packed to resemble basket walls. Save 4–6 pinecones for the handle.
Step 3: To create the curved handle, glue pinecones end-to-end in a U-shape, then attach both ends to opposite sides of the basket top.
Step 4: Decorate the inside with faux greenery, artificial apples, berries, dried flowers, or even nuts. Add a felt leaf border or paper flower to soften the edge.
#24. Adorable Pinecone Caroler Figurines
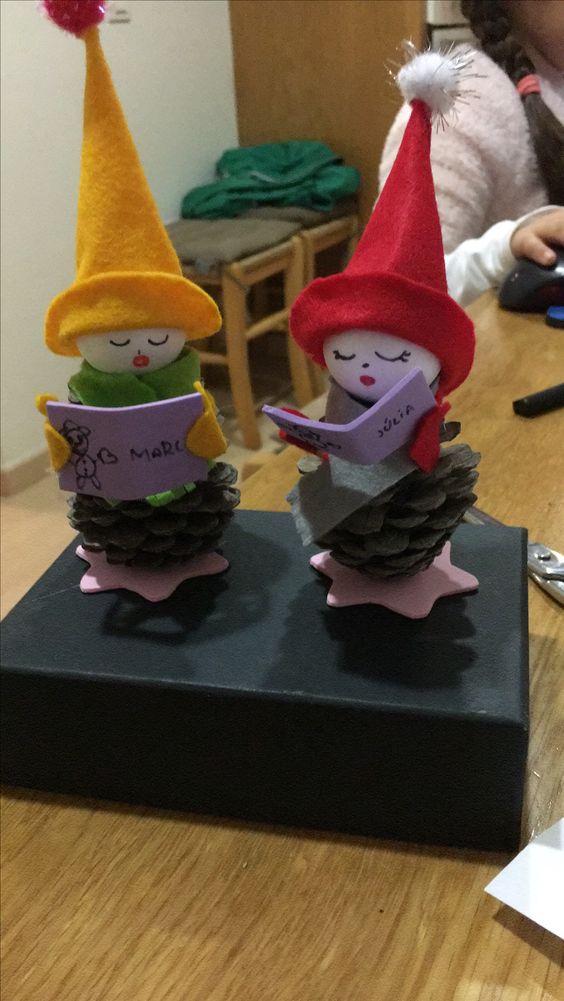
These pinecone carolers are just adorable! Their sleepy eyes, cozy felt hats, and tiny songbooks make them perfect for adding charm to your Christmas mantle or gifting as heartfelt handmade tokens.

Materials Needed
- 2 medium pinecones
- 2 wooden balls (1 inch)
- Felt sheets (red, orange, pink, green, gray)
- Mini pompoms + pipe cleaners
- Hot glue gun and glue sticks
- Colored paper
- Fine-tip marker
Step-by-step Guide
Step 1: Cut felt into tall triangles and roll into cone shapes for hats. Add a pompom at the tip and secure with hot glue. Cut small scarves from contrasting felt.
Step 2: Draw sleeping eyes, a red nose, and lips on the wooden balls. Glue each head onto the top of a pinecone.
Step 3: Wrap the felt scarf around the neck, gluing in place at the back or side.
Step 4: Fold small pieces of cardstock into open books and write festive names or lyrics inside. Glue one to each caroler’s hands.
#25. Charming Pinecone Winter Tree Decor
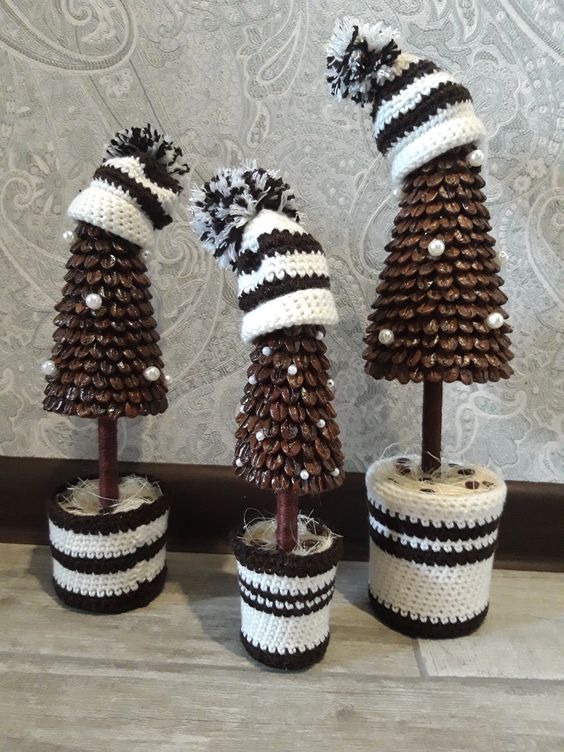
These pinecone Christmas trees wearing cozy crochet hats are the perfect blend of rustic and whimsical.


Materials Needed
- 3 large pinecones
- Wooden dowels (6–8 inches)
- Small containers
- Yarn in cream, black, or brown
- Hot glue gun and glue sticks
- Mini pearls
- Twine
- Optional: Crochet hook (4.5 mm – 5 mm)
Step-by-step Guide
Step 1: Glue each pinecone to the top of a wooden dowel, then fix the dowel into a small container using hot glue and filler (like stones or floral foam), covering it with twine or moss.
Step 2: If you crochet, create striped hats in your preferred pattern and size, finishing with a pompom. If not, repurpose a knit sock or glove finger, tie the top and decorate with a pom.
Step 3: Hot glue the hats tilted on the pinecones for that whimsical, wintery slouch.
Step 4: Add mini pearl beads sporadically across the pinecones to mimic snow or ornaments.
#26. Adorable Pinecone Hedgehog Creation

This pinecone hedgehog is bursting with woodland charm, like it rolled out of an autumn fairy tale.


Materials Needed
- 30–40 small pinecones
- Styrofoam egg (3–4″)
- Natural jute twine (5–10m)
- Hot glue gun + glue sticks
- Googly eyes (medium size)
- Black bead
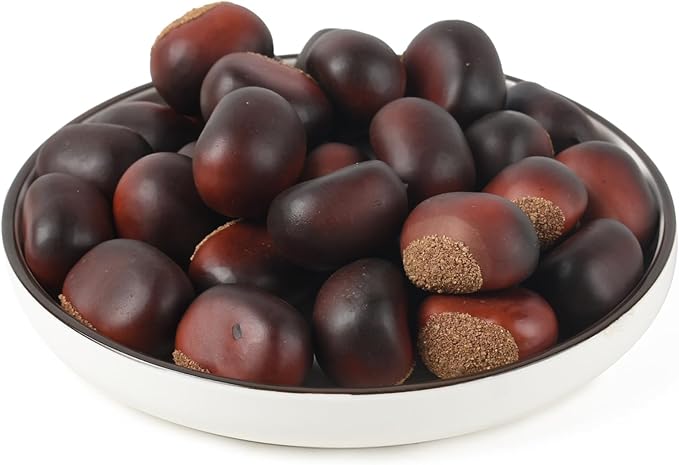
- Assorted natural elements: acorns, chestnuts, berries, leaves, and sprigs
Step-by-step Guide
Step 1: Wrap your foam egg in jute twine tightly, gluing every few turns to secure it. Leave one end a bit pointed like a snout and glue a black bead there as the nose.
Step 2: Begin gluing pinecones densely around the back and top of the face to form the hedgehog’s body. Vary directions for a more natural, “spiky” texture.
Step 3: Attach googly eyes to the face, adjusting positioning to make it look curious or sleepy whatever fits your mood.
#27. Charming Pinecone Hedgehog Centerpiece
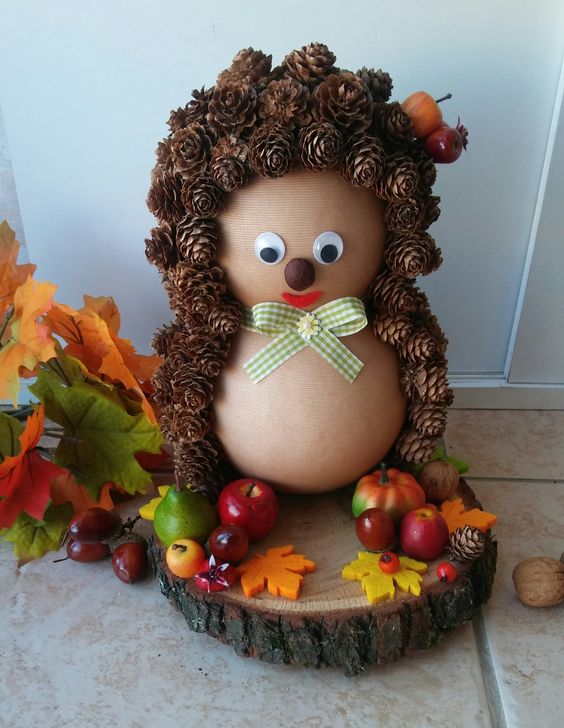
This plump pinecone hedgehog is irresistibly sweet and perfect as a whimsical autumn table centerpiece.

Materials Needed
- 1 large pantyhose-stuffed body form
- 50–70 mini pinecones
- Googly eyes (25 mm)
- Brown pom-pom
- Green gingham ribbon (12″ length)
- Hot glue gun + glue sticks
- Assorted decorative fruits, felt leaves, and wood slice base
Step-by-step Guide
Step 1: Stuff a pair of nylon stockings with polyfill or rice until you achieve a rounded, hedgehog-shaped body. Tie off the end securely.
Step 2: Starting from the back of the head, hot glue mini pinecones in rows, gradually working down and around the sides, leaving the front clear as the face.
Step 3: Attach googly eyes and a brown pom-pom nose. You can draw or glue a red felt dot for a mouth if you’d like more expression.
Step 4: Tie your ribbon into a bow and glue it under the face.
#28. Adorable Pinecone Leaf Fairy
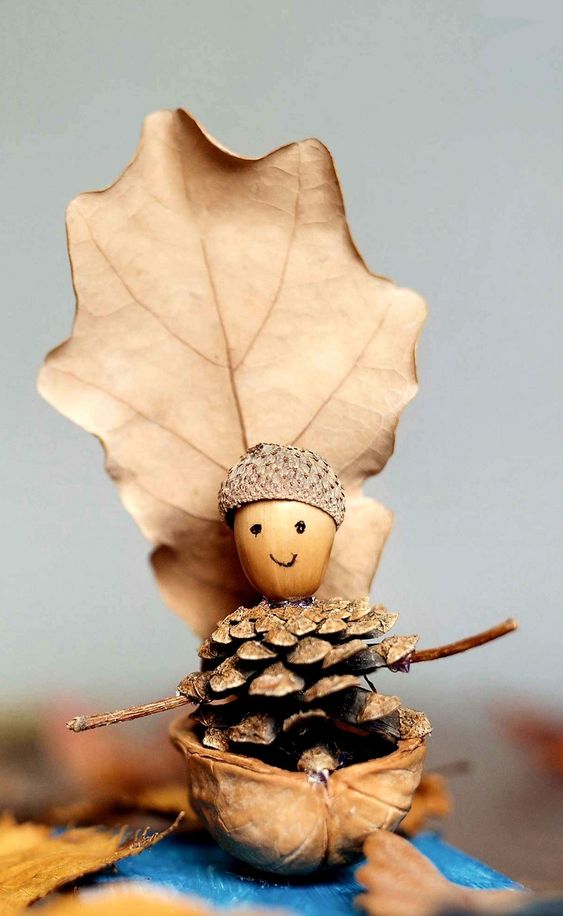
Made entirely from nature’s own treasures, it’s a heartwarming fall craft that’s perfect for kids or as a whimsical autumn decor detail.

Materials Needed
- 1 small pinecone (1.5–2″ tall)
- 1 walnut shell half
- 1 acorn
- 1 large dry oak leaf
- 2 thin twigs (approx. 2–3″)
- Black fine-tipped marker
- Hot glue
Step-by-step Guide
Step 1: Begin by drawing a tiny smiling face on the acorn using a fine-tipped black marker. If the acorn cap is loose, glue it in place to become the “hat.”
Step 2: Glue the acorn onto the top of the pinecone, then carefully glue two thin twigs to either side of the pinecone to serve as arms.
Step 4: Attach the base of the pinecone to the inside of the walnut shell, ensuring it sits securely.
Step 5: Glue the oak leaf to the back of the pinecone, curving gently to mimic a sail or wings.
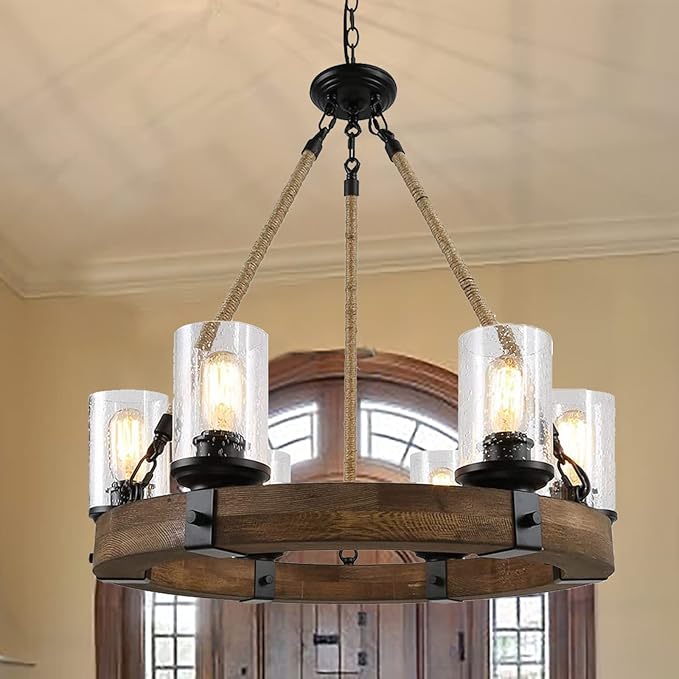
#29. Colorful Pinecone Mobile Art
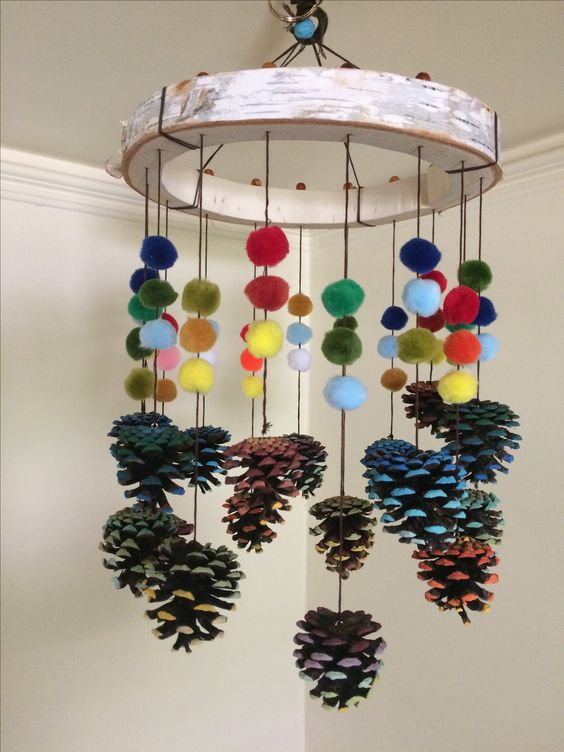
I loved how each pom pom and pinecone feels like a drop of joy suspended in midair, completely handmade and full of spirit.

Materials Needed
- 15 pinecones (approx. 3–4″)
- 1 wooden chandelier (10–12″)
- 30+ colorful pom-poms
- Twine (cut into 18″–24″ lengths)
- Hot glue gun and glue sticks
- Optional: Acrylic paint set
- Scissors and a push pin
Step-by-step Guide
Step 1: Start by painting the tips of your pinecones with bold acrylic colors if desired. Let them dry completely before continuing.
Step 2: Glue a length of twine to the top of each pinecone. Then string pom-poms up the twine at intervals using glue, mix sizes and colors for a lively look.
Step 3: Tie each string to the wooden hoop, spacing them evenly around the circle. Then, add 3–4 strings from the hoop’s top edge to the center for hanging.
#30. Vibrant Pinecone Blossom Trees

Mounted on raw wood slices with bark tree trunks, they feel like blooming trees frozen in time, perfect for spring decor or nature-inspired gifts.

Materials Needed
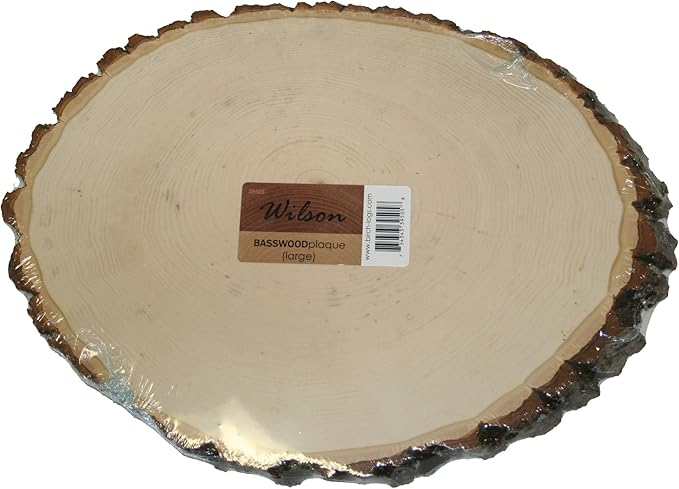
- 2 oval-shaped wood slices (approx. 8–10″ tall)
- 4–6 large pinecones
- 2 bark pieces (approx. 2″ x 3″)
- Acrylic paint set
- Hot glue gun and glue sticks
- Scissors and tweezers
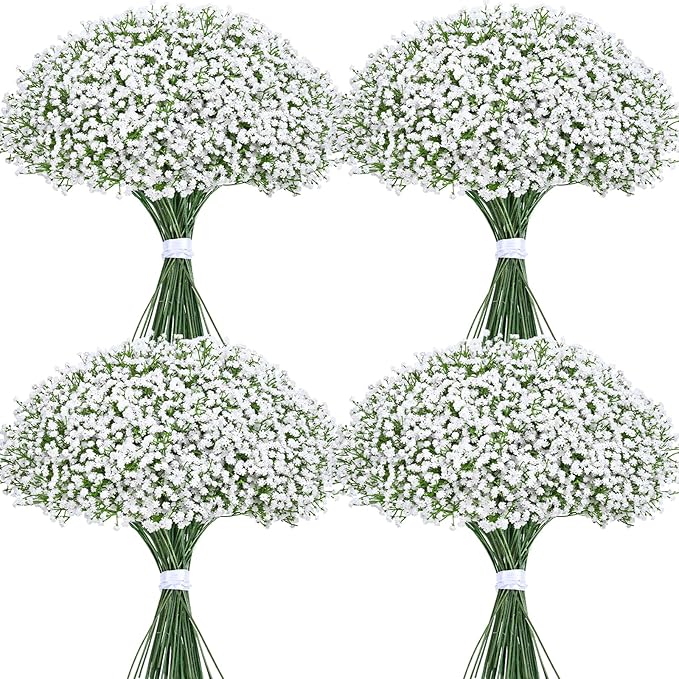
- Optional: faux moss, tiny twigs, dried baby’s breath
Step-by-step Guide
Step 1: Use shears to gently break apart pinecones into individual scales.
Step 2: Paint each petal with acrylics in your chosen palette. Let them dry fully. Add glitter accents or contrast dots in the centers for depth.
Step 3: On the wood slice, hot glue a rectangular piece of bark at the bottom to form the tree trunk. Arrange petals above it like branches in bloom, gluing layer by layer.
Step 4: Add final touches with moss at the base, mini pinecones or dried foliage around the blooms, or even hand-painted butterflies for an extra whimsical vibe.