Orchids, with their delicate and exotic beauty, have captivated the hearts of plant enthusiasts for centuries. While there are various methods for growing these stunning flowers, one unconventional and intriguing approach involves using potatoes as a growing medium, providing a nutrient-rich environment for their flourishing growth. In this article, we will guide you on how to grow orchids in potatoes.
Materials Needed
- Orchid seeds or seedlings: Select the orchid variety you want to grow. Orchid seeds or seedlings are readily available at nurseries or through online suppliers.
- Potatoes: Choose firm and healthy potatoes. Potatoes serve as a nutrient-rich medium, providing essential elements for orchid growth.
- Sharp knife: A clean and sharp knife will be needed to carve out space in the potatoes for the orchids.
- Orchid pot: Choose a pot with good drainage to plant the potato-orchid combination. Proper drainage prevents waterlogging, ensuring the orchids thrive.
- Orchid potting mix: A specialized orchid potting mix can be used to enhance drainage and aeration.
- Watering can or spray bottle: Orchids require consistent moisture. A watering can or spray bottle helps maintain the right humidity levels.
A Step-by-Step Guide
Step 1: Select Your Orchid Variety
Choose the orchid variety you wish to grow. Consider factors such as climate, sunlight, and humidity requirements to ensure the chosen orchid thrives in your specific conditions.
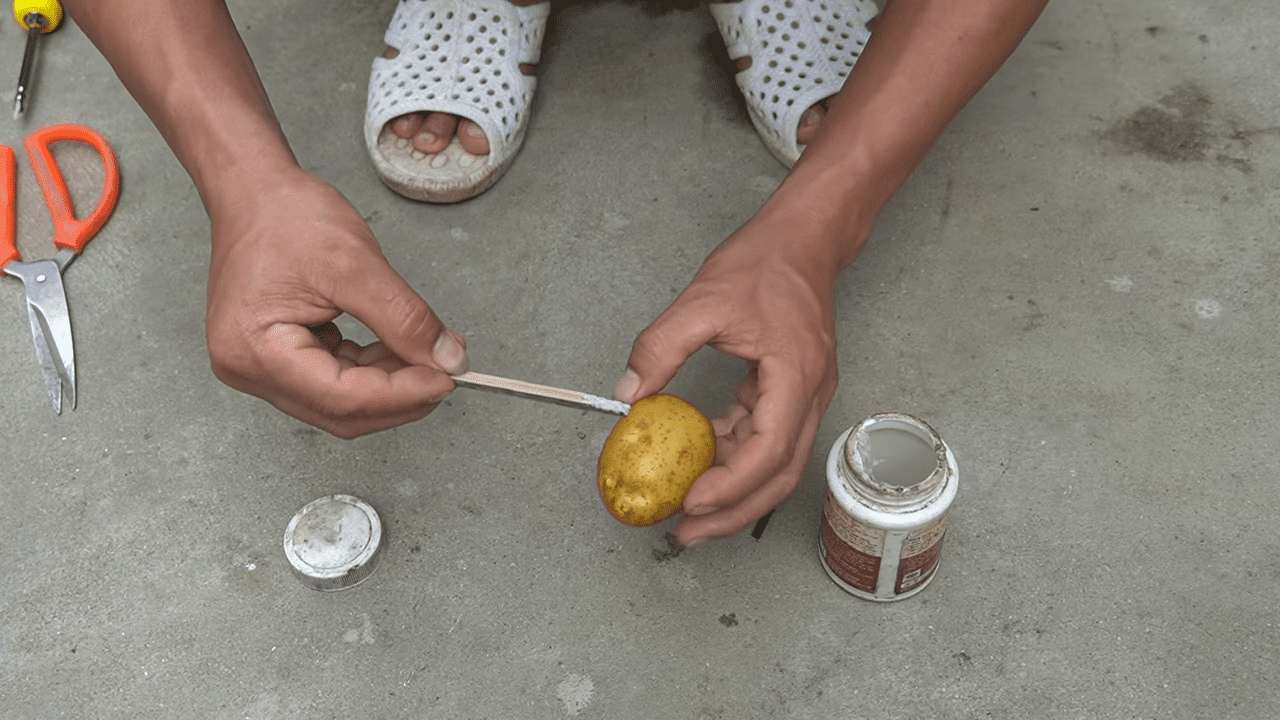
Step 2: Prepare The Potatoes
Select firm and healthy potatoes. With a clean, sharp knife, carefully carve out a hollow space in the potato. Ensure the cavity is large enough to accommodate the orchid seeds or seedlings.
Step 3: Insert Orchid Seeds Or Seedlings
Place the orchid seeds or seedlings into the carved-out space in the potato. Gently press them into the potato to secure them in place.
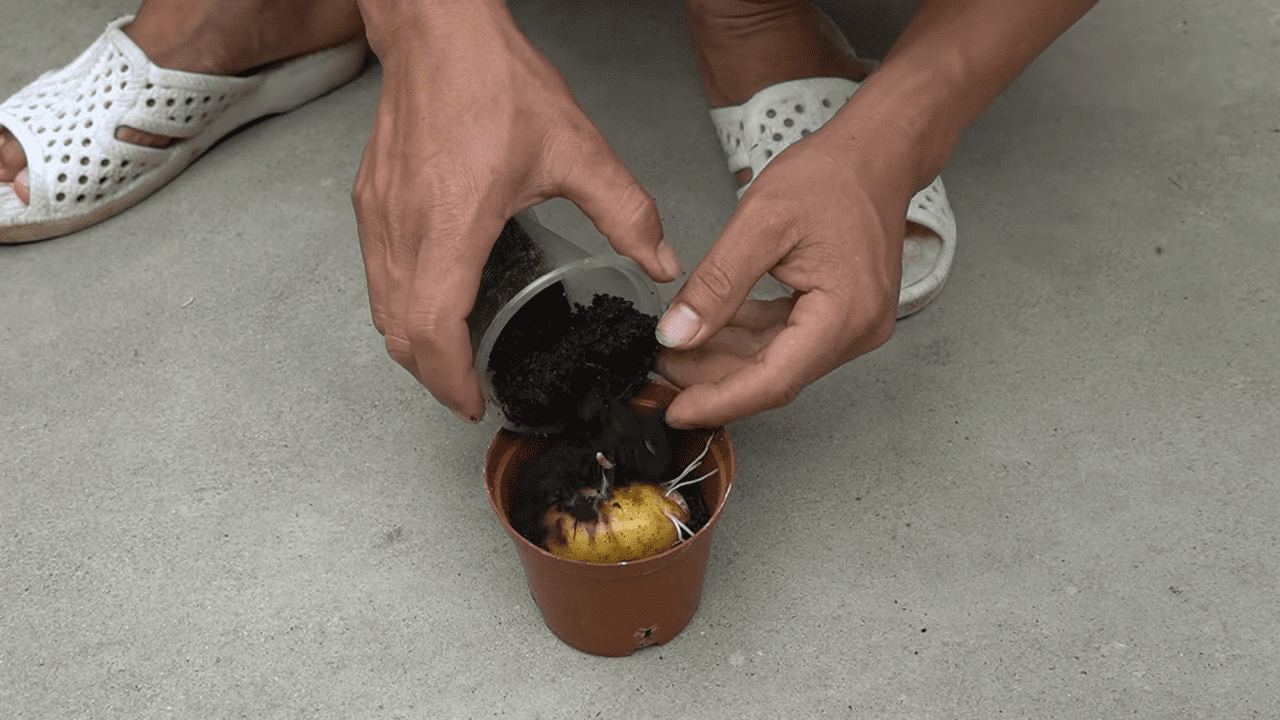
Step 4: Plant the Potato-Orchid Combination
Fill an orchid pot with a specialized orchid potting mix, providing optimal drainage. Plant the potato-orchid combination into the pot, burying the potato slightly beneath the surface of the potting mix. This ensures stability and allows the orchids to access the nutrients within the potato.
Step 5: Provide Adequate Light And Humidity
Place the pot in a location with filtered sunlight, as orchids typically thrive in bright but indirect light. Maintain a consistent level of humidity, as orchids require a humid environment for optimal growth.
Step 6: Watering
Keep the orchid potting mix consistently moist but not waterlogged. Use a watering can or spray bottle to provide a fine mist, mimicking the natural conditions of orchids in their native habitats.
Step 7: Monitor Growth And Repot As Needed
Keep a close eye on the growth of your orchids. As they mature, you may need to repot them into larger containers to accommodate their expanding root systems.
Taking Care Of Orchids
- Light: Orchids grown in potatoes still require bright but indirect light. You should place them in a location where they receive filtered sunlight throughout the day.
- Watering: Maintain a consistent watering schedule, ensuring the potting mix remains consistently moist. Avoid overwatering, as orchids are susceptible to root rot.
- Humidity: Orchids prefer high humidity. If the air in your home is dry, consider placing a tray of water near the orchids or using a humidifier to create a more suitable environment.
- Fertilization: While the potatoes provide nutrients, it’s essential to supplement the orchids with a diluted orchid fertilizer during the growing season to support healthy growth and blooming.

Other Tips For Success
- Sterilize cutting tools: Before carving out spaces in the potatoes, sterilize your cutting tools with rubbing alcohol or a solution of bleach and water. This helps prevent the introduction of harmful microorganisms that could affect the orchids.
- Maintain proper drainage: Orchids dislike sitting in waterlogged conditions. Ensure the orchid pot has adequate drainage holes, and use a well-draining orchid potting mix to prevent water accumulation around the roots.
- Provide air circulation: Orchids benefit from good air circulation around their leaves and roots. Ensure there is enough space between orchid plants to allow air to flow freely. This helps prevent fungal issues and promotes overall plant health.
- Observe orchid health: Regularly inspect your orchids for any signs of stress, pests, or diseases. Address any issues promptly to ensure the continued health and vitality of your orchids.
This method is worth trying to grow or propagate your own orchids at home. However, keep in mind that this approach is unconventional, and the level of success may vary depending on various factors such as the specific orchid species, environmental conditions, and your individual care routine.